
 USD
USD GBP
GBP
 EUR
EUR


Essential Modern Decorating Ideas for the Master Bedroom
Nov 14, 2025
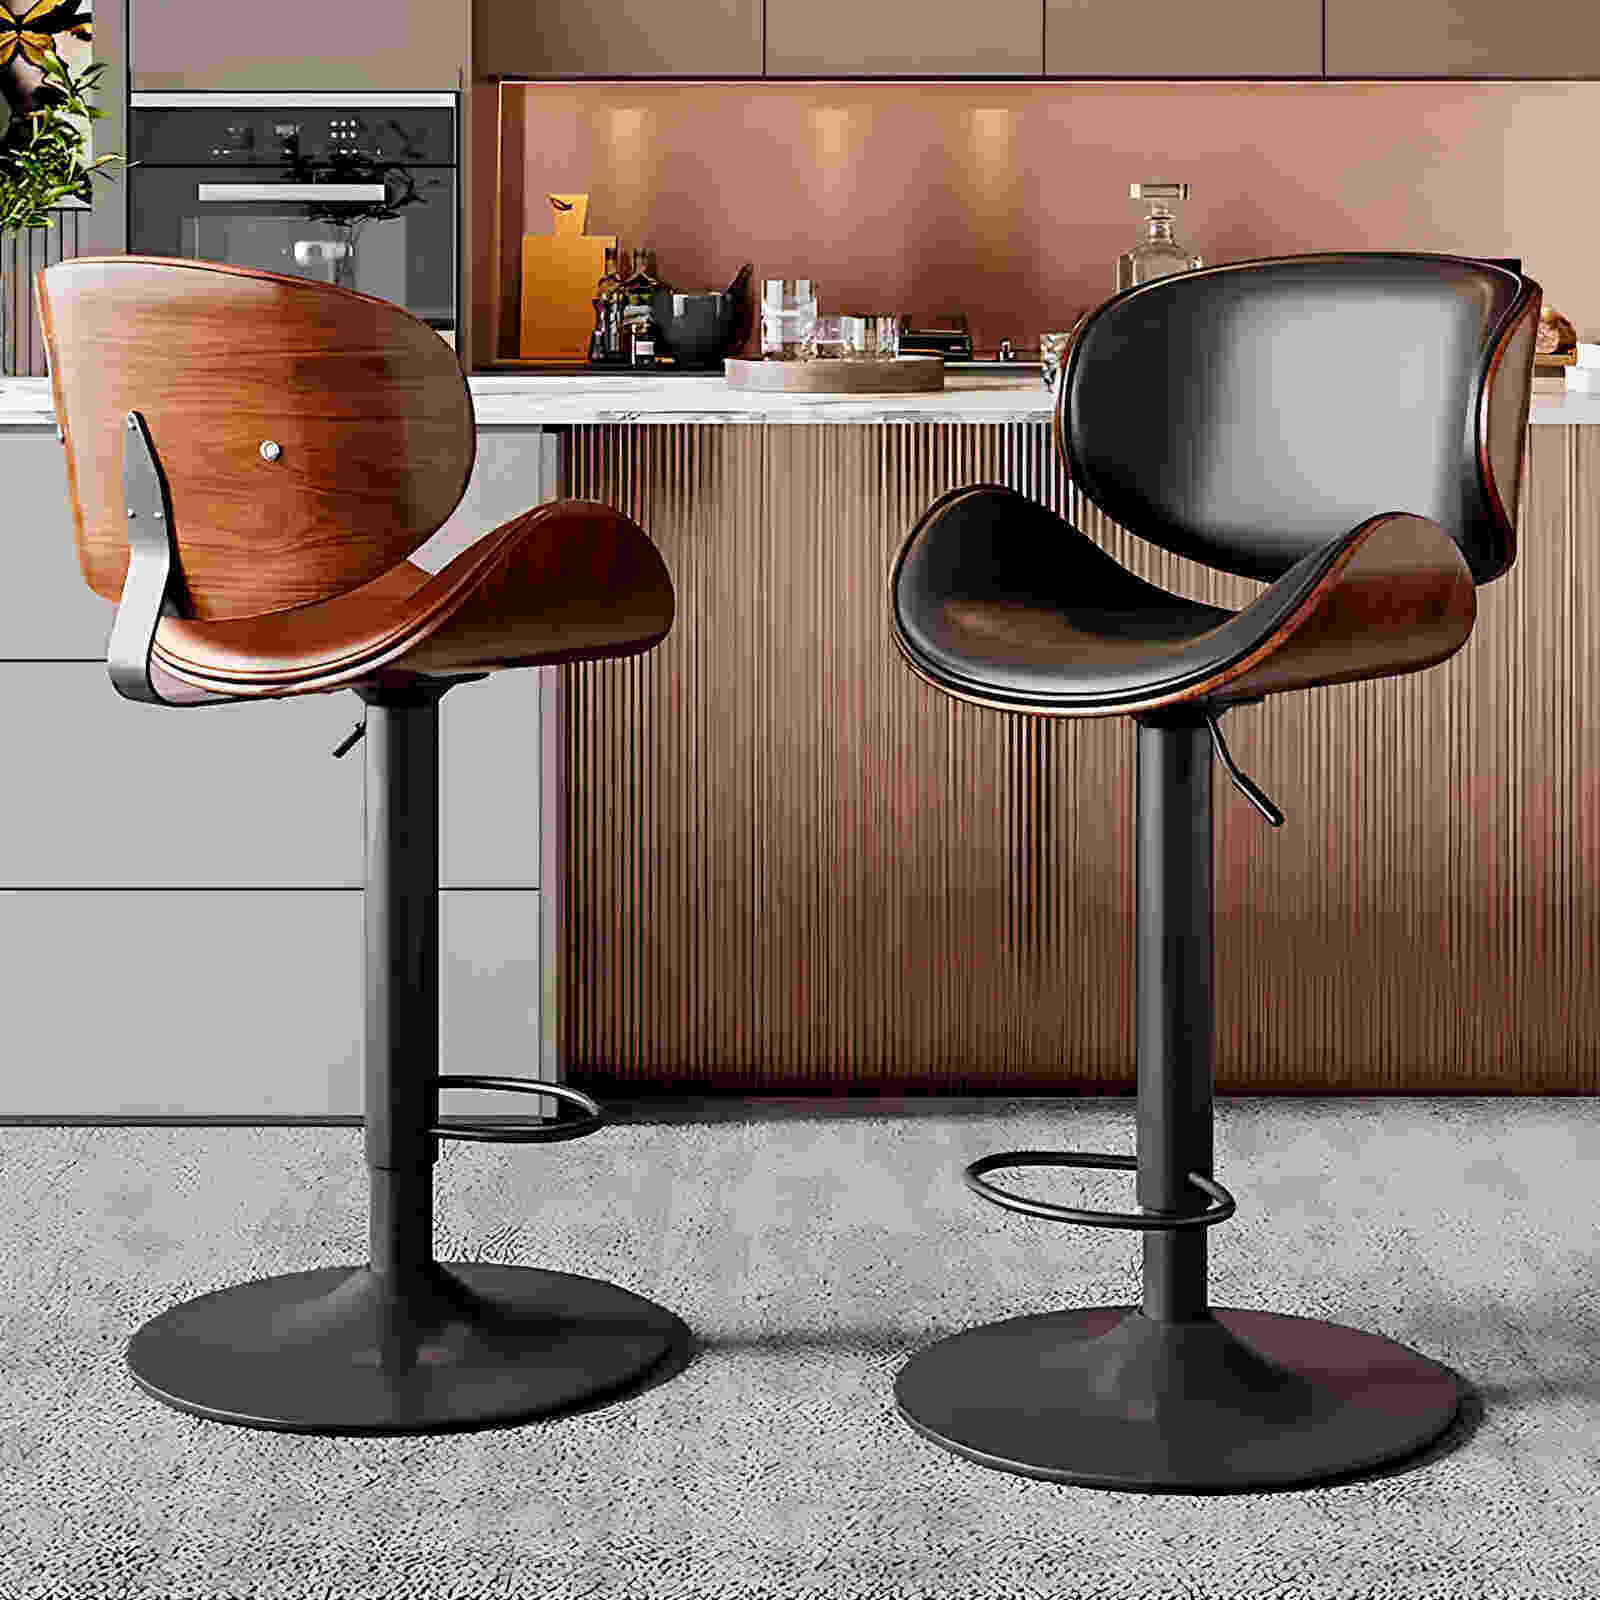
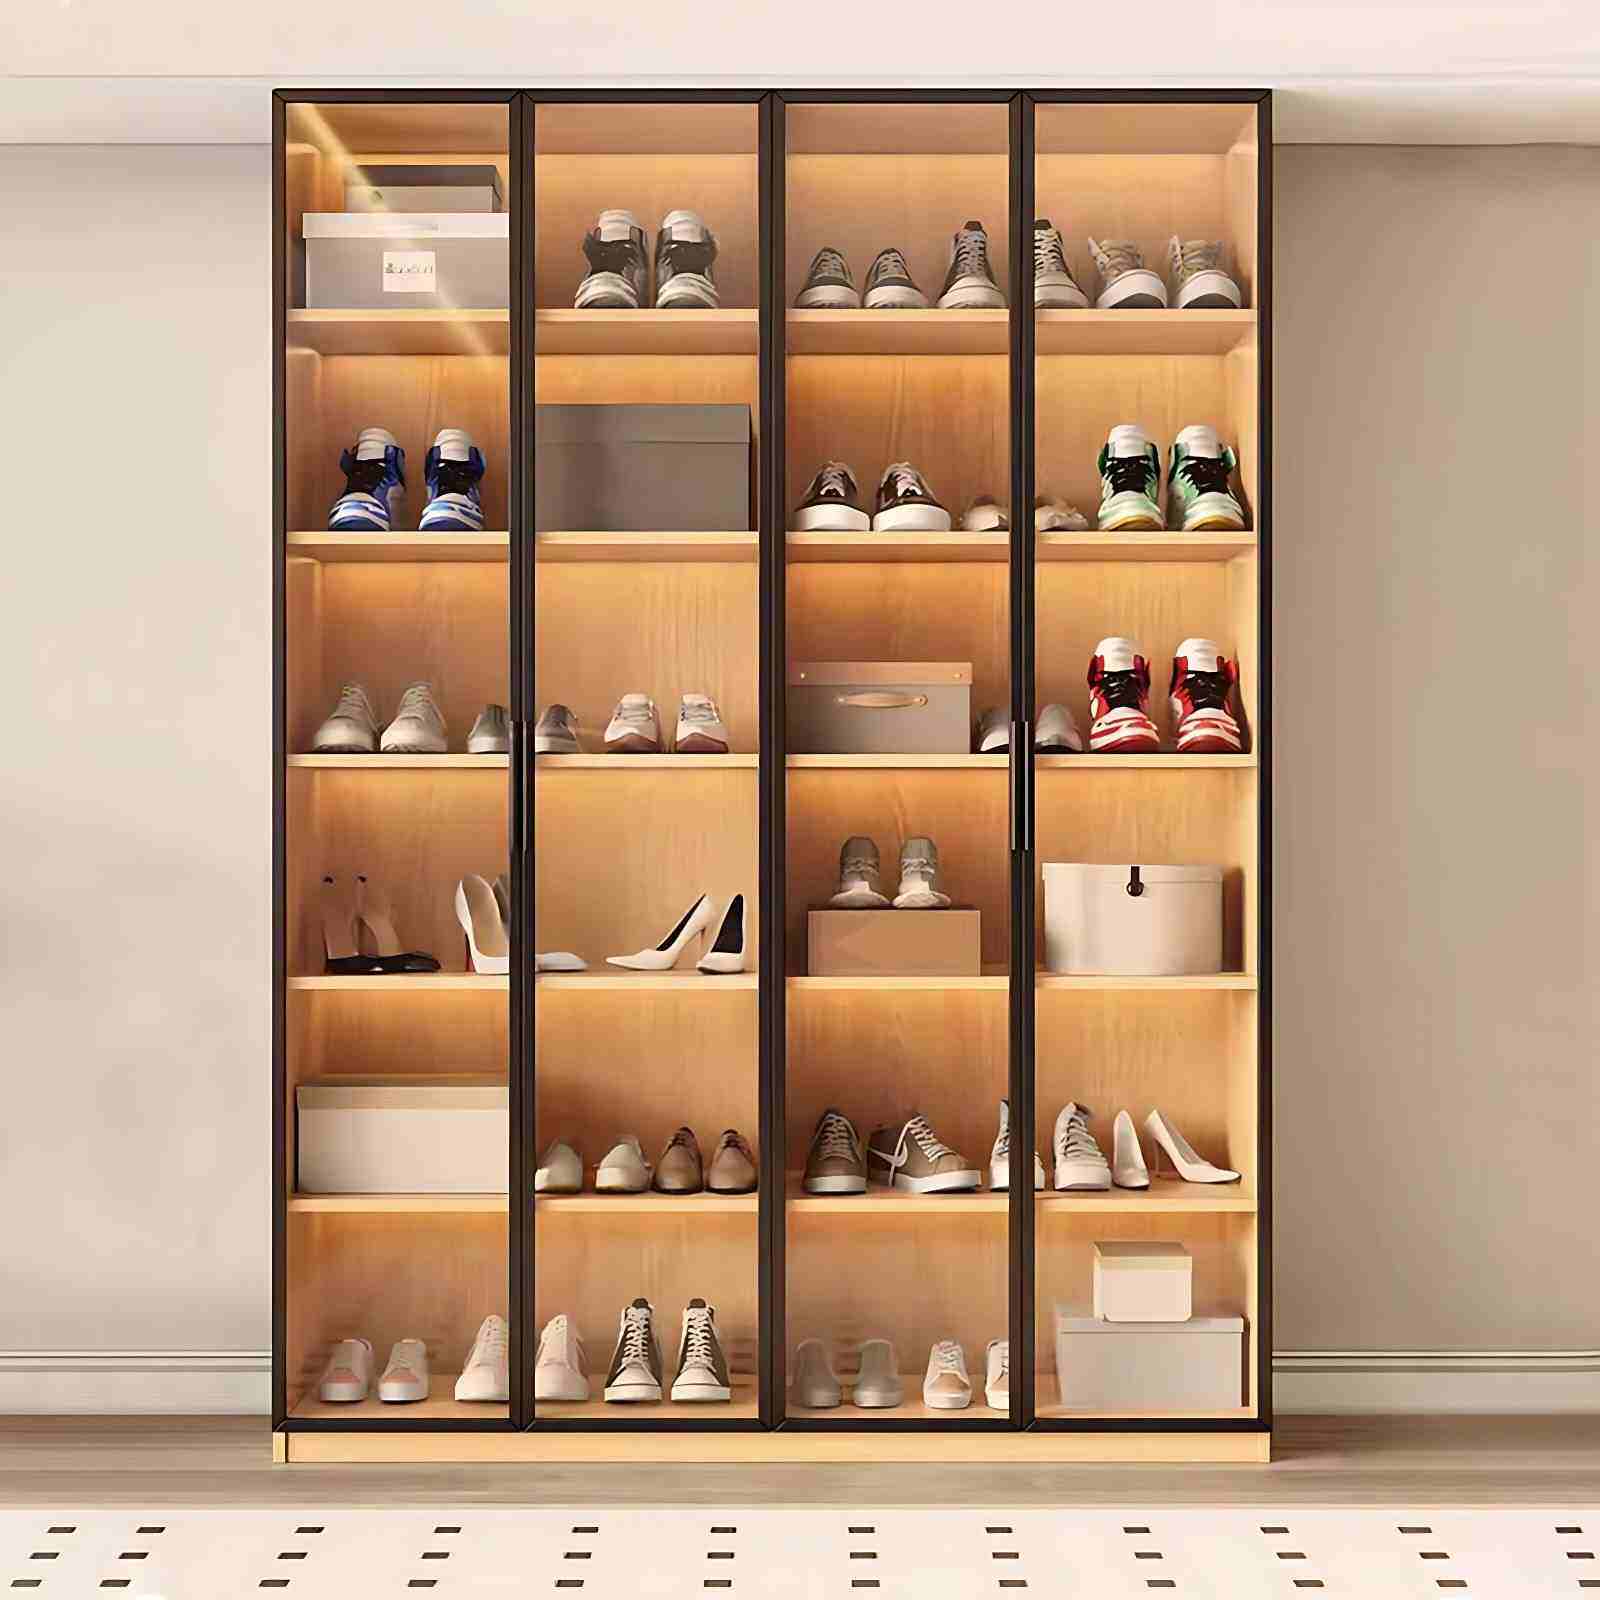
Storage cabinets on the market come in two main types: ready-made and custom-made. The biggest difference is that ready-made cabinets have fixed sizes, requiring you to find a suitable cabinet based on your home's dimensions, often resulting in a cabinet that's either too big or too small.
Custom-made cabinets, on the other hand, can be designed to fit your home's space, effectively improving space utilization and ensuring a seamless fit between the wardrobe and the wall, eliminating hard-to-clean corners.
Therefore, most homeowners now choose custom-made storage cabinets, but many still make mistakes.
Today, we'll give you some practical tips to ensure your wardrobe is both beautiful and functional—all essential decorating advice.
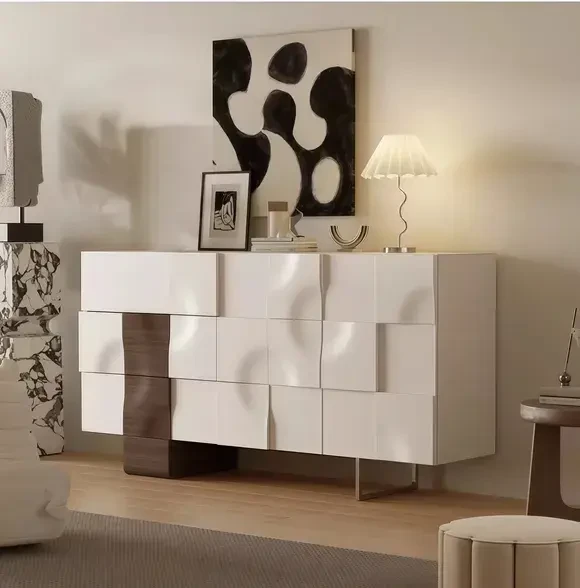
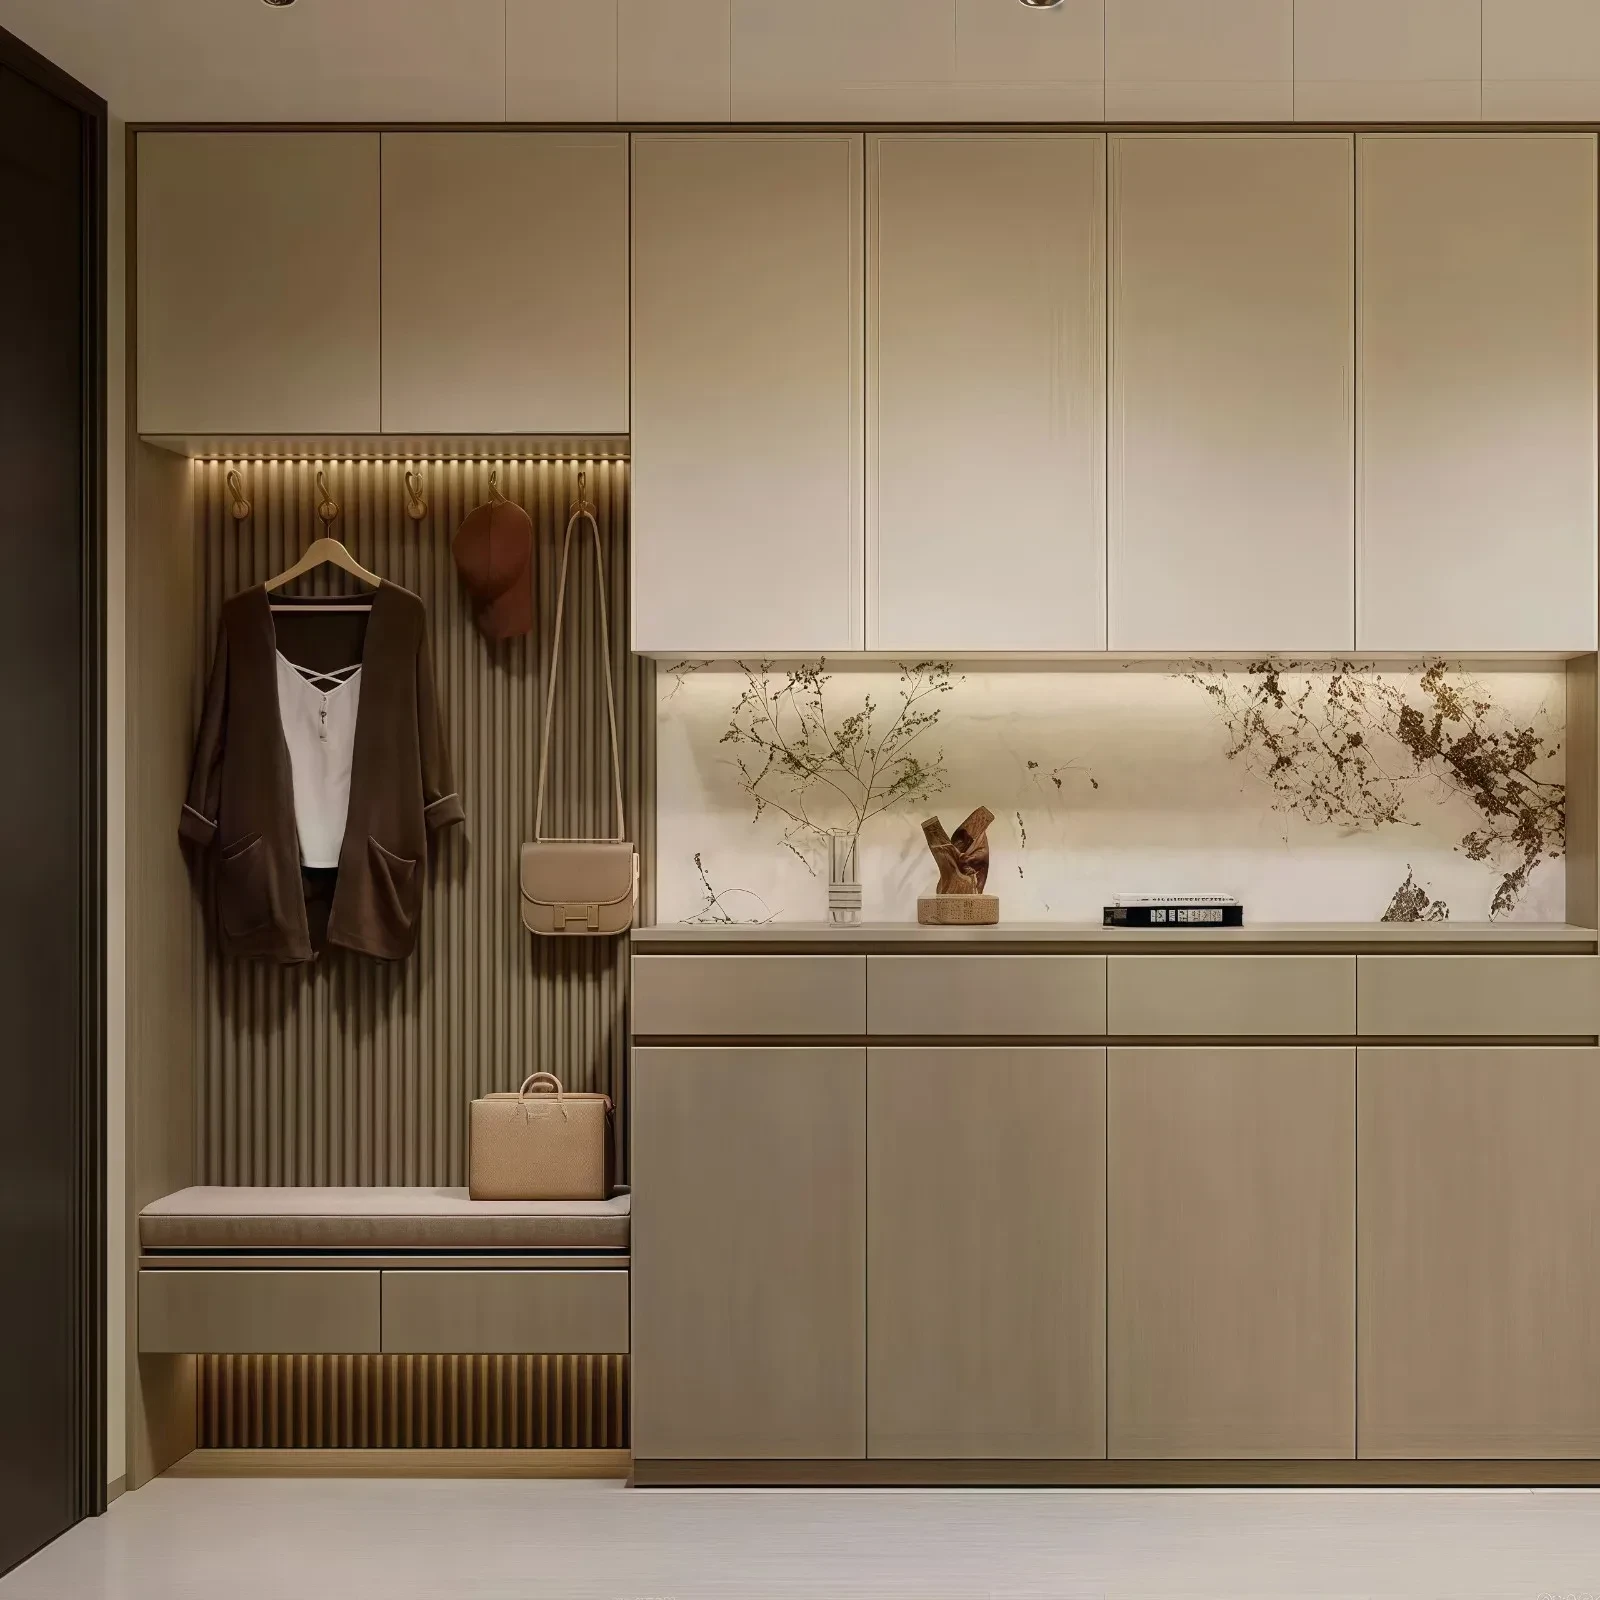
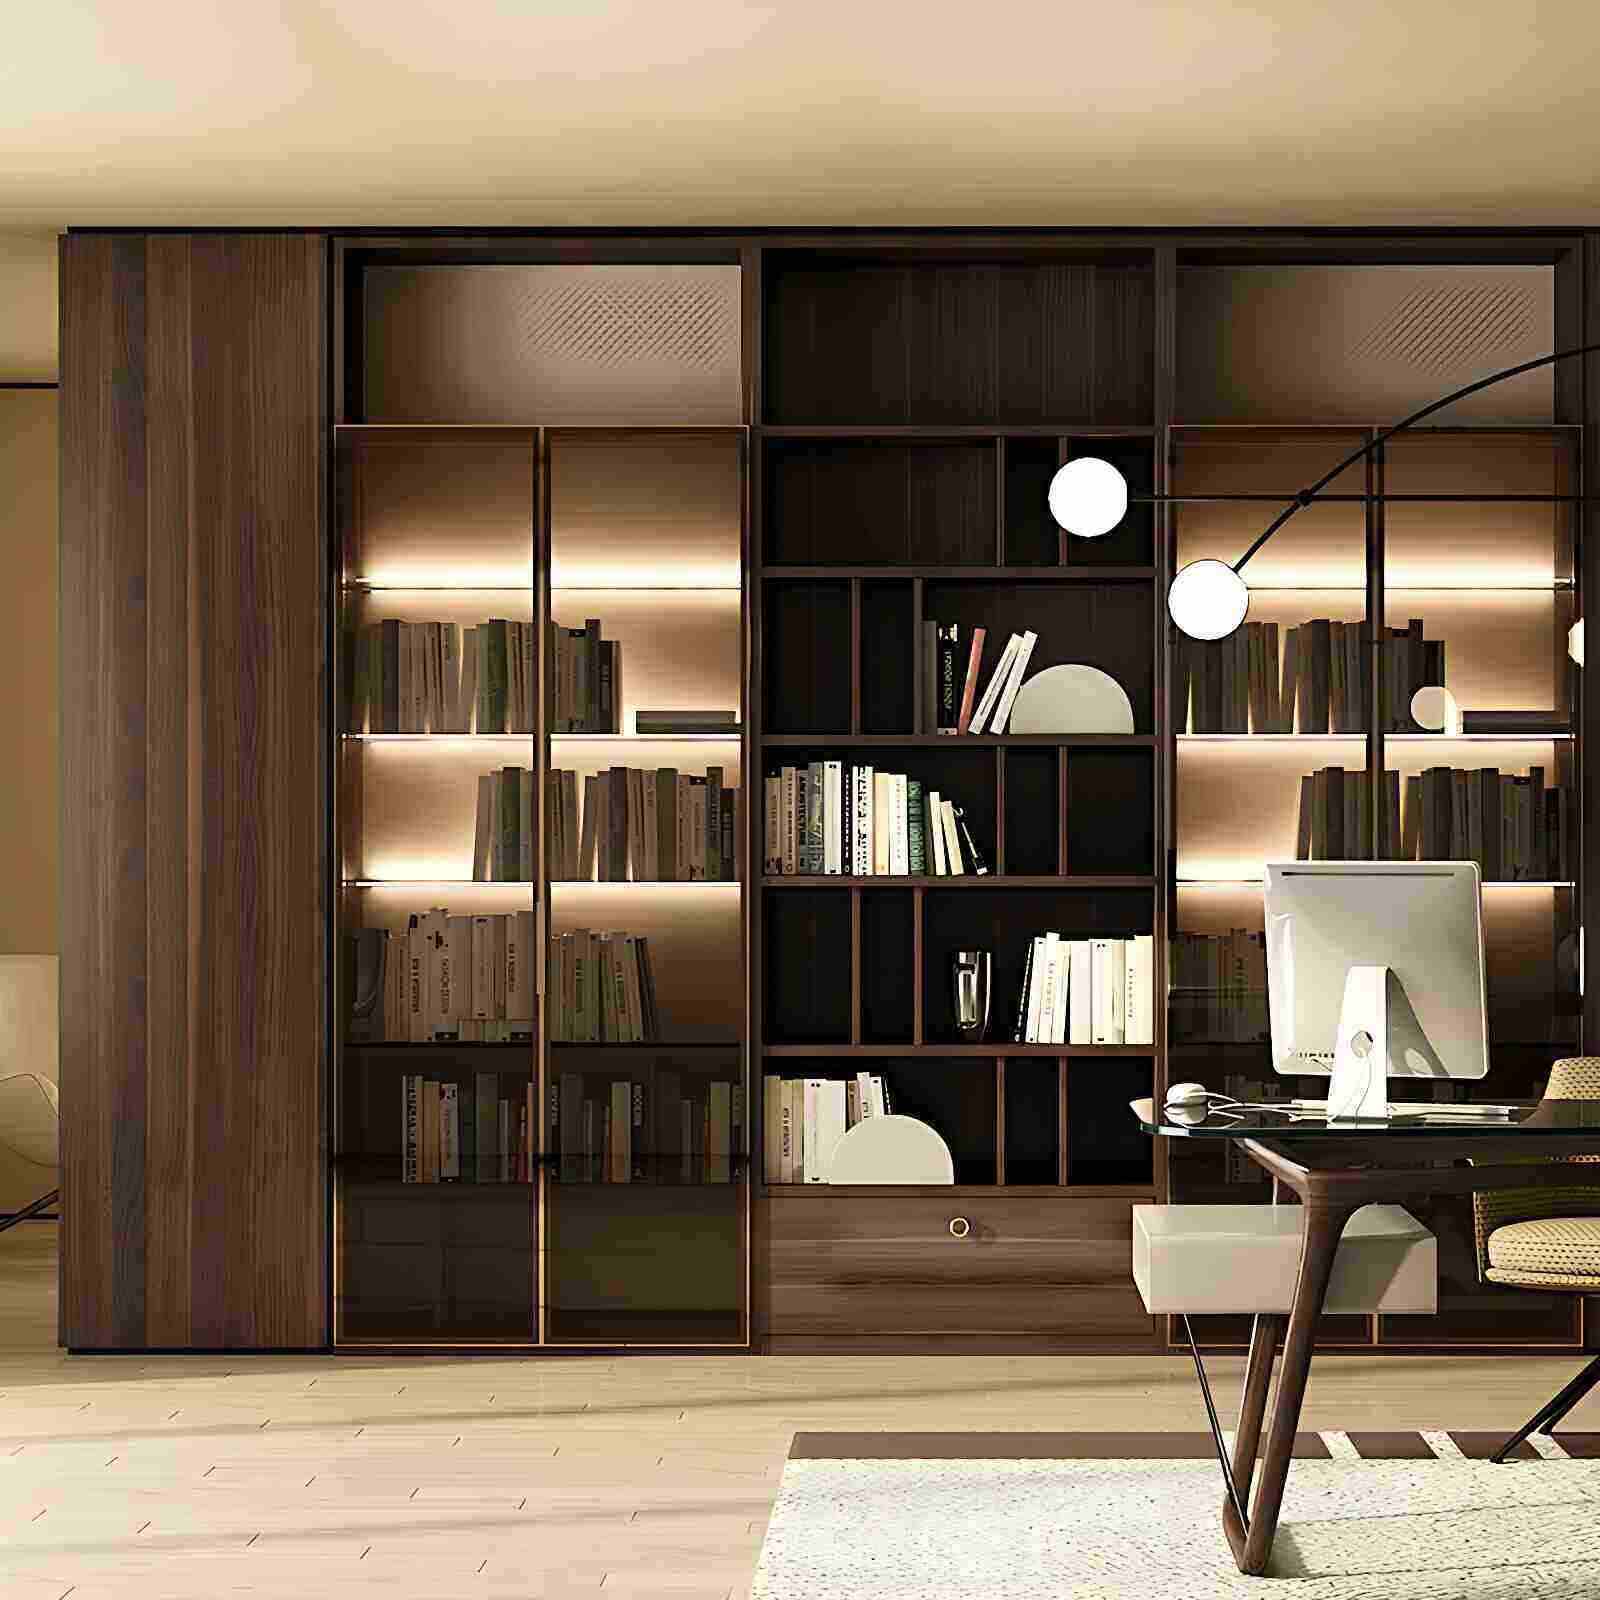
01 Wardrobe Color
The color of your wardrobe should be chosen to match the overall style of the space for harmony.
For example, for a modern cream or natural wood style, you can choose off-white, warm gray, light brown, or light wood grain colors. Because the overall style is warm-toned, choose a warm-toned wardrobe to match.
If you're opting for a retro/vintage style, choose a material similar to walnut wood to complement the overall atmosphere and create a more sophisticated look.
If you're unsure what to choose, select a color similar to your walls or curtains to allow the wardrobe to blend seamlessly into the space and create a more unified feel.
Note that you should choose a solid color for your wardrobe, avoiding overly complex colors. A poor color combination can easily backfire. If you're going for open shelves, you can choose a wood grain color as an alternative.
02 Wardrobe Styles
Currently, floor-to-ceiling wardrobe designs are popular.
However, because wood is prone to cracking, warping, and buckling, wardrobe doors exceeding 1.8 meters in height require a straightener inside the door panel.
When the wardrobe door panel warps, it can be adjusted using the straightener's adjustment port, effectively preventing deformation.
Straighteners on the market range in price from 100 to 200 yuan each. If you have multiple wardrobes, the straightener alone could cost 2,000 to 3,000 yuan.
If you don't want to spend money on door straighteners, you can also opt for a segmented wardrobe design. This eliminates concerns about door panel warping and maintains a clean aesthetic.
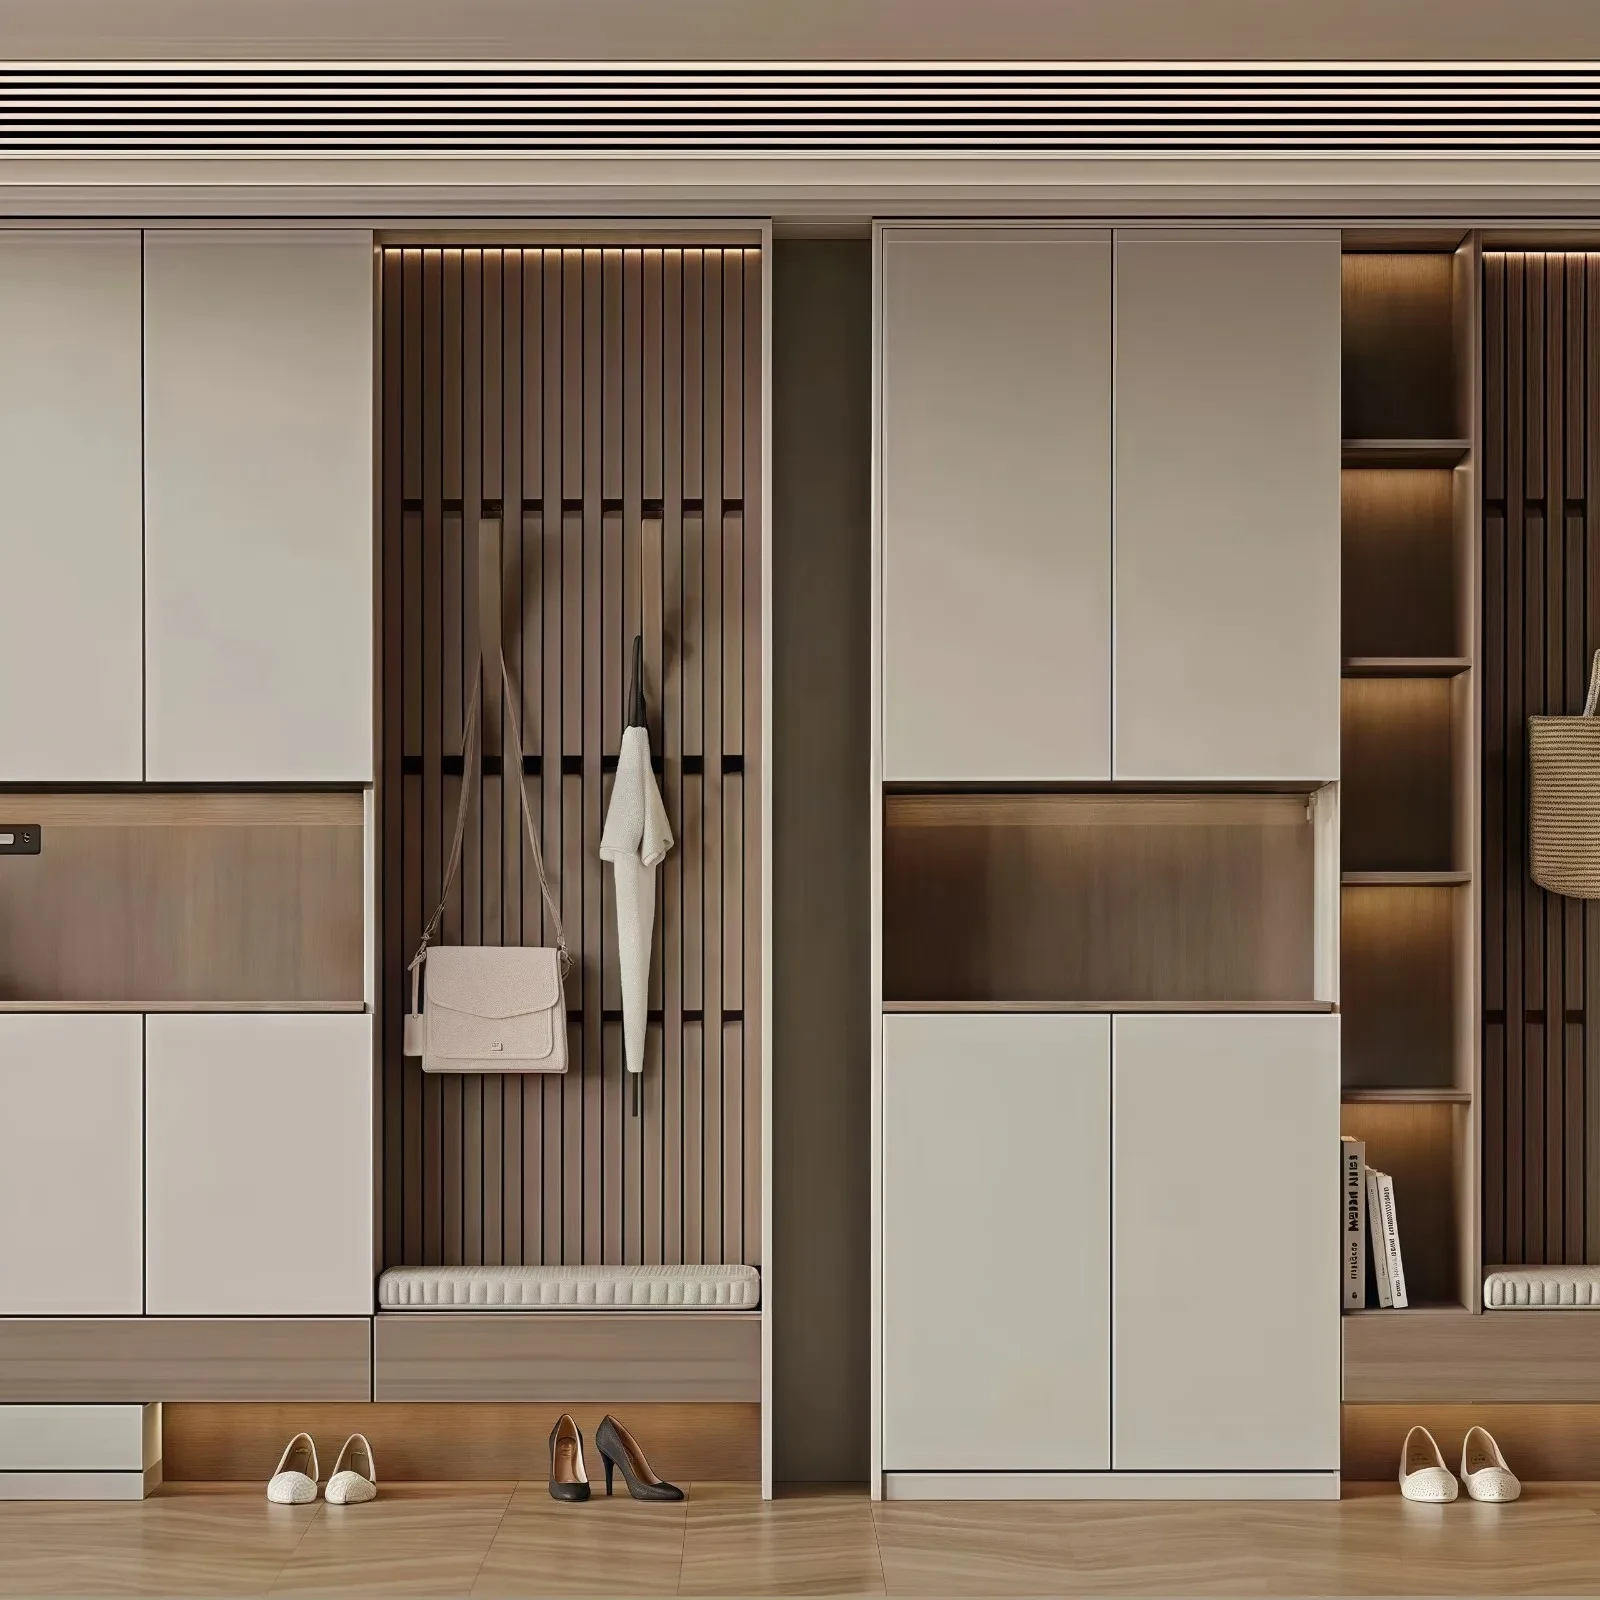
03 Wardrobe Handles
If you have a floor-to-ceiling wardrobe, it's recommended to avoid surface-mounted long handles. They're expensive and prone to damage from accidental bumps.
You can choose concealed push-to-close mechanisms, but many people worry about them malfunctioning over time and preventing the door from closing properly.
In that case, you can opt for milled groove single handles or recessed handles, which are both aesthetically pleasing and functional.
If you have a segmented wardrobe, skip the handles altogether and opt for a handle-free design. Hang the upper cabinet doors 1 cm down, and install 45-degree angled handles on the lower cabinet doors or drawers for convenience and practicality.
04 Wardrobe Dimensions
The most important factor in a wardrobe's usability is the rationality of its internal dimensions and layout.
Firstly, the optimal door panel size is 35-45cm. Doors that are too wide or too narrow will look disproportionate and visually unappealing. The recommended depth of the wardrobe is 60cm. This allows for easy hanging of large winter garments without the doors being unable to close.
The height of the clothes rod inside the wardrobe should ideally be within 1.7 meters, making it easy for people of average height to reach clothes. A 4-6cm gap between the clothes rod and the top panel is suitable; too high wastes space, while too low makes clothes difficult to access and hang.
Avoid installing the clothes rod directly in the center of the side panel. A smart approach is to move it inwards by 1cm, making it easier to close the doors after hanging clothes.
Plan the wardrobe interior in advance, maximizing hanging space and minimizing folding space. Neatly folded clothes become a mess after being removed, discouraging folding altogether.
The dimensions of the functional areas within the wardrobe are crucial for maximizing storage and easy access to clothing.
For short-sleeved clothing, allow 90-100cm of clearance; for mid-length clothing, 110-120cm; for trousers, 80-90cm; and for long clothing (skirts, coats, overcoats), 140-160cm.
Two drawers with 20-30cm clearance can be reserved inside the wardrobe for underwear, socks, etc.
Drawers in children's rooms should ideally be installed at the bottom of the wardrobe for easy access.
Drawers in elderly people's rooms should not be placed at the very bottom, as they require bending or squatting to retrieve items, which is inconvenient. Installing drawers 1 meter off the ground makes them easier for parents to reach.
The top of the wardrobe is typically used for storing infrequently used blankets and out-of-season clothing; allow 40-50cm of clearance.
05 Other Small Details
To ensure a perfect fit between the wardrobe and the wall,
during the plumbing and electrical phase, request the installer to perform a leveling process on the wall where the wardrobe will be installed. After completion, use a straightedge to check that the error does not exceed 1mm.
Because wardrobe panels are vertical, the wall must also be vertical for the wardrobe to fit snugly against the wall. If the wall isn't vertical, a large gap will appear after installation, requiring sealant to close the gap, which can easily yellow and mold over time.
Besides ensuring a perfect fit on the sides, the top of the wardrobe also needs attention. In some houses, the ceiling is sloping, leaving an unsightly gap after installation.
One solution is to create a small false ceiling before installing the wardrobe, making the ceiling level and allowing the wardrobe top to align perfectly with it.
Following these tips ensures a perfect fit on both the sides and top, eliminating the need for sealant and making it more environmentally friendly.
Actually, doing a good job in renovation isn't difficult; the challenge lies in the meticulousness and patience required at each stage. From basic construction to material selection, design, and installation, each step is interconnected, and mistakes must be avoided to achieve the desired final result.
Subscribe To Our Newsletter
You Can Get The News Of Our Products
SIGN UP
Payment Methods