
 USD
USD GBP
GBP
 EUR
EUR


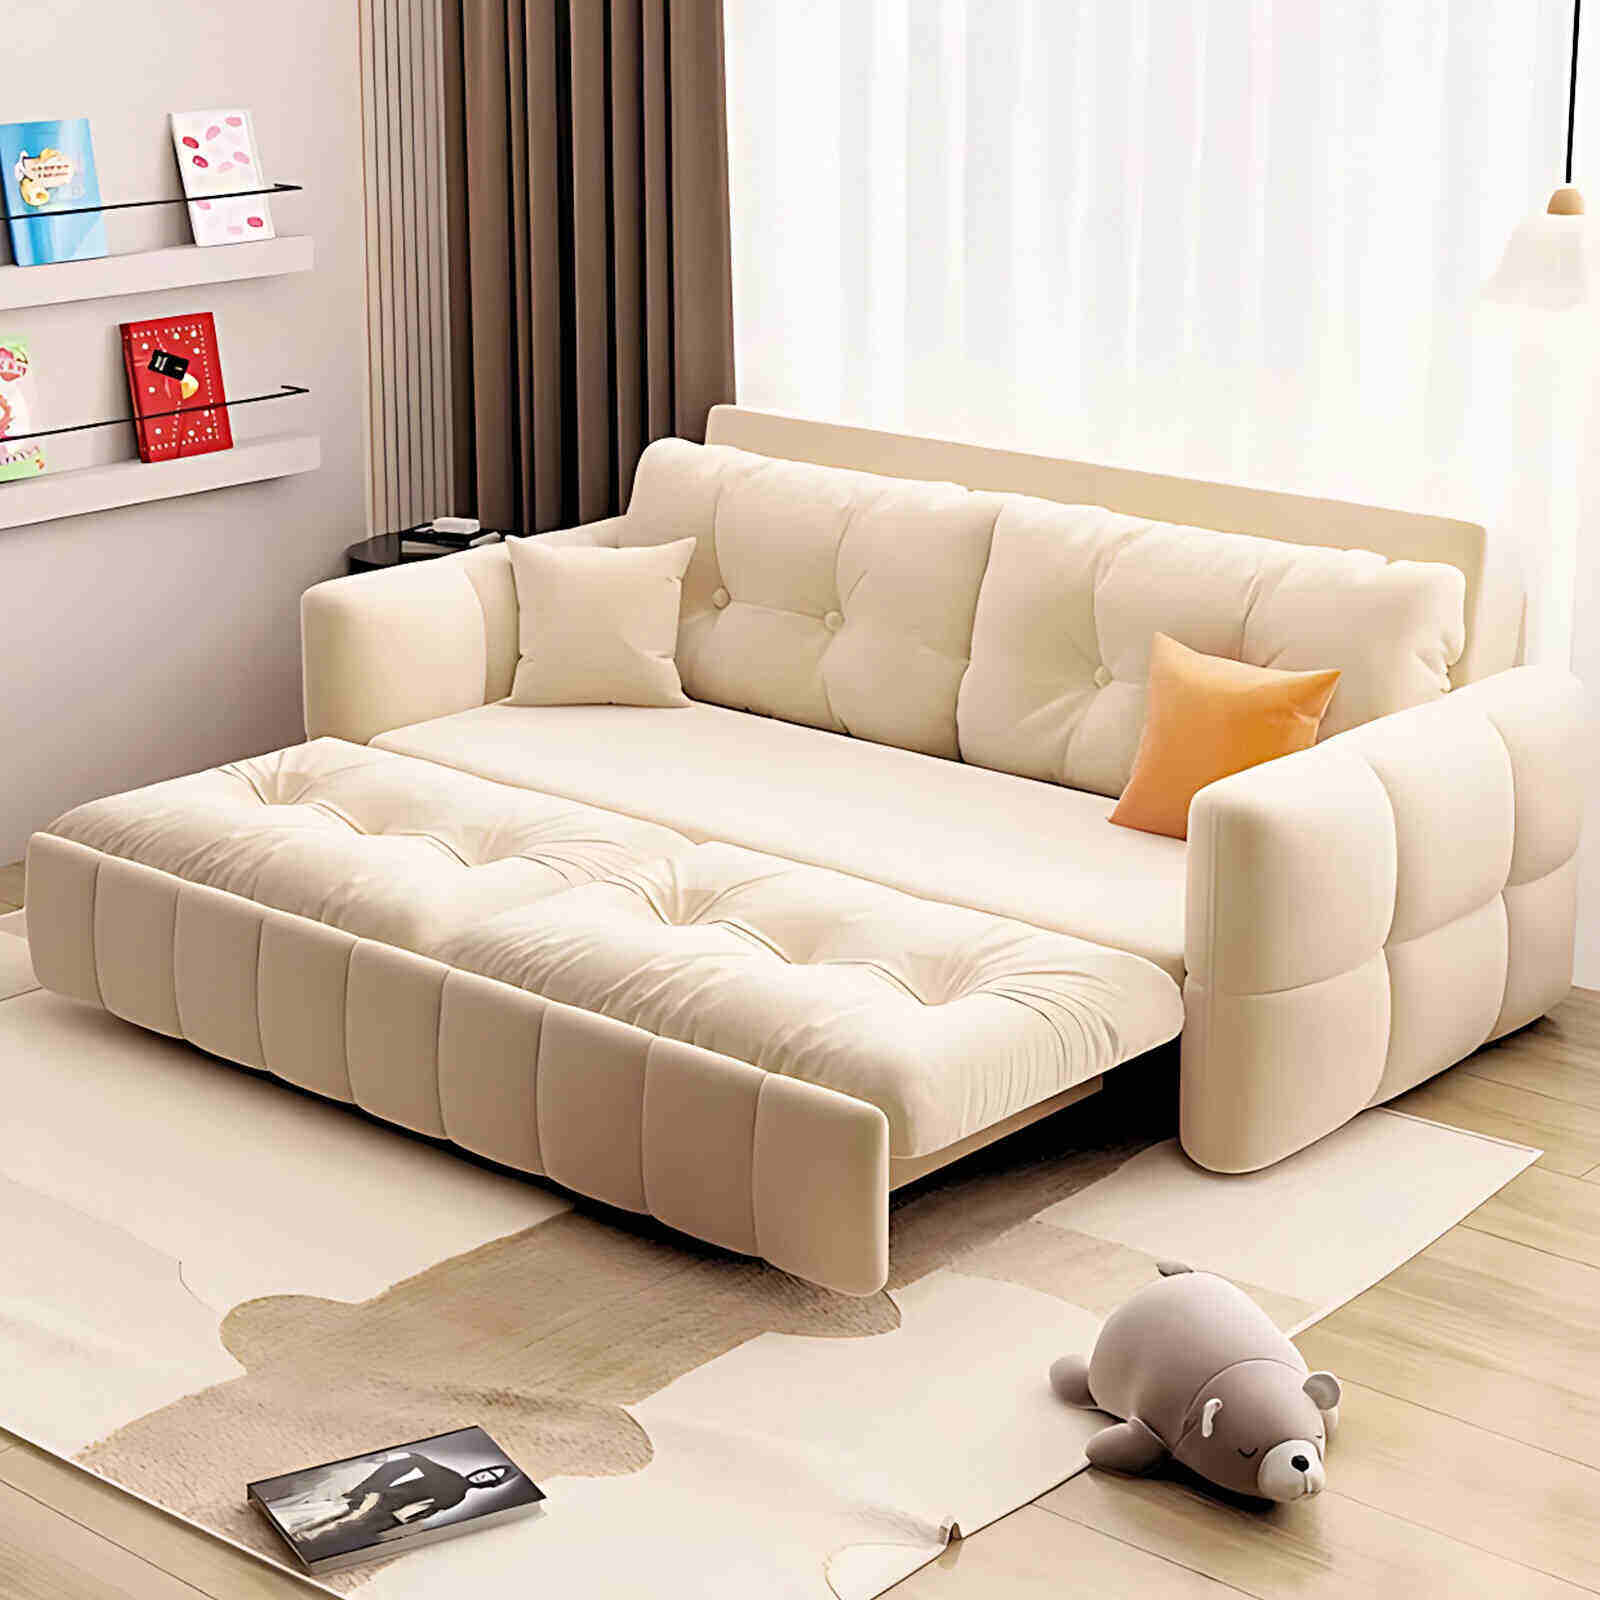


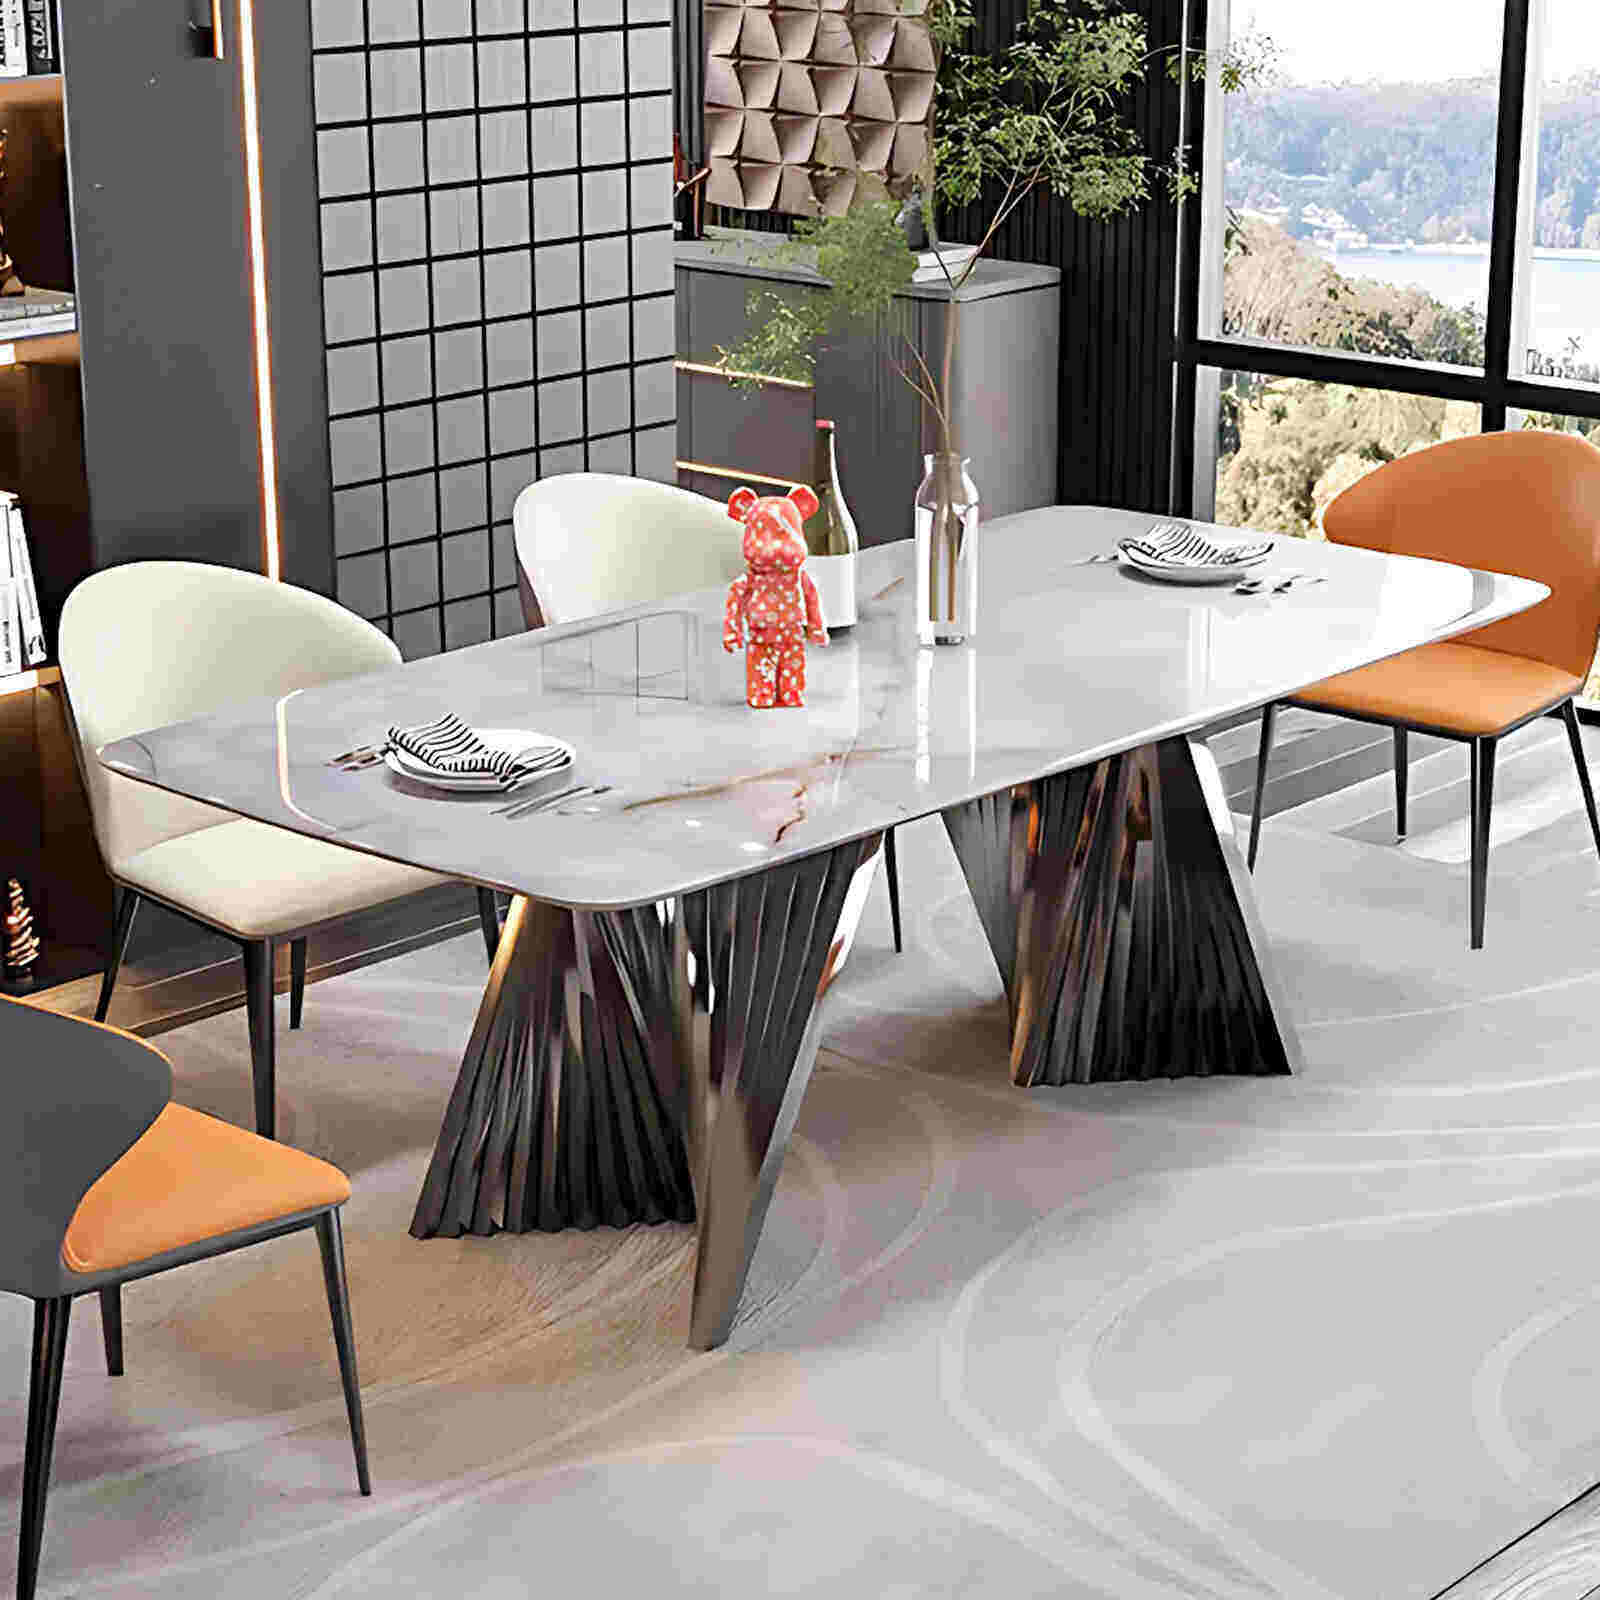


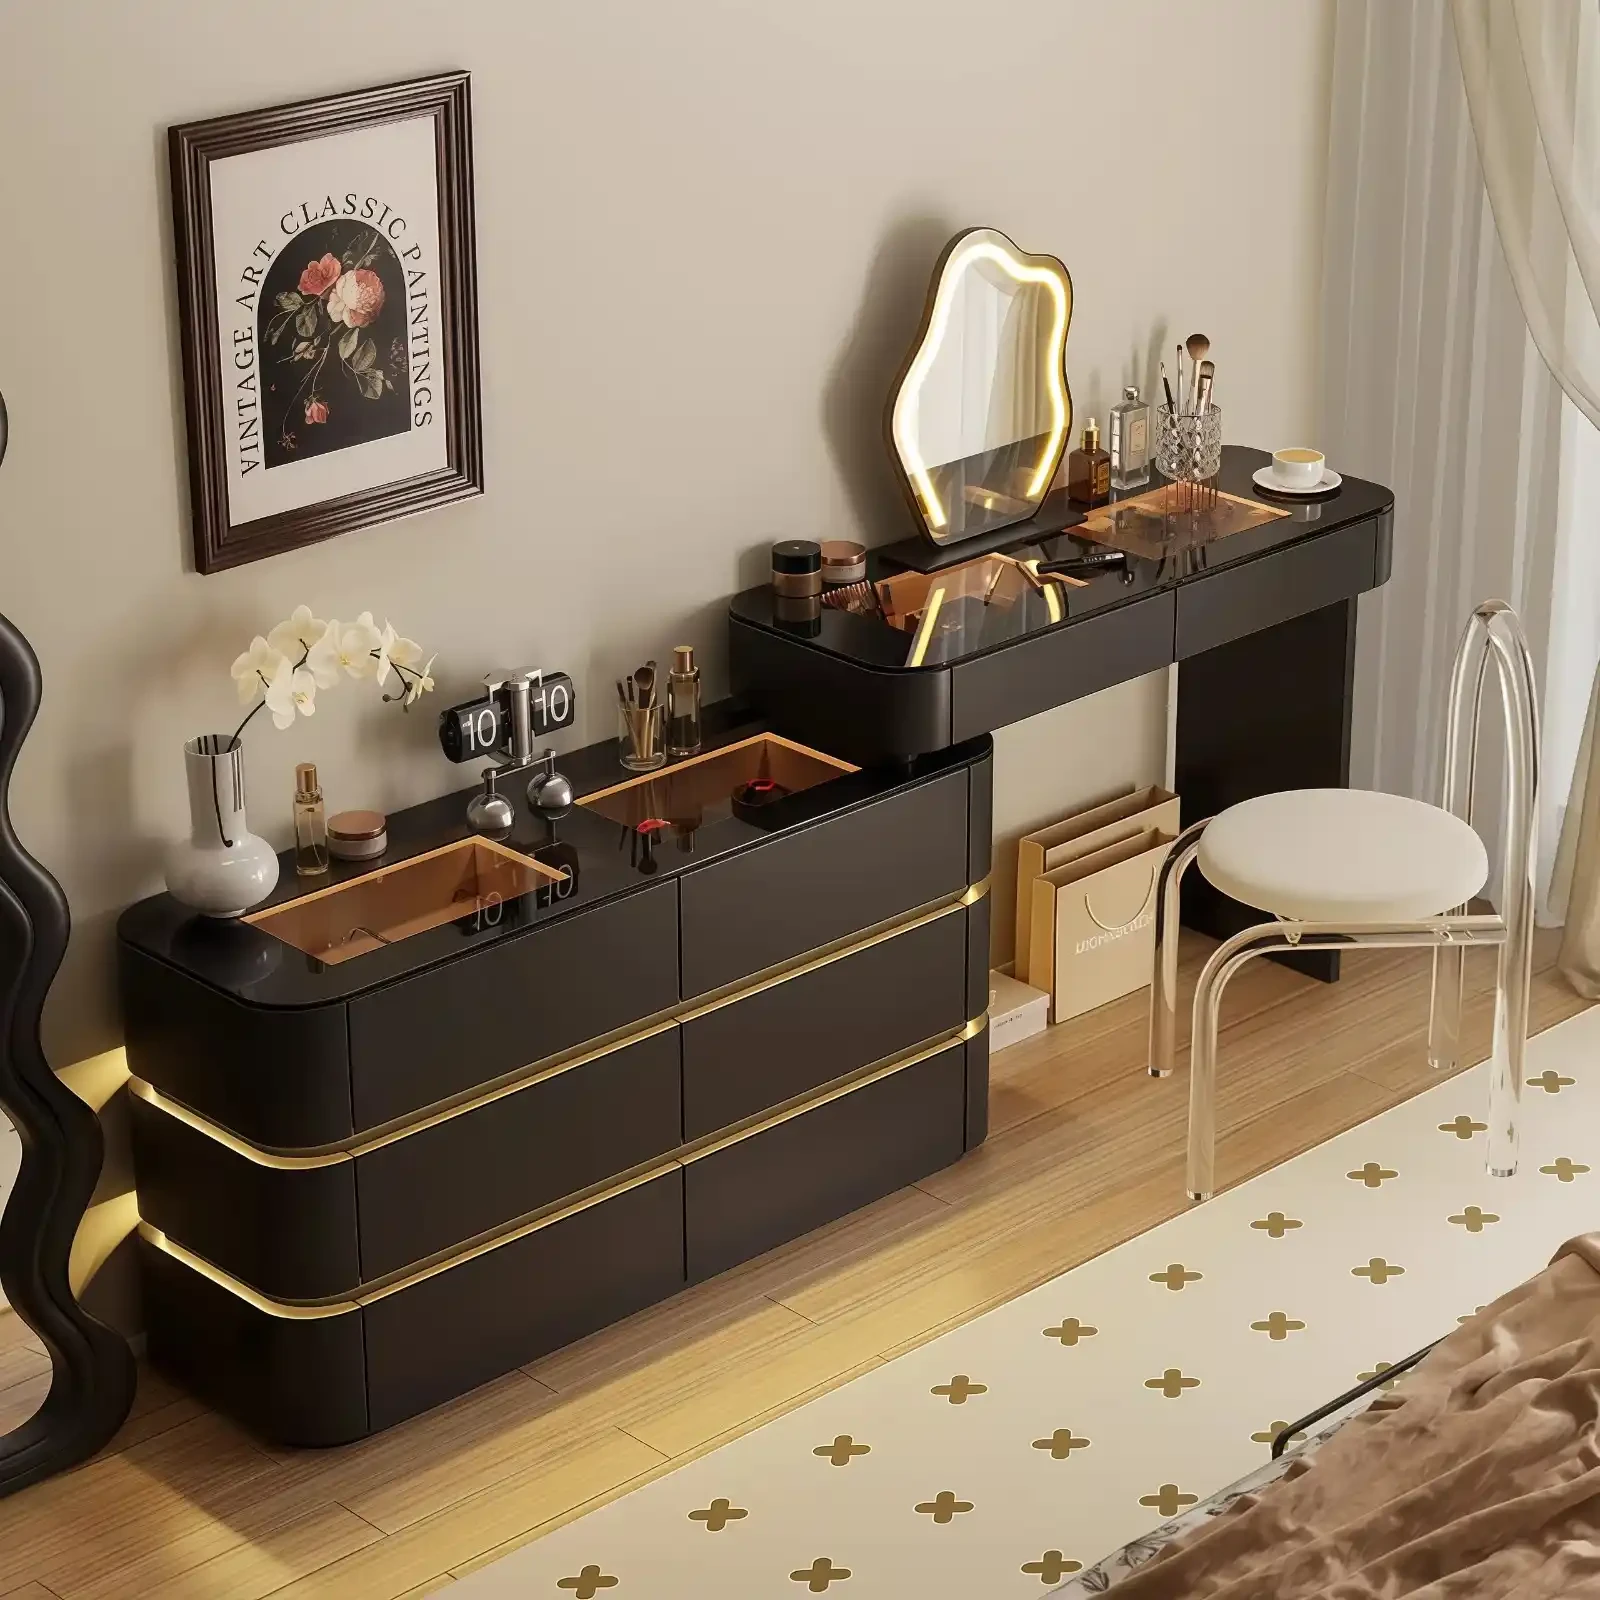


How to Style Your Desk: Tips for a Beautiful and Functional Workspace
Oct 22, 2025
Whether you’re redesigning your bedroom or living room, installing new closet doors can enhance both the functionality and aesthetic appeal of the space, making the effort well worth it. When the period of upgrading your storage solutions arrives, it will be an invaluable expertise to know how to install sliding closet doors, which will allow you not only to save money but also to ensure yourself of having complete control over the end product.
Arranging Your Workplace and Preparing Materials
Before starting any project on how to install sliding closet doors, it’s important to prepare your workspace to make the process smoother and avoid unnecessary complications. Begin by clearing the area around your closet, removing furniture, decorations, and anything that could obstruct the installation.
Measure the closet opening carefully—both width and height—so you can ensure the doors you purchase fit perfectly. Inspect the closet frame for any damage, warping, or structural issues that need to be addressed before installation. Finally, clean the floor beneath the bottom track, removing debris, old adhesive, or uneven surfaces that could prevent the doors from operating properly once installed.
Fitting of Upper and Lower Track System
The track system is the rail that your sliding doors ride on, and thus proper track system installation is a very important aspect in ensuring proper and smooth running of the doors over a period of many years of day-to-day use. The first thing to do is to put the top track at the top of the hole in your closet and check by eye with a carpenter's level whether it is in the right place in many positions.
Draw out the location of your holes and pilot holes with a pencil to ensure that they do not splinter the wood as you tighten the screwdriver that secures the mounting pieces. Fit the upper track into the header with the assistance of adequate screws, which must be long enough to provide enough support to the load of your doors. In the bottom track setup, measure accordingly so that the bottom track will be in a straight line with the upper track to have your doors running in a smooth and straight line.
Now we will insert this track into the floor using the suggested fasteners in such a way that the lower rail is firmly in place on the floor, ensuring that all fasteners or sealant that was applied is swept away and will not allow the door to operate abnormally.
The Installation and The Mounting of Your Sliding Door
Having now put both tracks in place, it is time to begin the task of hanging your doors, a process that is very tedious and requires much patience, accuracy, and the aid of an additional pair of hands. Pull the first door panel off and bend the rollers up into the upper track channel (you may need to be particularly careful not to scratch or otherwise damage the door surface when performing this trick). Once the top rollers have been placed in the upper track, you need to air the door down a little until the bottom rollers match up on the lower track (the door must be erect).
Do the same with all the door panels and ensure that the door is spaced and overlaps properly as per the specifications of the manufacturer. After the doors are all hung, check the travel of the door by pushing and pulling it back and forth a couple of times, and note where it can get stuck, drag, or not move freely.
Individualization of the Door Open and Operate
When precise alignment is required, focus on adjusting the roller mechanism, which usually features adjustment screws to raise or lower each corner individually. Turn each screw gradually, one small turn at a time, and test the door movement after each adjustment to monitor progress.
Make sure all doors are square by placing a level against the surface and correcting any leaning or tilting. The doors should fit snugly against the door jams and overlap adjacent panels to ensure a clean, professional appearance when closed. Continue testing the sliding doors during adjustments, moving them back and forth several times to identify and address any remaining issues before considering the project complete.
Installation of Finishes and Hardware
As soon as the ideal fit and smooth operation are accomplished, door handles/pulls will take up the functional part of your project and the design component of your room. Your handles should be at a convenient height, which is typically waist height, and in visible marks on the door to make the panels consistent with all the panels. Drill holes to fit the handle screws with corresponding drill bits, and take care not to drill holes into the material of the door or drill holes that are bigger than the material will fit.
Install floor guides (assuming you have them with your door system); be sure to get these lowly guides so adjustable that the bottom of the doors will follow along just where they should when you are using the door. Wipe the entire surface of the doors so that the fingerprints, dust, or even residues of the installation are eliminated to present the beautiful finish that will complete the decoration of your room.
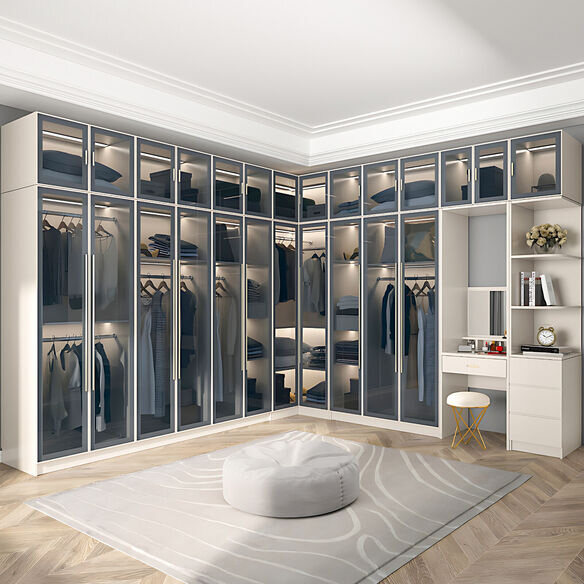
The Suncharm Grand Magnificent Custom Wardrobes with Gold Luxury Border Design Armoire are the ultimate wardrobes of the selective homeowner, which are not only elegant but also unmatched with functionality. The high-quality appearance of such top-tier units is a masterpiece in its own right, featuring gold-lined borders that can give any bedroom or dressing room a sense of glamour and the sliding door system that ensures a smooth and space-saving process. Tailored: The wardrobes are customizable, and the dimensions, interior designs, and finish options can be tailored to suit your storage requirements and interior design preferences, and are therefore an excellent choice when one wishes to add some beauty and functionality to their furniture investment.
Recommendation
Suncharm offers products that combine functionality with elegant design, enhancing any home while leaving a lasting impression. With a wide range of styles, finishes, and configurations to suit diverse needs and personal preferences, their extensive selection ensures every customer can find the perfect solution for their home improvement projects.
Subscribe To Our Newsletter
You Can Get The News Of Our Products
SIGN UP
Payment Methods