
 USD
USD GBP
GBP
 EUR
EUR


Built-in Wardrobes Prices Explained for Smart Buyers
Aug 23, 2025
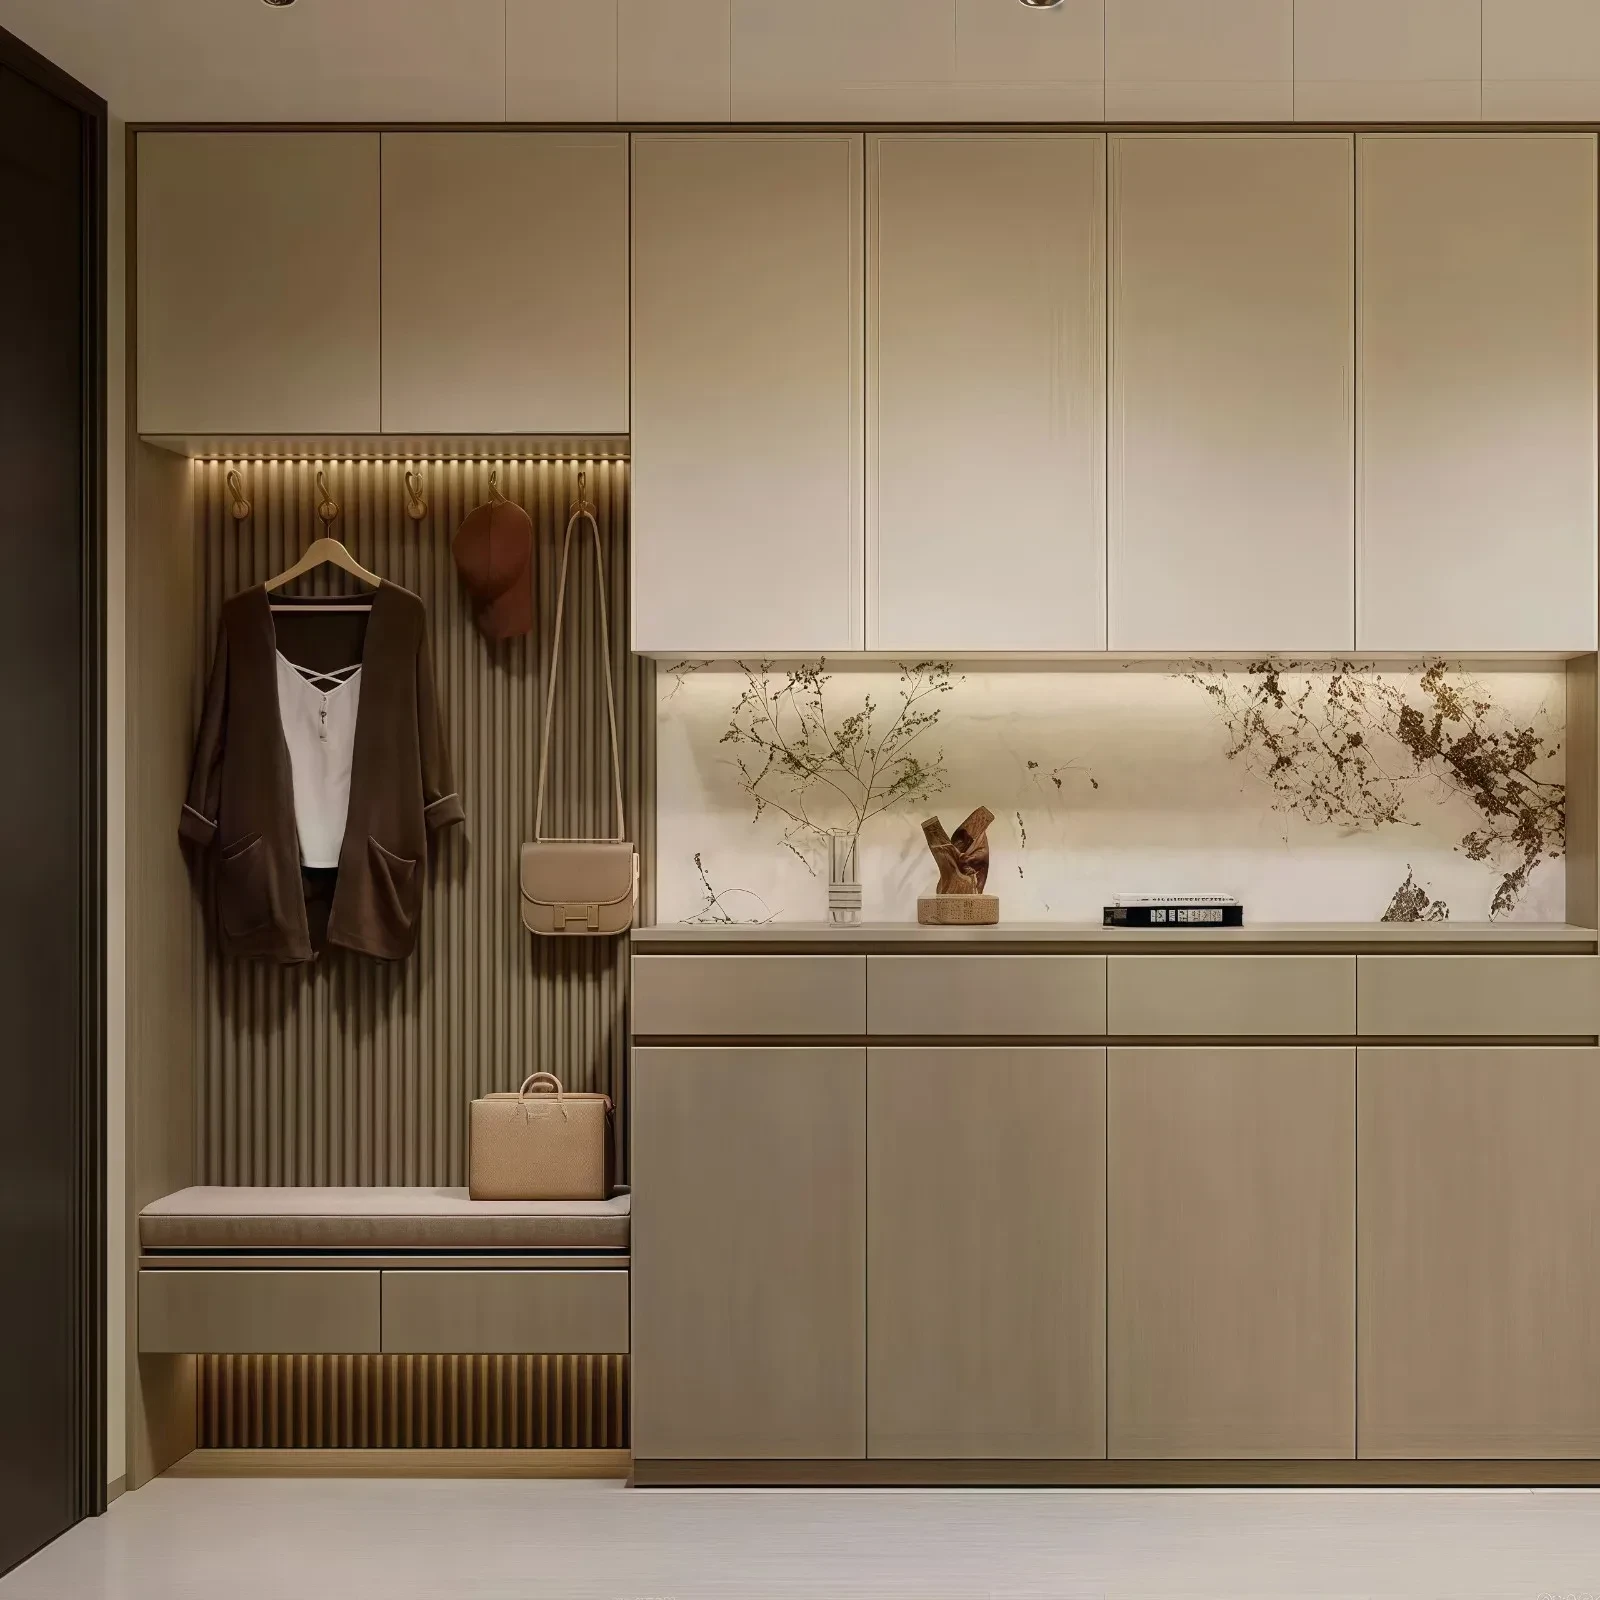
Dressing rooms aren't exclusive to large apartments; even small ones can easily create their own! With less than 3 square meters, you can make this dream a reality. Let's explore how to easily create a mini dressing room for under 1,000 yuan.
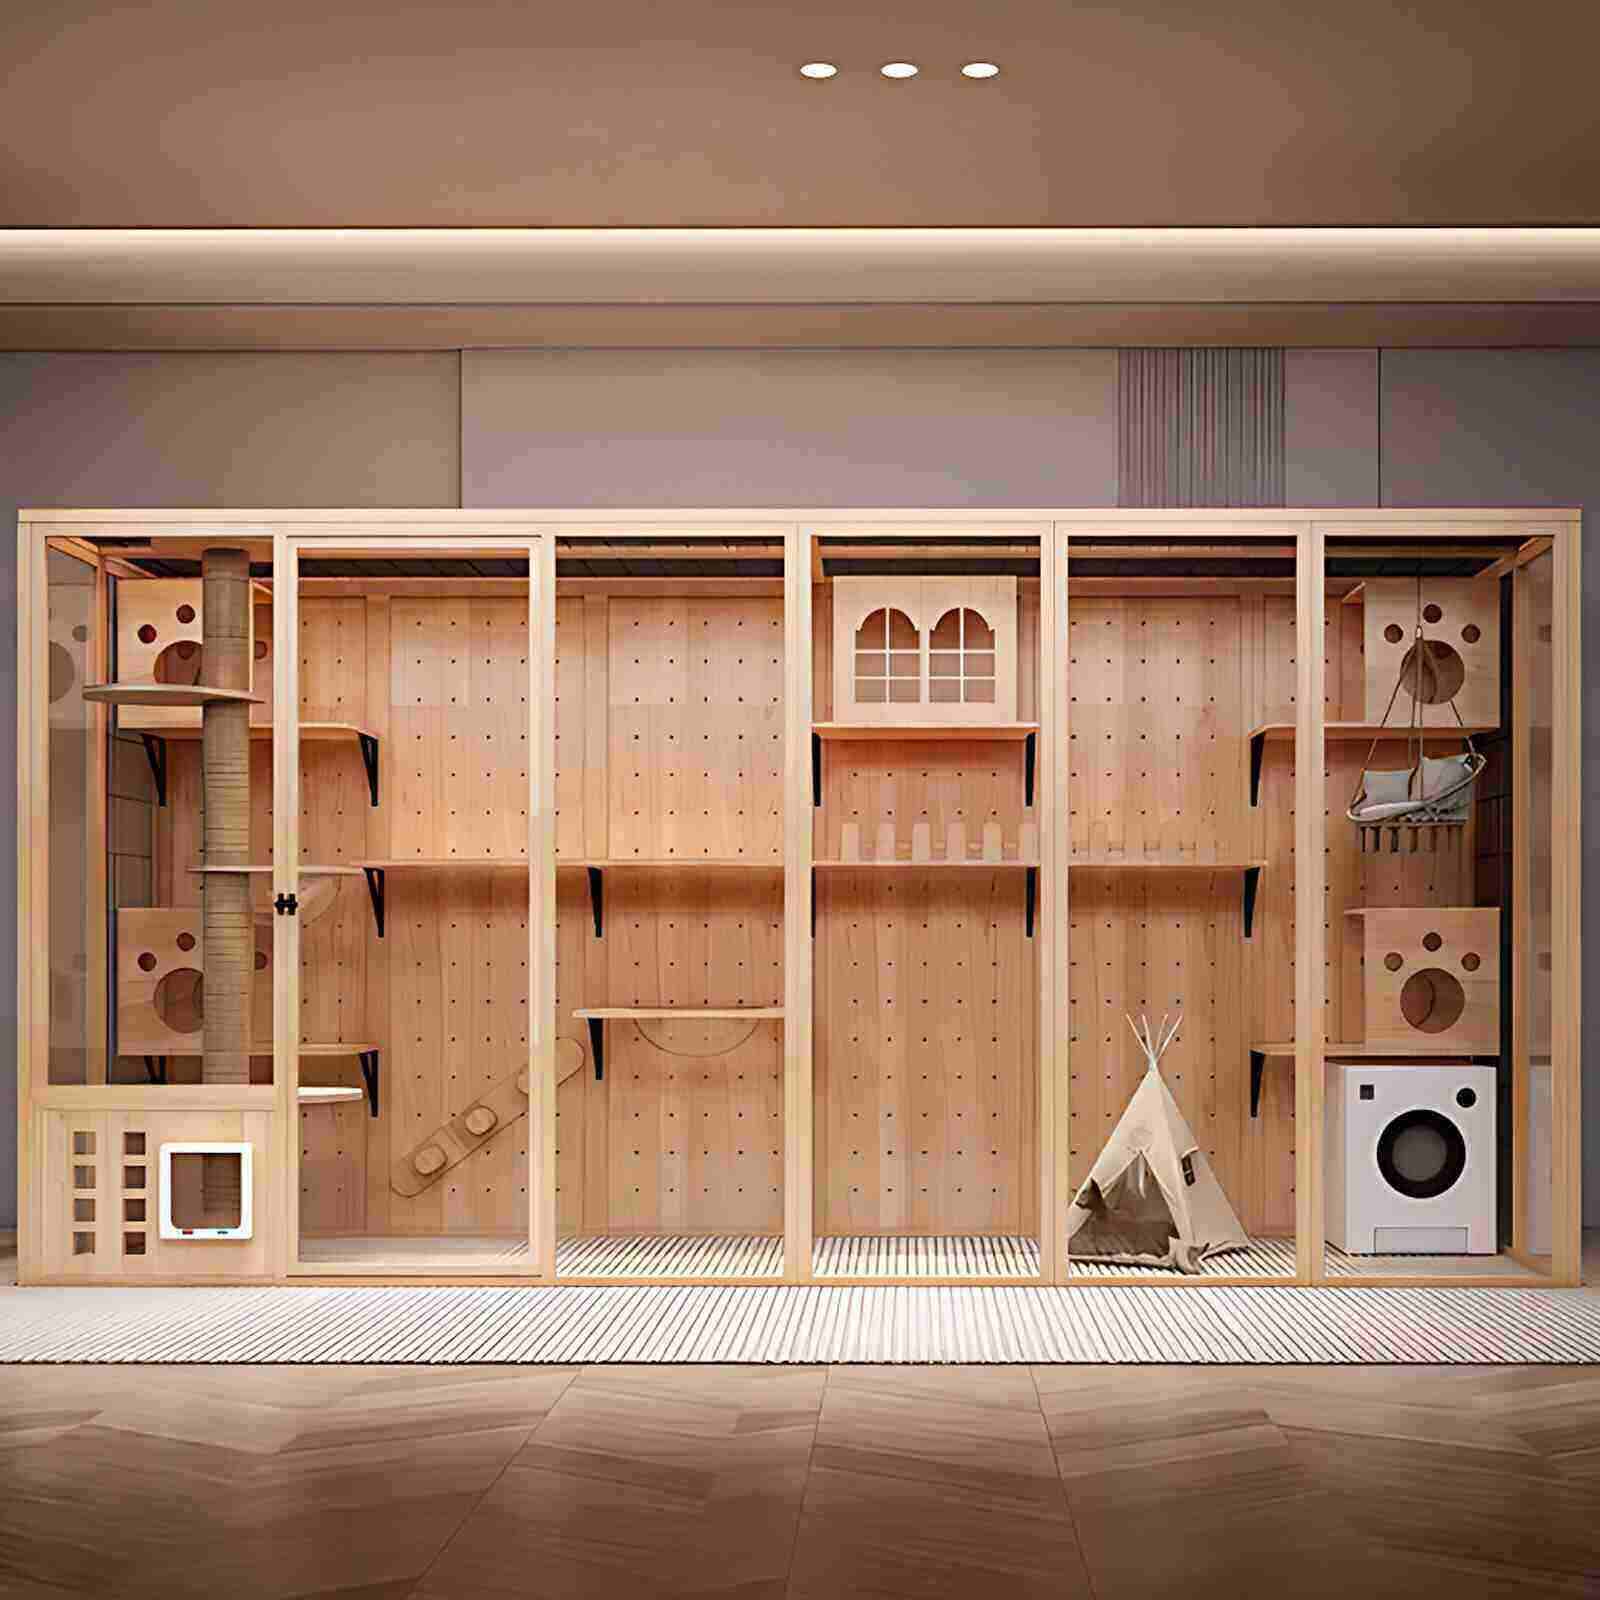
Detailed Explanation of Small Dressing Room Dimensions
Our dressing room is small, approximately 3 square meters in size. Typically, such a space would be divided into two sections, one for the second bedroom and one for the master bedroom. However, since our second bedroom already has a tatami mat design for storage, we decided to transform it into a small dressing room. Despite the limited space, through clever design and renovation, it still meets our basic needs, creating a cozy and practical clothing storage space.
You can refer to the attached dimension diagram. The bottom section is designed as a hanging area, designed for our child's use during childhood, allowing her to easily select and organize her own clothes, thereby cultivating her independent thinking skills. The height of the long clothing area is determined by the length of my coat. The top shelf is used for large suitcases, while the bottom shelf is suitable for everyday luggage. When planning these areas, you can adjust the dimensions to suit your needs. Remember to consider the dimensions of the clothes rails and hangers when determining the dimensions to ensure optimal space utilization. (For example, I neglected to consider the hanger dimensions during my planning, resulting in a slightly cramped second shelf.)
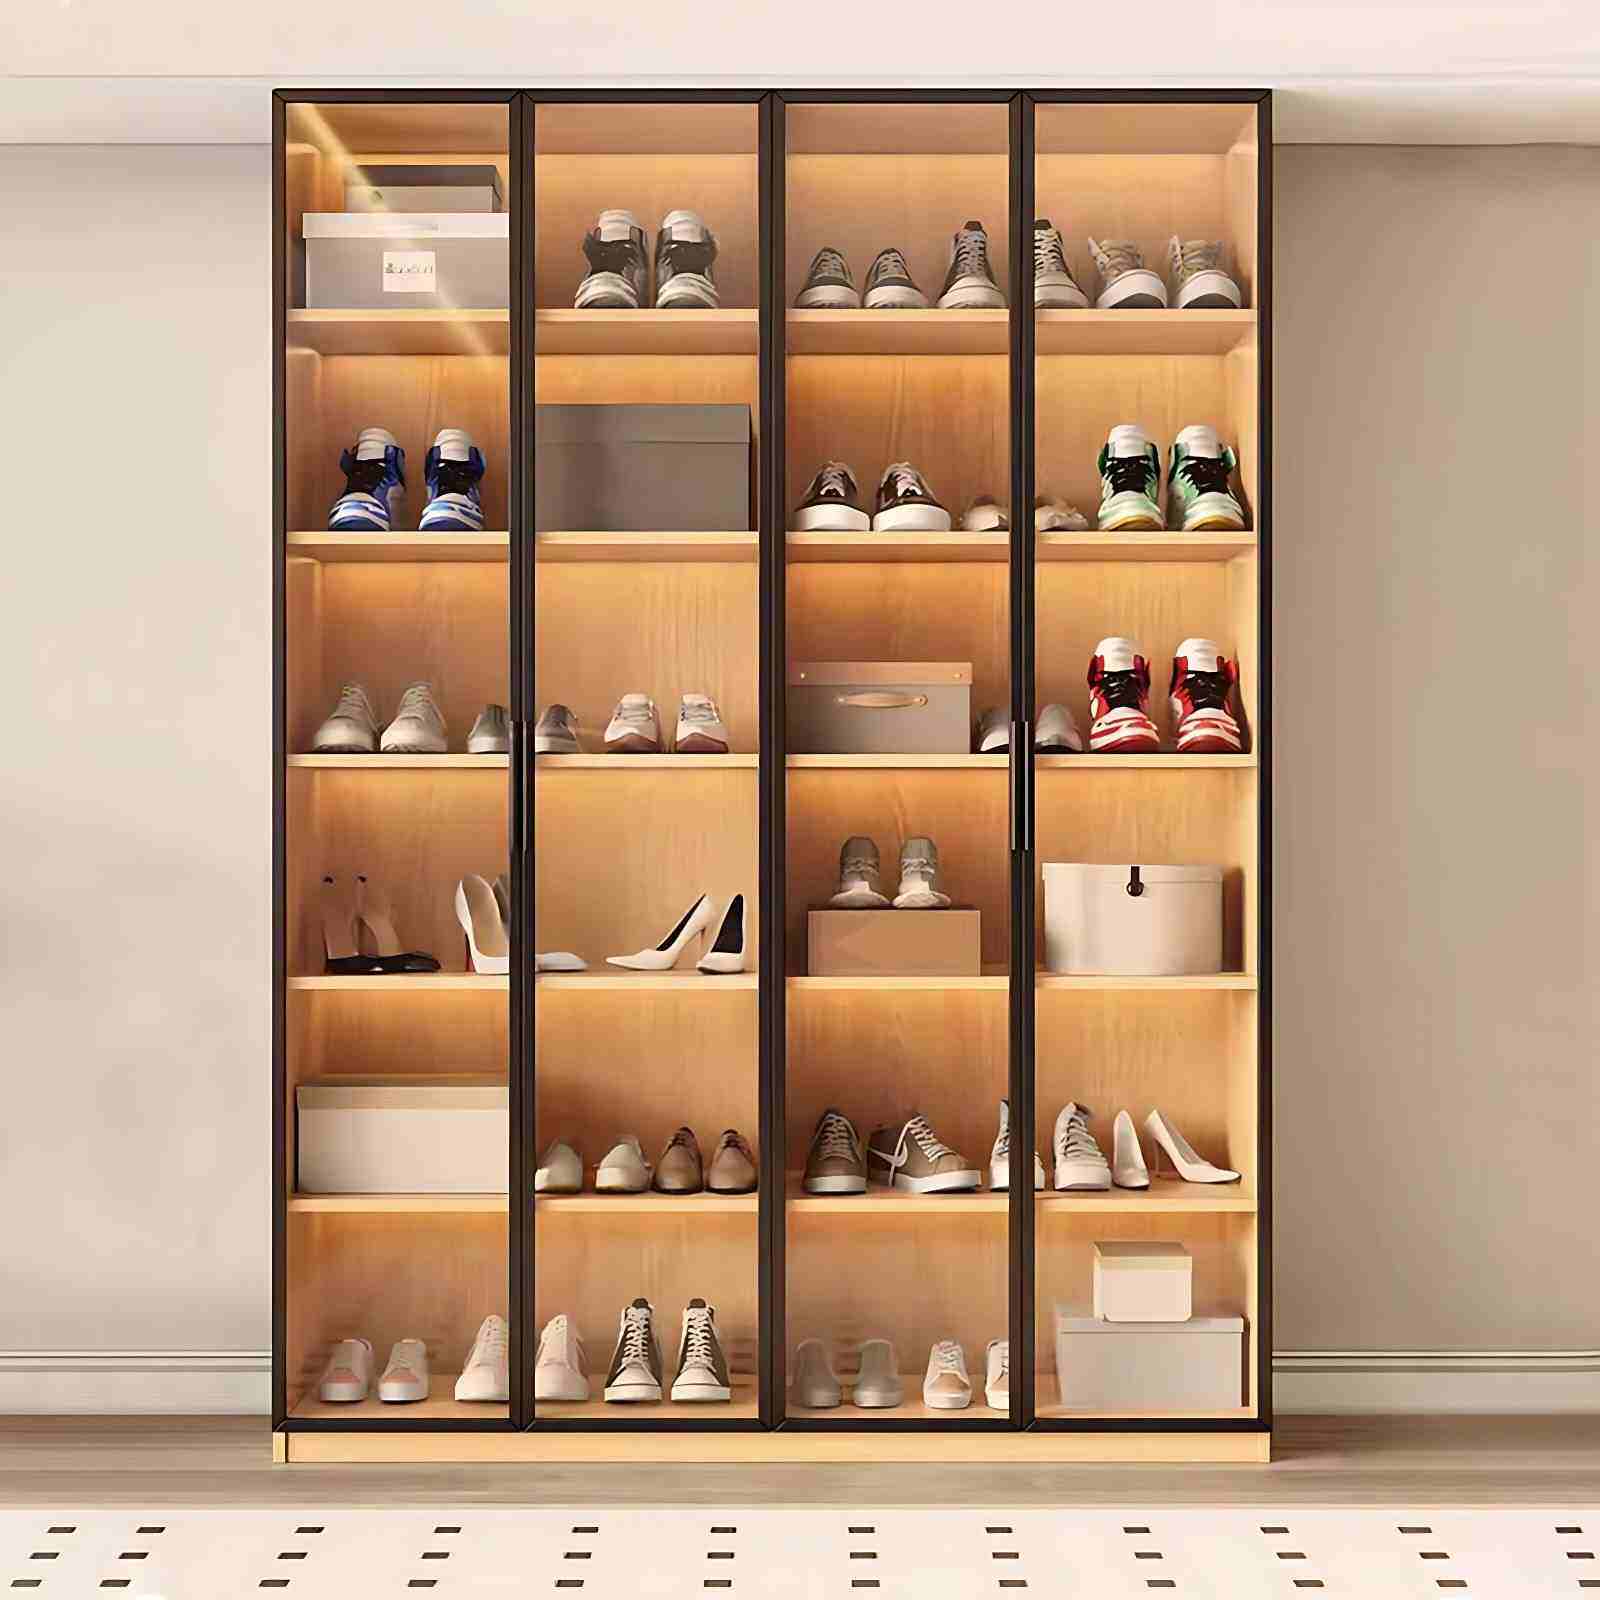
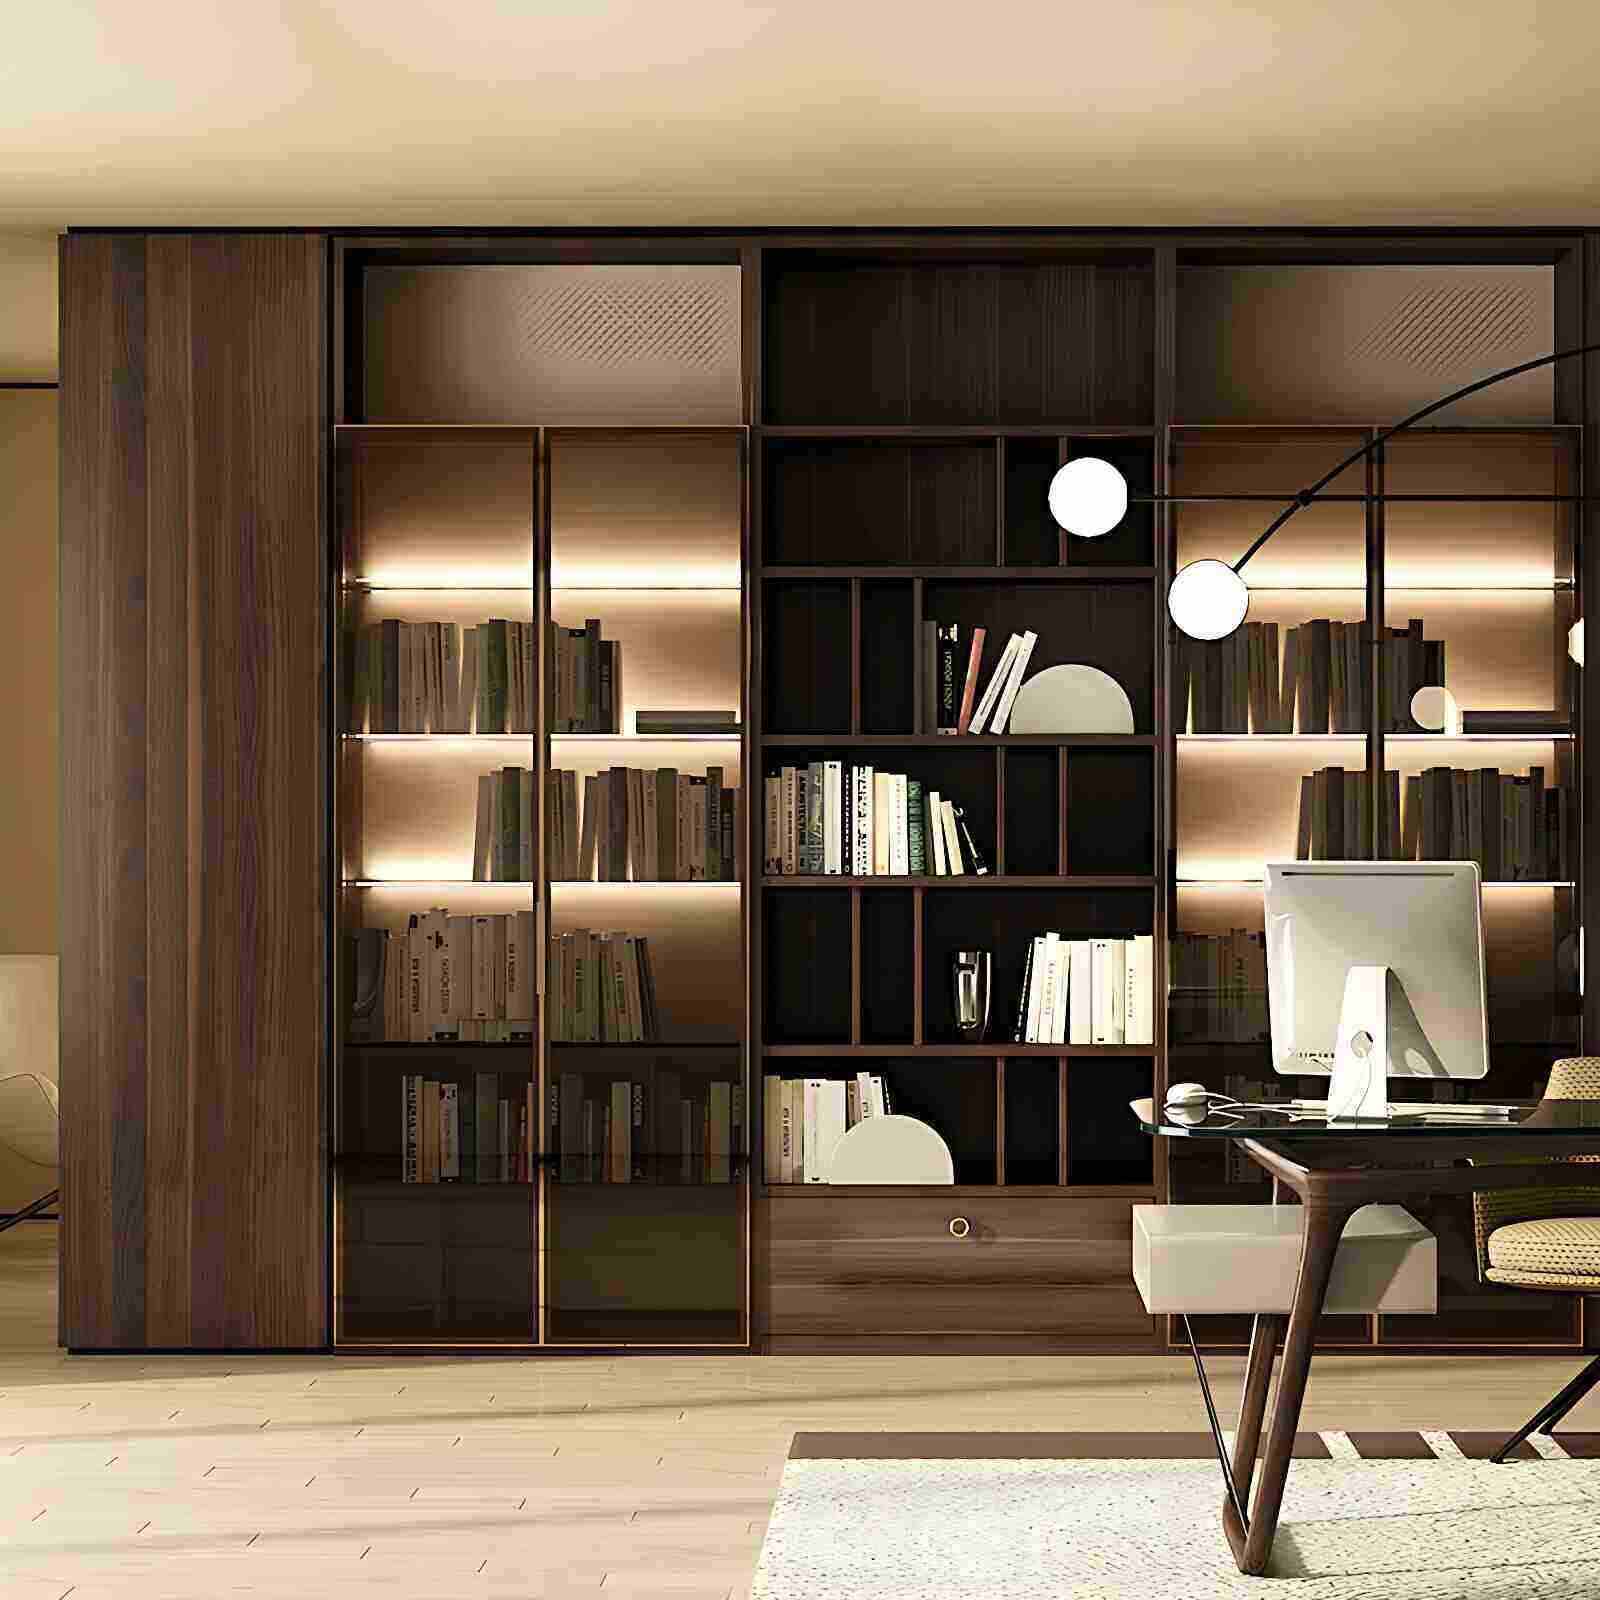
Wardrobe Installation Details
This wardrobe features ash wood panels, while the interior structure is crafted from two sheets of fir wood core. The panels are 4 cm thick and 55 cm deep, ensuring both stability and practicality. During installation, wooden strips are first nailed horizontally into the wall to support the blockboard. Two pre-faced blockboards are then securely placed on the strips. The sides are then carefully edge-sealed with ash wood trim. Finally, a coat of wood wax oil is applied to enhance the surface gloss and durability.
Many people worry about dust in open wardrobes. However, after three years of use, I've found the dust level to be acceptable. Since I use a dryer for laundry and have a robot vacuum, I primarily hang clothes I wear regularly on the outside of the wardrobe, while seasonal items are stored securely in dust bags. This effectively eliminates the dust problem.
The side walls are also carefully designed, combining wood and drywall, finished with latex paint. This design is repeated throughout the entire closet, creating a unified and harmonious look. In my home, the latex paint is applied after the carpentry is complete. Finally, a coat of wood wax oil is applied for protection (a detailed tutorial will be provided later if you're interested).
Regarding load-bearing capacity, my children often sat and played on the middle shelf when they were young, and after three years of use, the clothes rail and shelves remain straight, with no signs of bending.
For lighting, I chose three 3700k spotlights, which are more than adequate for daily lighting needs. In addition, in order to take into account the possible addition of curtains in the future, the L-shaped wooden support inside the ceiling near the spotlights has been strengthened to ensure worry-free load-bearing.
Subscribe To Our Newsletter
You Can Get The News Of Our Products
SIGN UP
Payment Methods