
 USD
USD
 GBP
GBP
 EUR
EUR


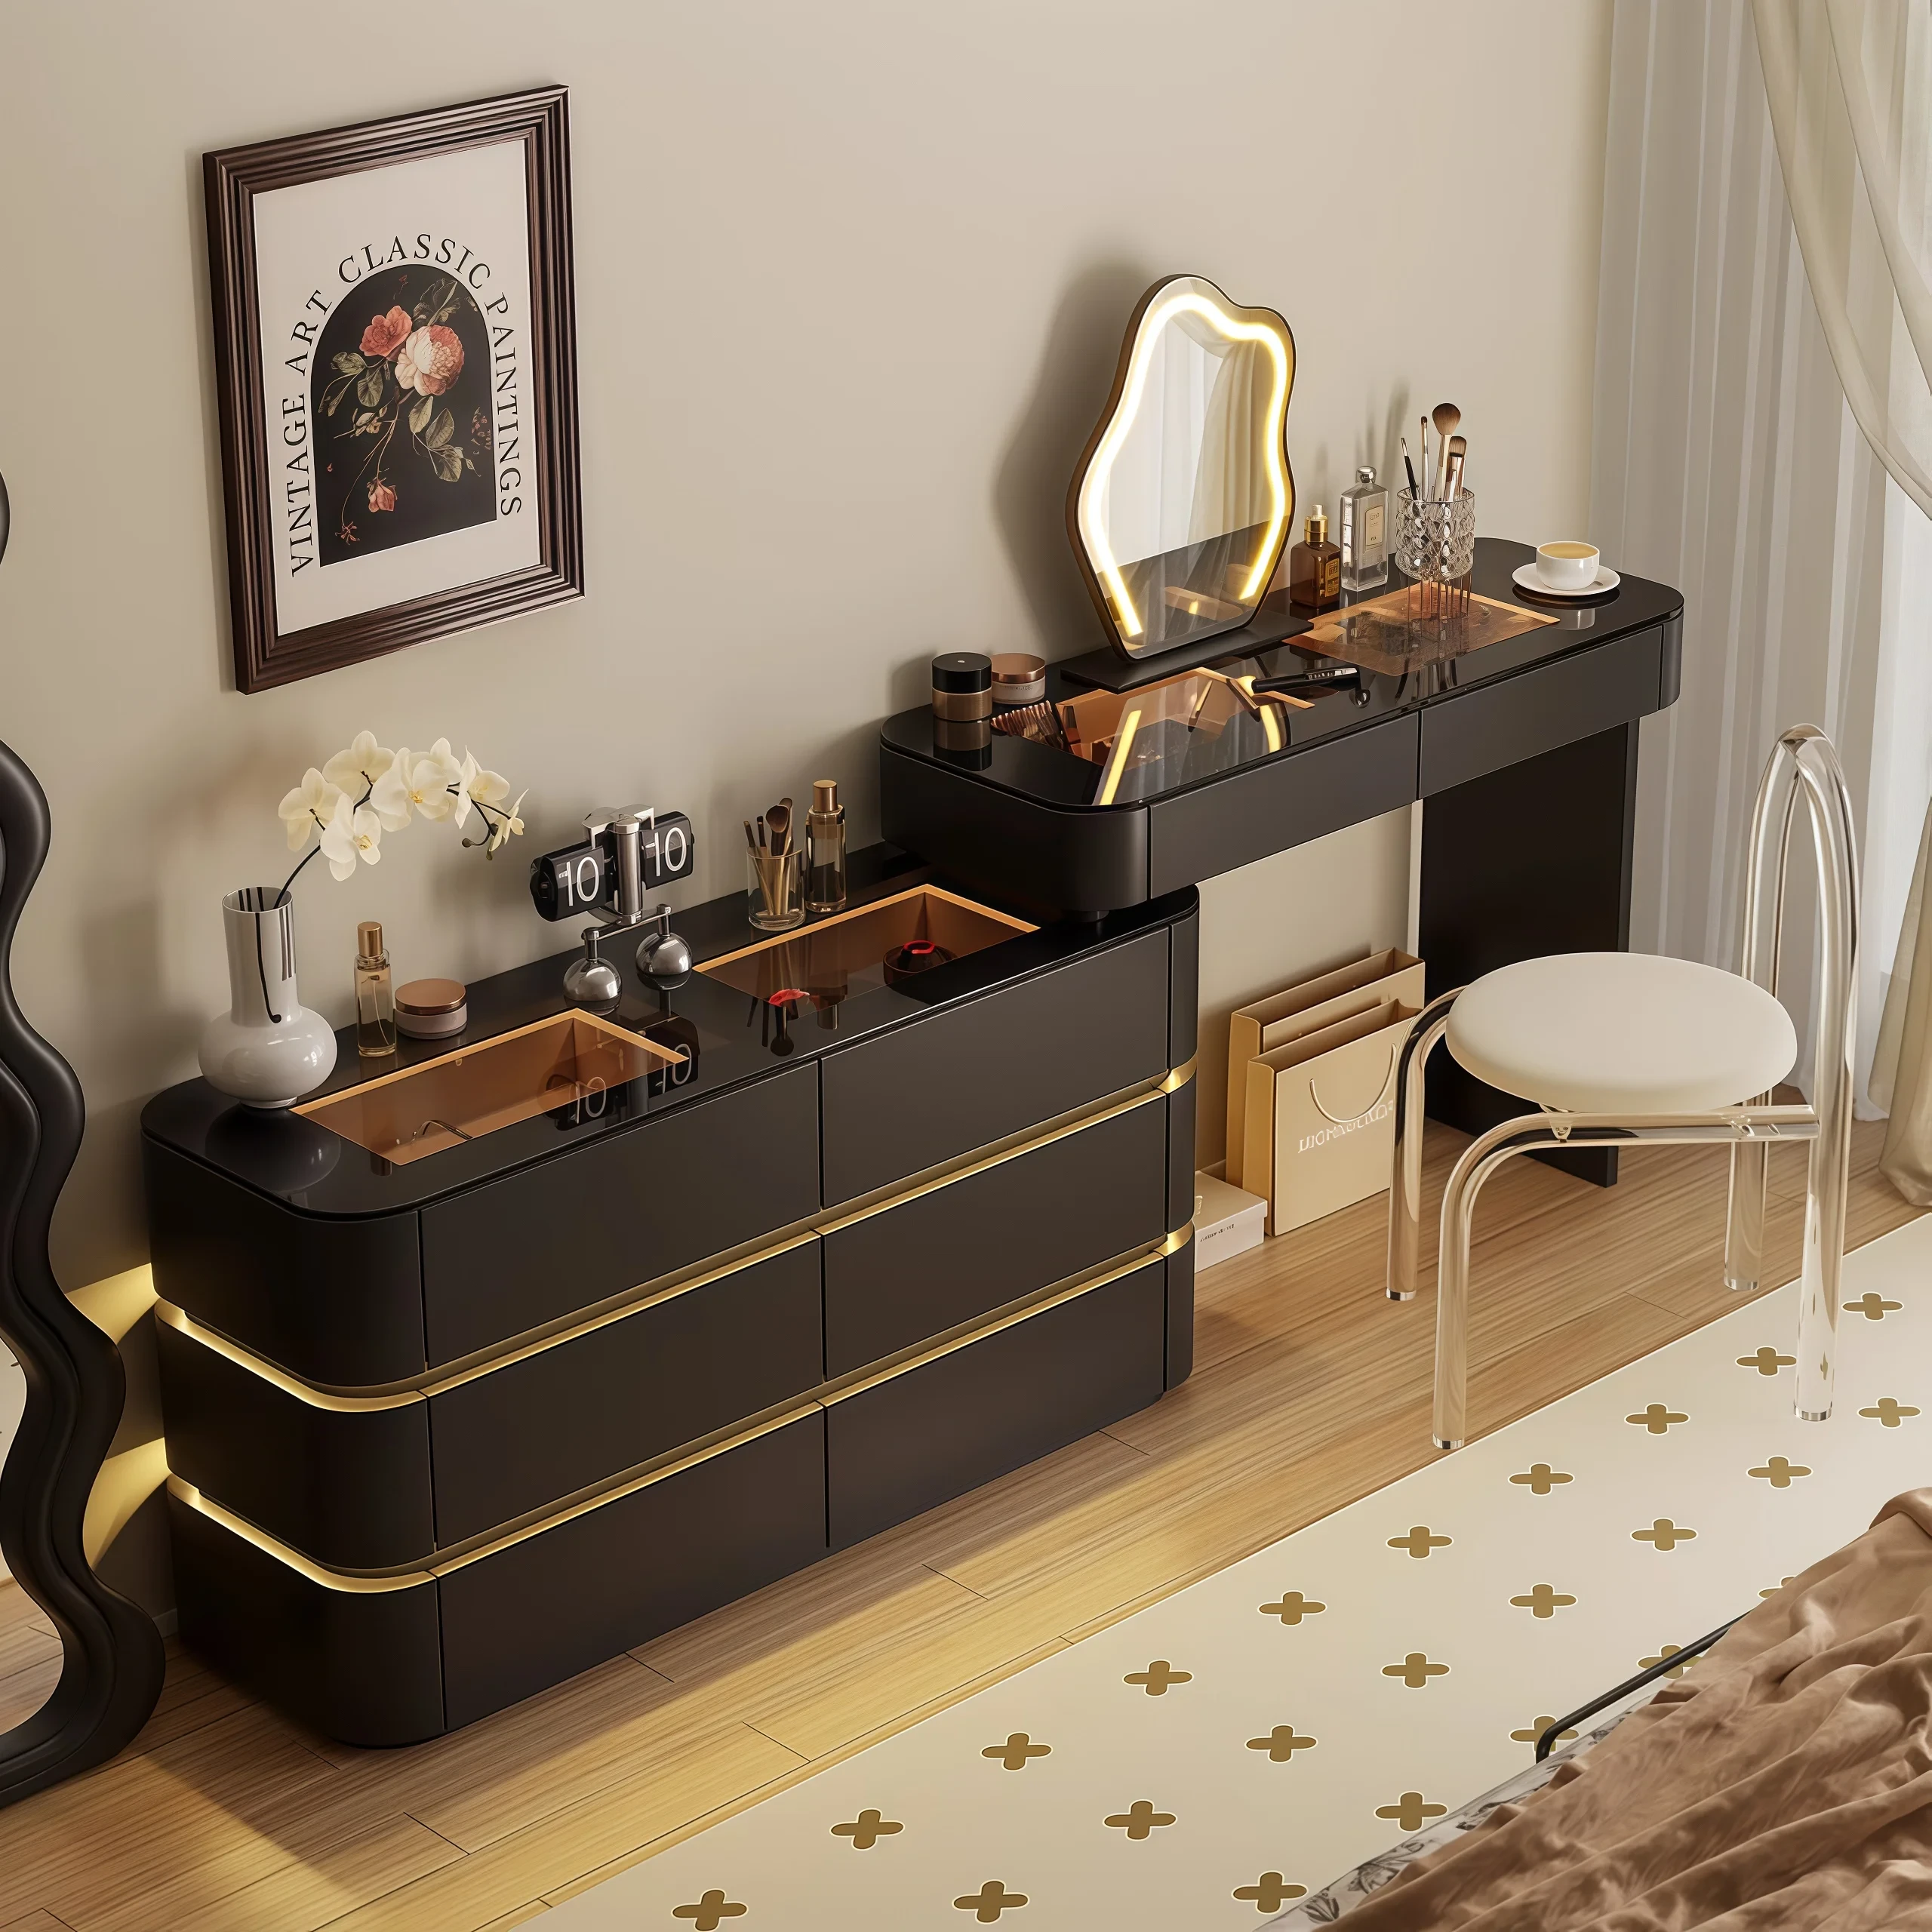

1. What is UV coating process?
UV paint stands for Ultraviolet Curing Paint. It's also known as photoinitiated paint or light-curing paint. UV paint is named after the curing method used. It's applied automatically by roller or curtain coating onto furniture panels. Ultraviolet light (wavelength 320-390nm) decomposes the initiator, generating free radicals that trigger a reaction in the resin (a benzene- and aldehyde-free paint), instantly curing it into a film. This process is known as UV curtain coating.
2. Advantages of UV coating process
√ Environmentally friendly, healthy and does not fade
UV instant curing paint film, does not contain formaldehyde or xylene.
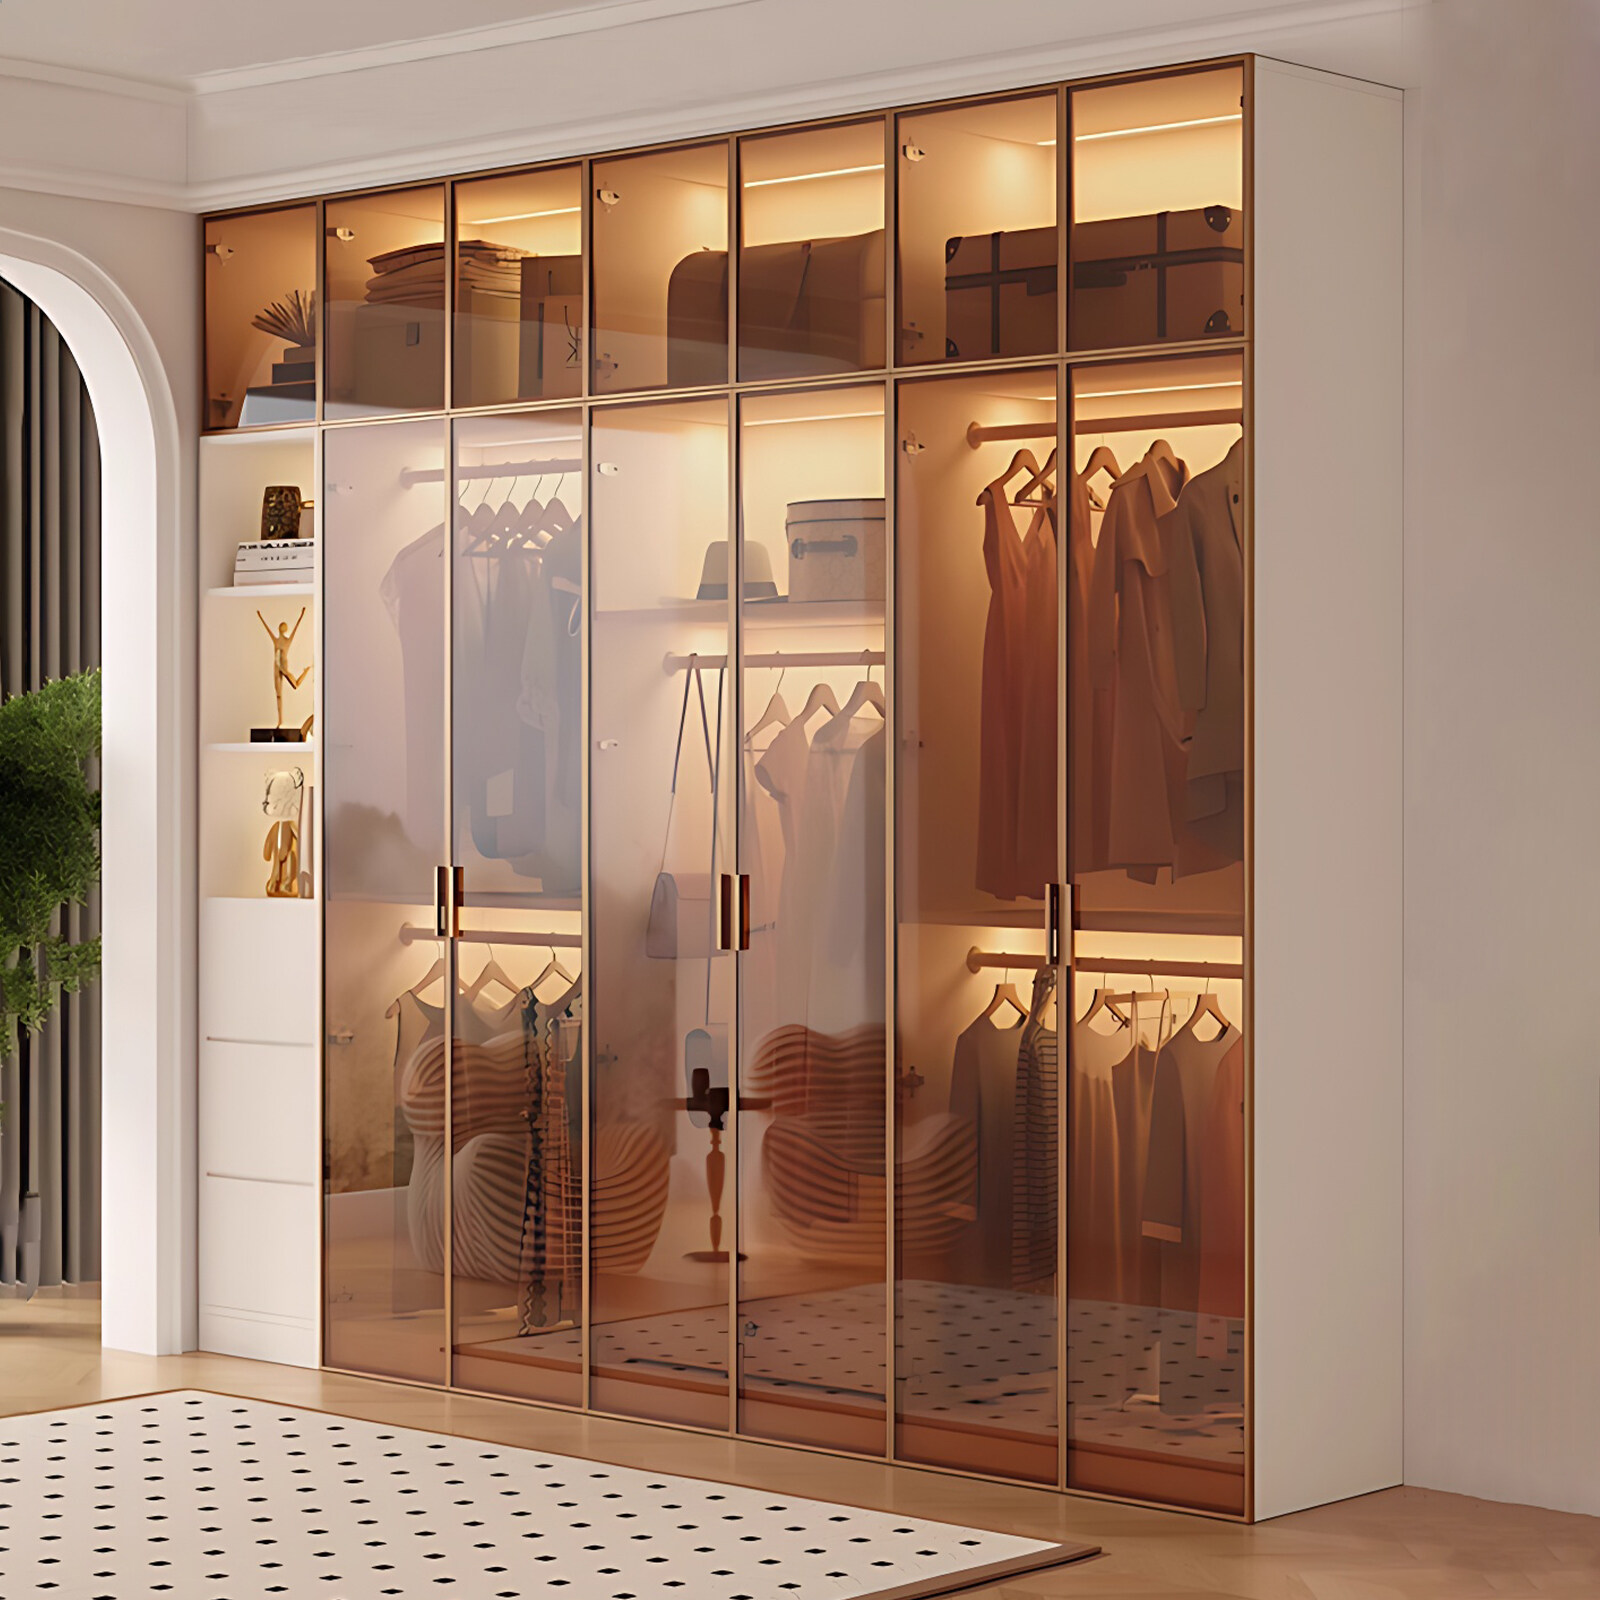
√ Strong, wear-resistant and easy to maintain
Strong anti-fouling ability, acid and alkali resistance, and corrosion resistance.
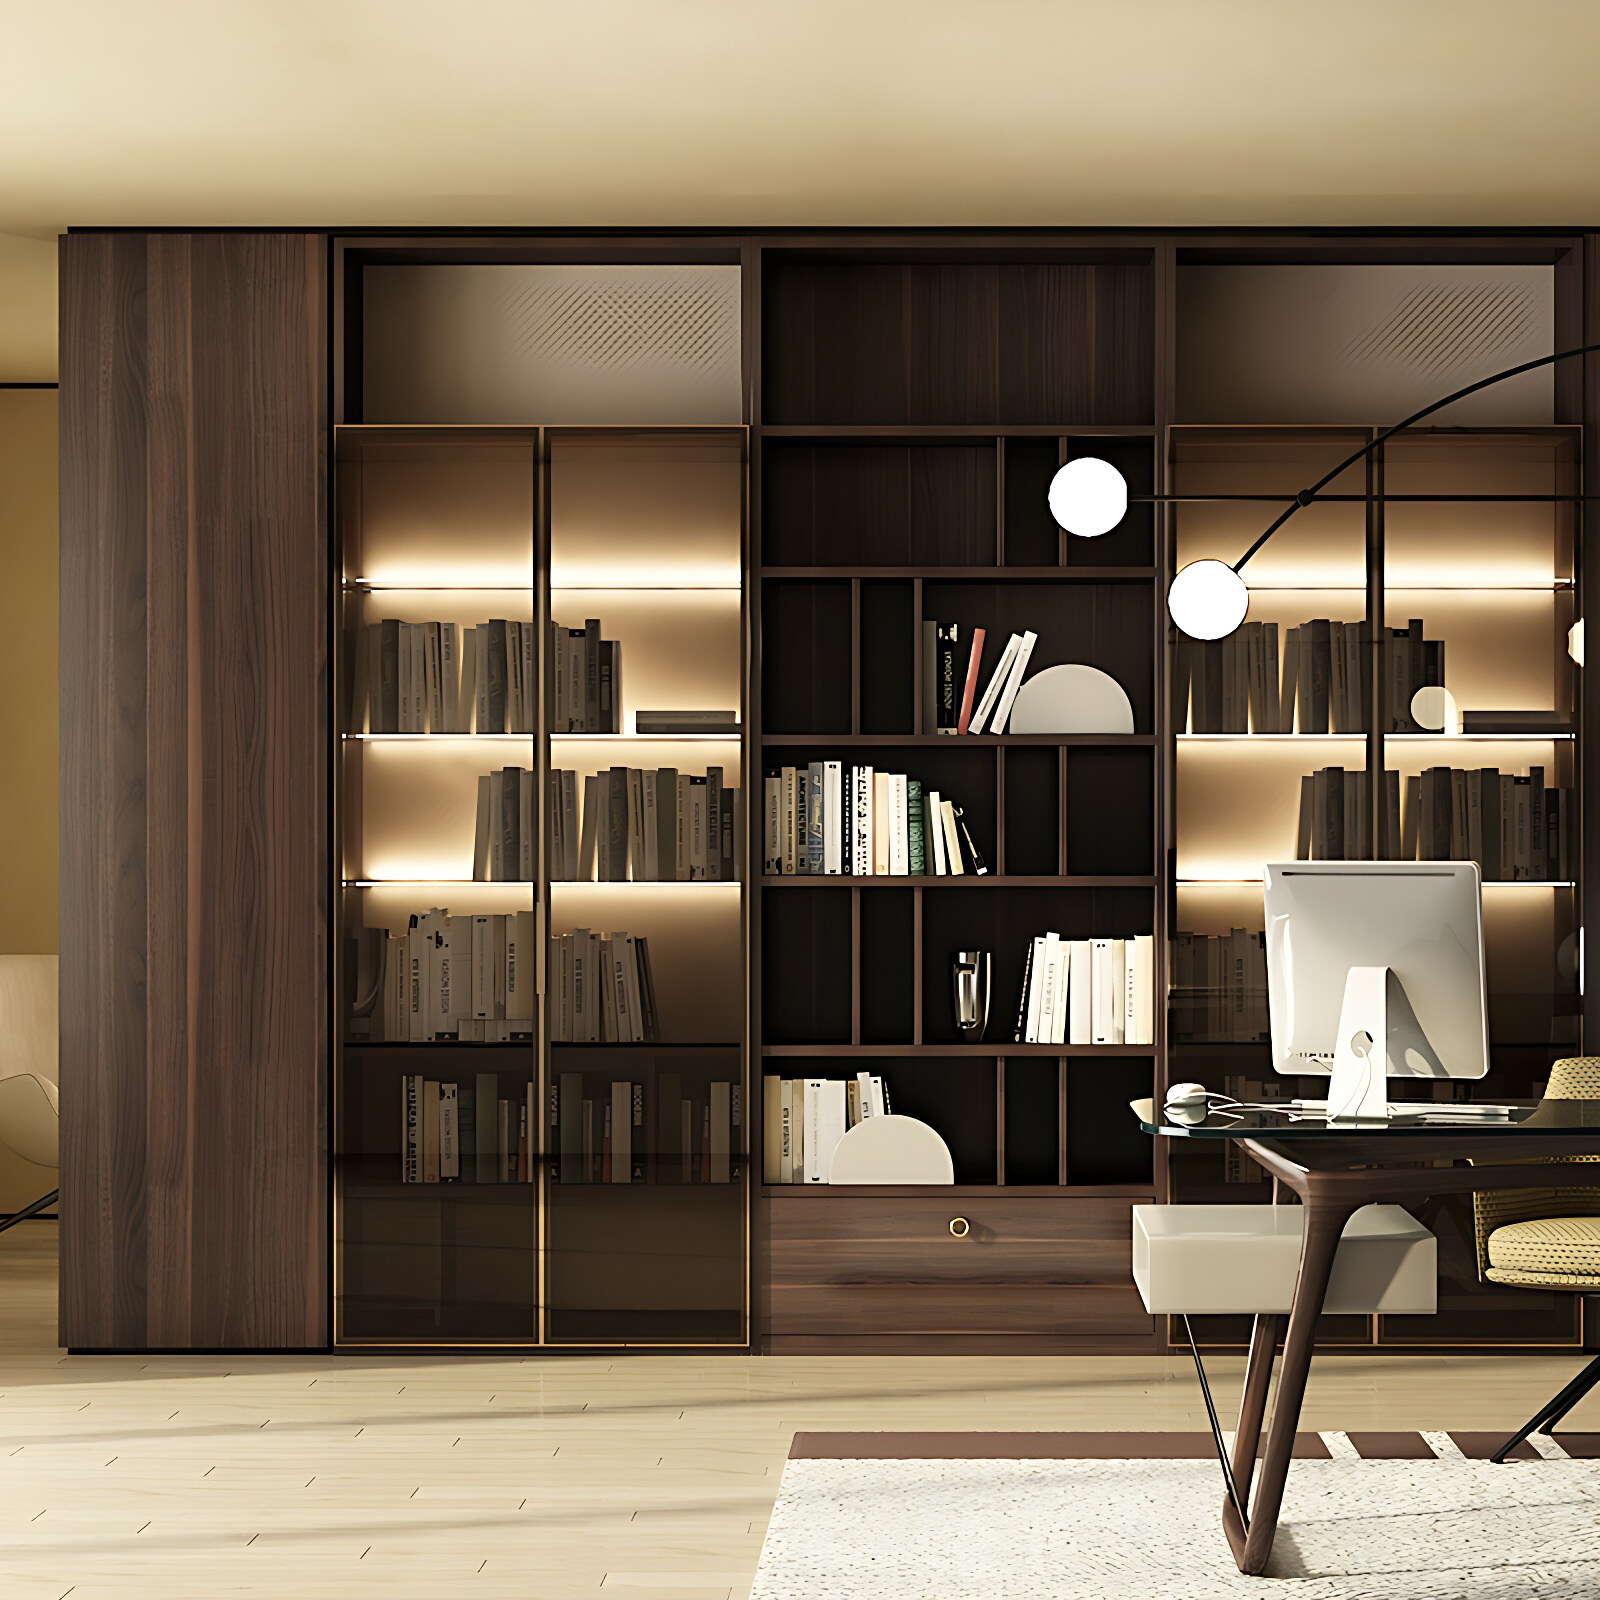
√ Stronger layering and smoother surface
The paint film has good fullness and gives a strong three-dimensional effect to the eyes.
√ The board surface does not crack or delaminate
UV penetrates the substrate and blends into it. The paint film is resistant to yellowing and fading, and there is no paint film cracking or interlayer peeling.
3. UV coating process
UV high gloss process production process
01 Edging
Polish the edges and corners neatly (this process alone requires 6 to 8 skilled workers to operate).
02 Inspection board
Check whether the board surface is flat and clean.
03 Polishing
Polish the surface of the board carefully.
04 Vacuuming
The fine dust on the board surface is sucked away and then put into the dust-free workshop.
05 Adhesion layer
Makes primer adhere more easily.
06 Drying
Make the adhesive layer cure quickly.
07 forward and reverse rollers
Make the board surface primer smoother.
08 Drying
Allows the primer to cure quickly.
09 Pre-shower roller
Makes it easier for paint and primer to bond.
1 top coat
The outermost layer of the board is coated.
11 UV drying
1000-degree ultraviolet rays instantly dry the board to make it completely stable.
12 Add protective film
Prevent scratches during transportation.
UV skin-feel process production process
01 Edging
Polish the edges and corners neatly (this process alone requires 6 to 8 skilled workers to operate).
02 Inspection board
Check whether the board surface is flat and clean.
03 Polishing
Polish the surface of the board carefully.
04 Vacuuming
The fine dust on the board surface is sucked away and then put into the dust-free workshop.
05 Adhesion layer
Makes primer adhere more easily.
06 Drying
Make the adhesive layer cure quickly.
07 forward and reverse rollers
Make the board surface primer smoother.
08 Drying
Allows the primer to cure quickly.
09 Secondary primer application
Make the paint surface more delicate and layered.
10. Drying
Allow the primer to solidify.
11 Polishing
Make the surface smoother.
12. Glaze
Increase film thickness.
13 Membrane pressure
Gives the surface a skin-like finish.
14 Drying
Let the board finally stabilize.
15 Add protective film
Prevent scratches during transportation.
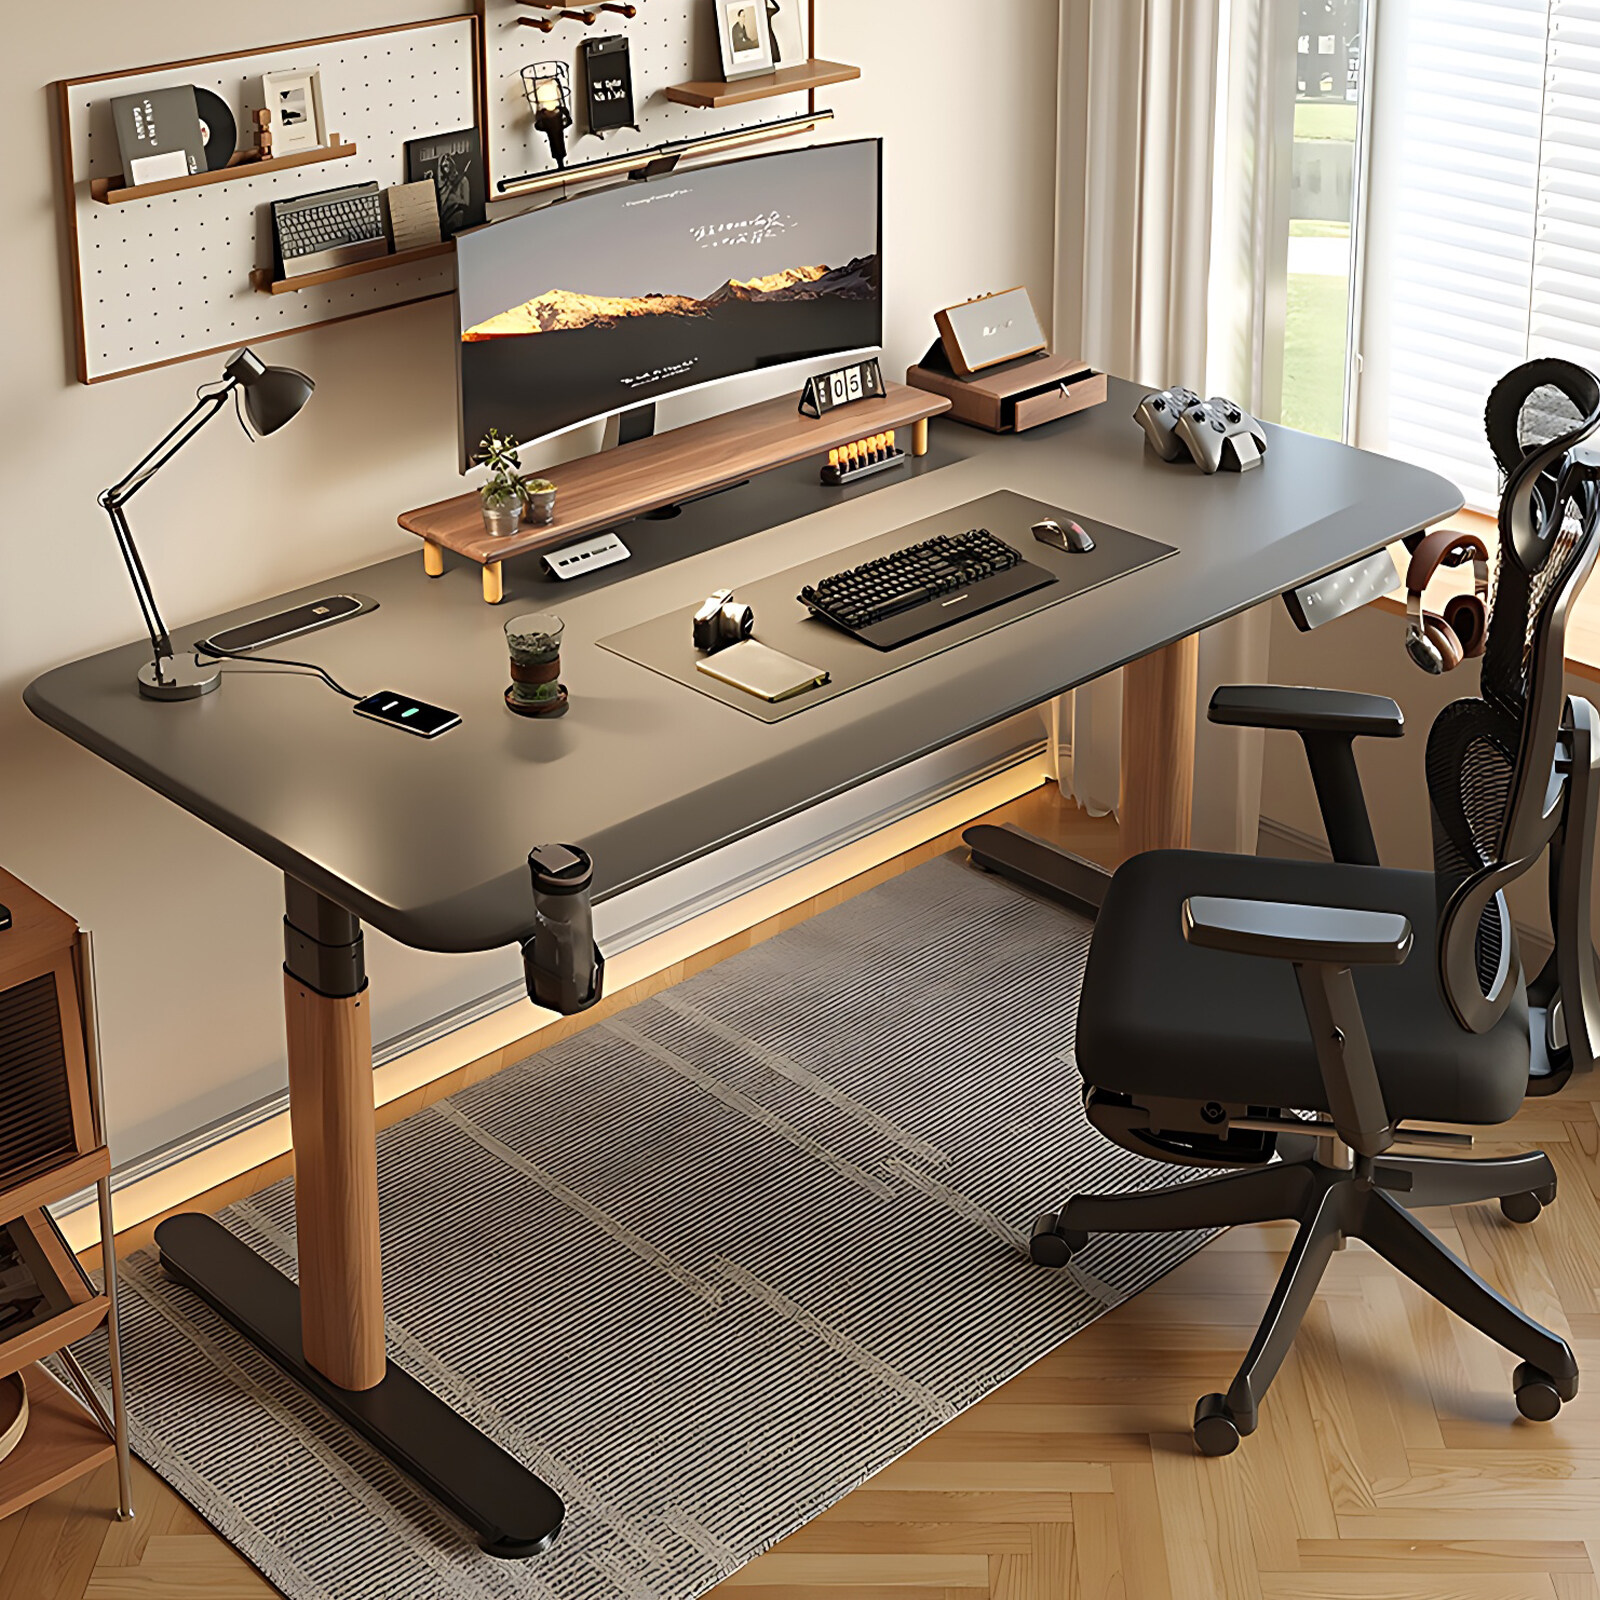
4. Instructions on the storage environment of UV process products
Any board will change due to the storage environment. It is recommended that the storage environment is relatively dry, without drafts, and the boards should be placed flat. After the boards are processed into small pieces, they should also be placed flat, not leaning against the wall.