
 USD
USD
 GBP
GBP
 EUR
EUR


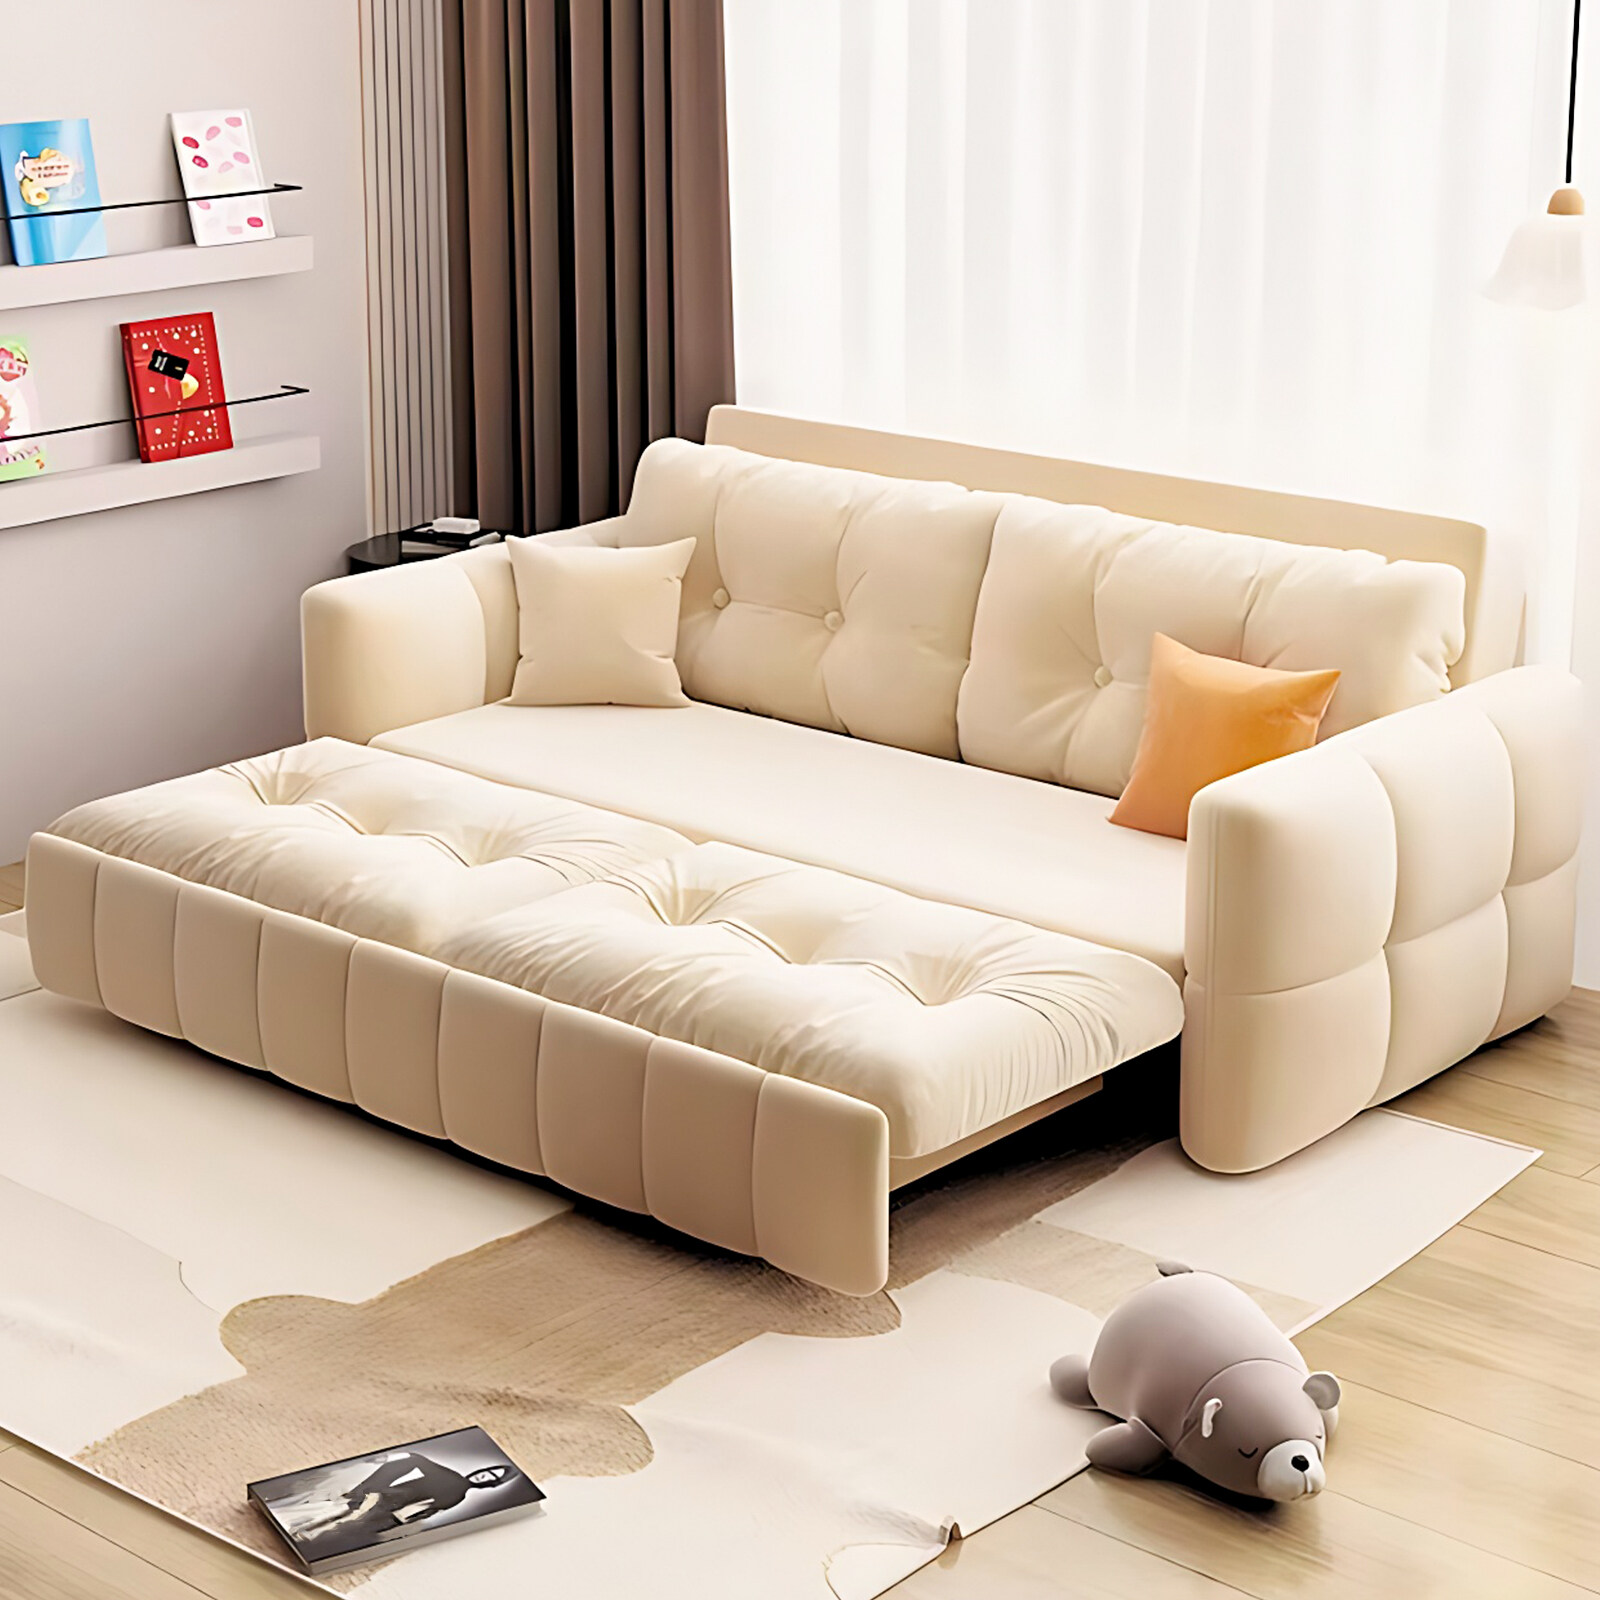
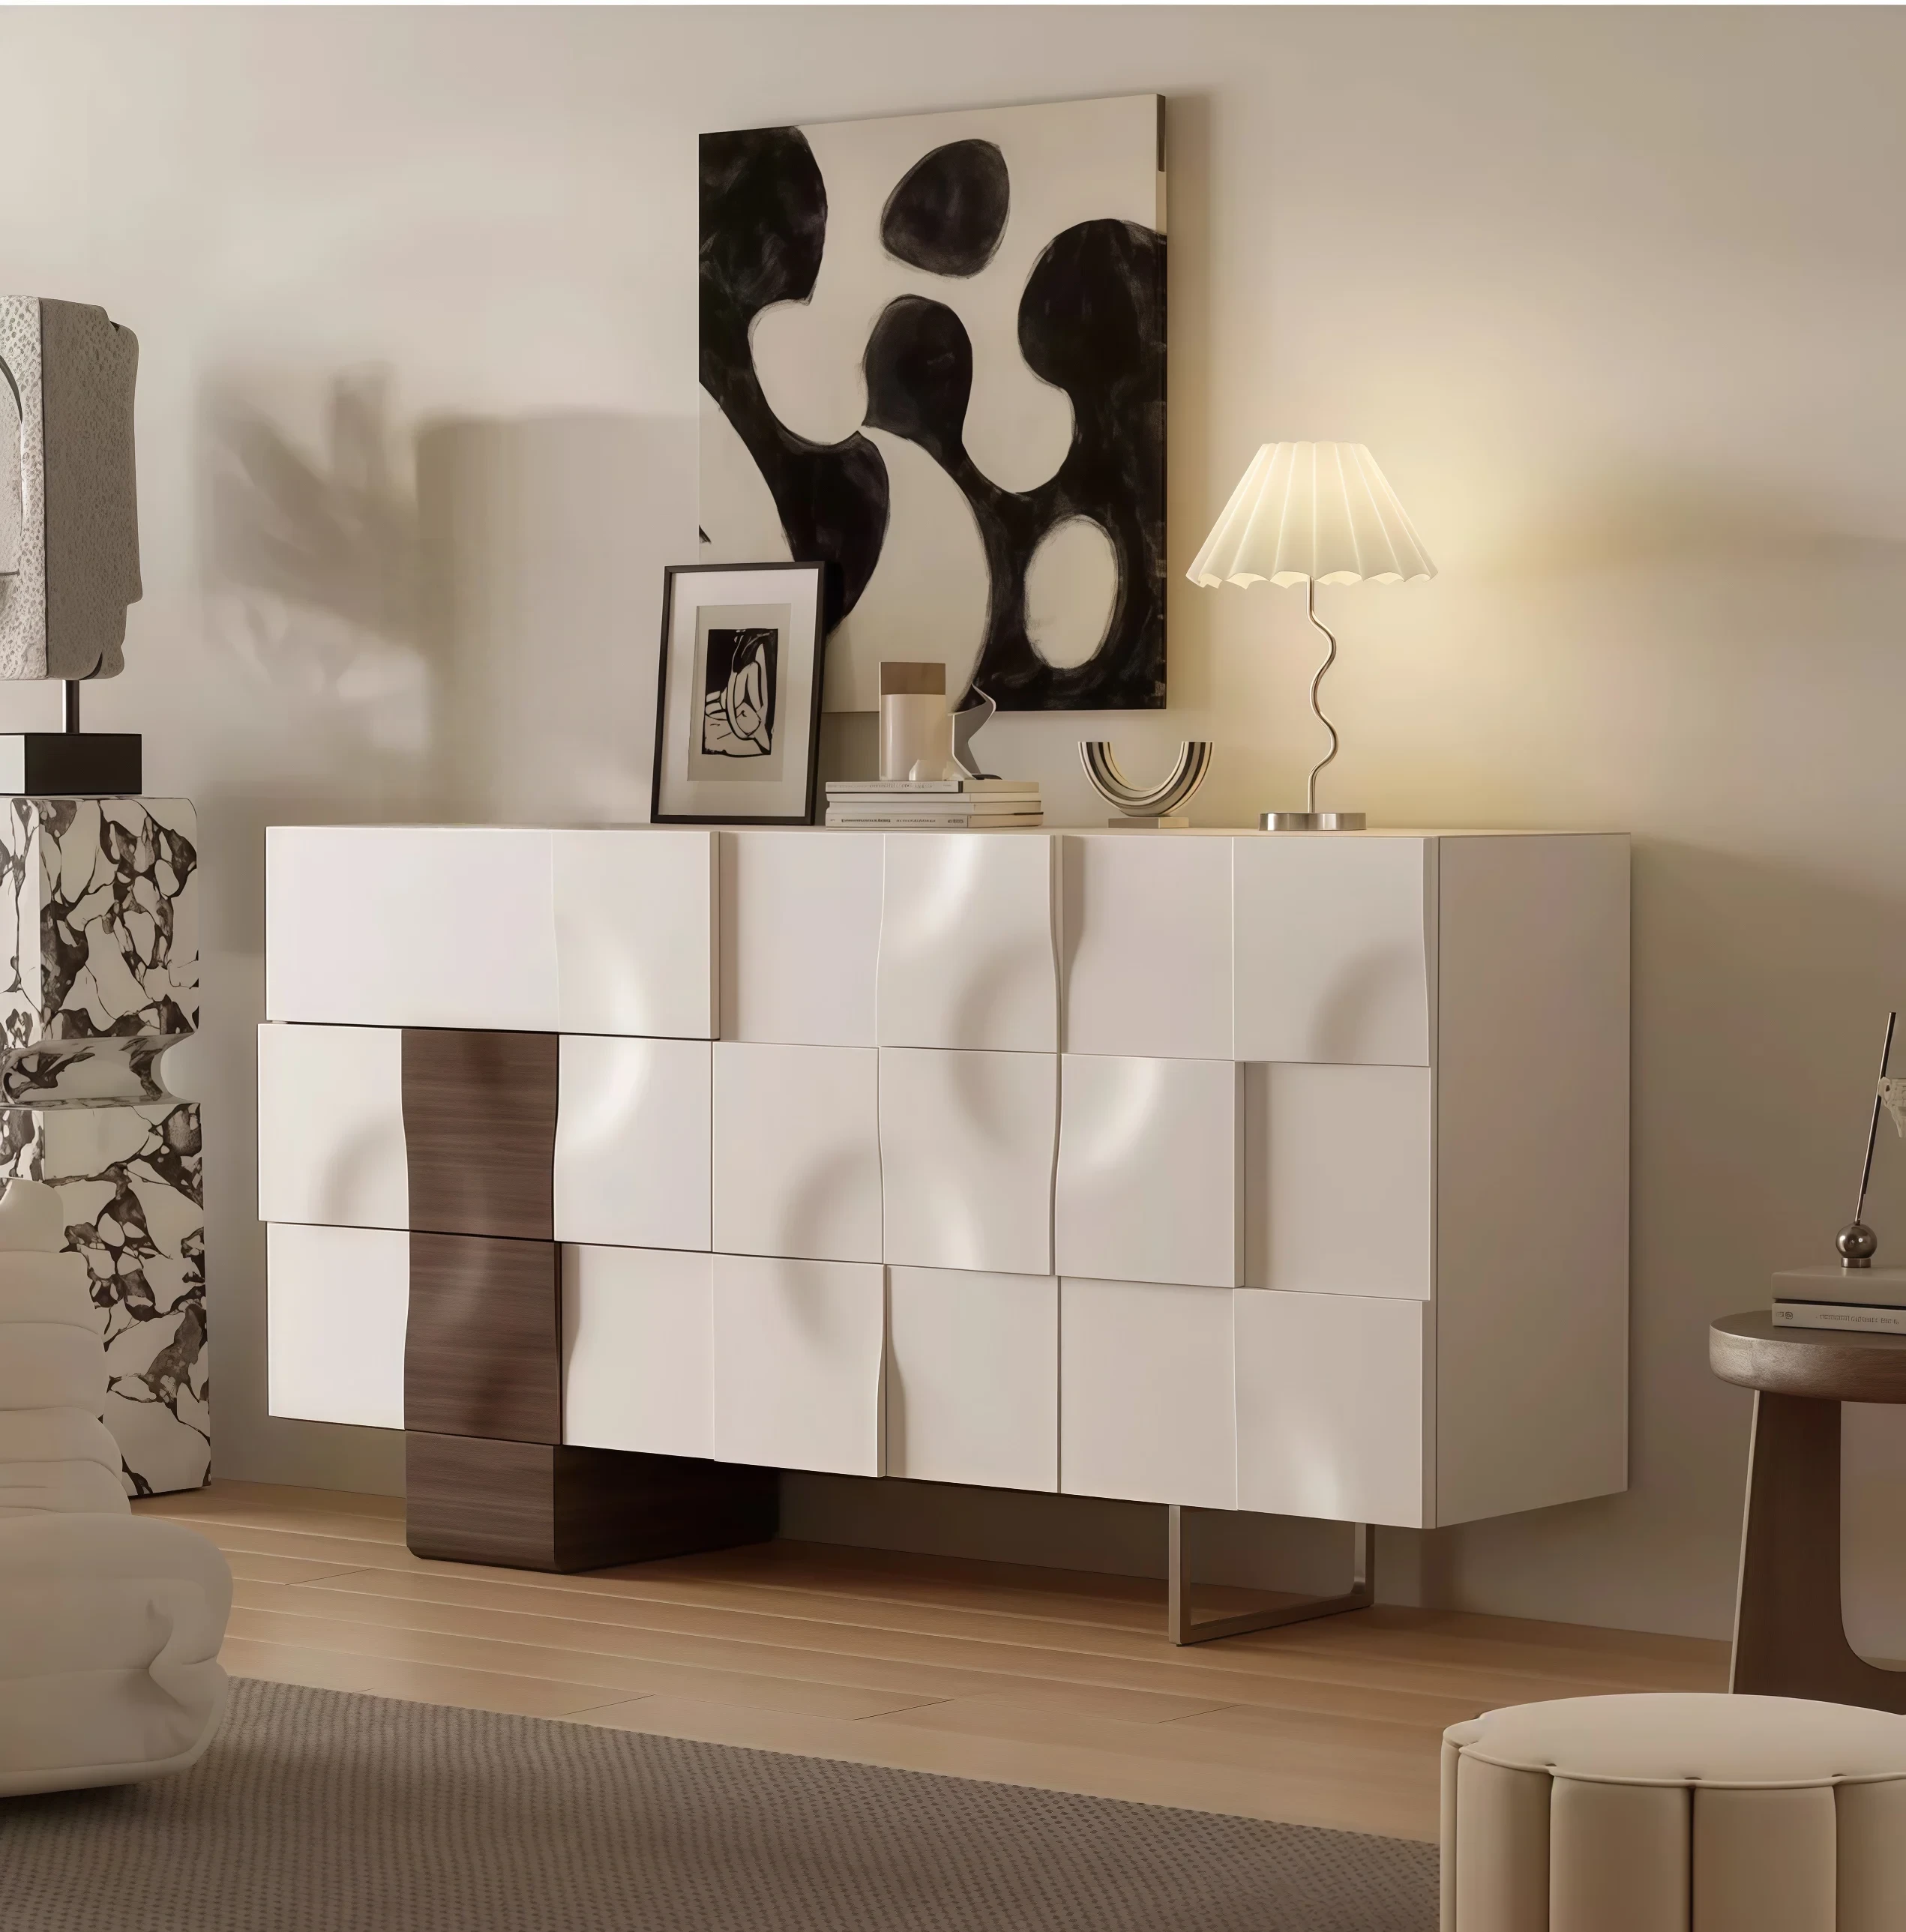

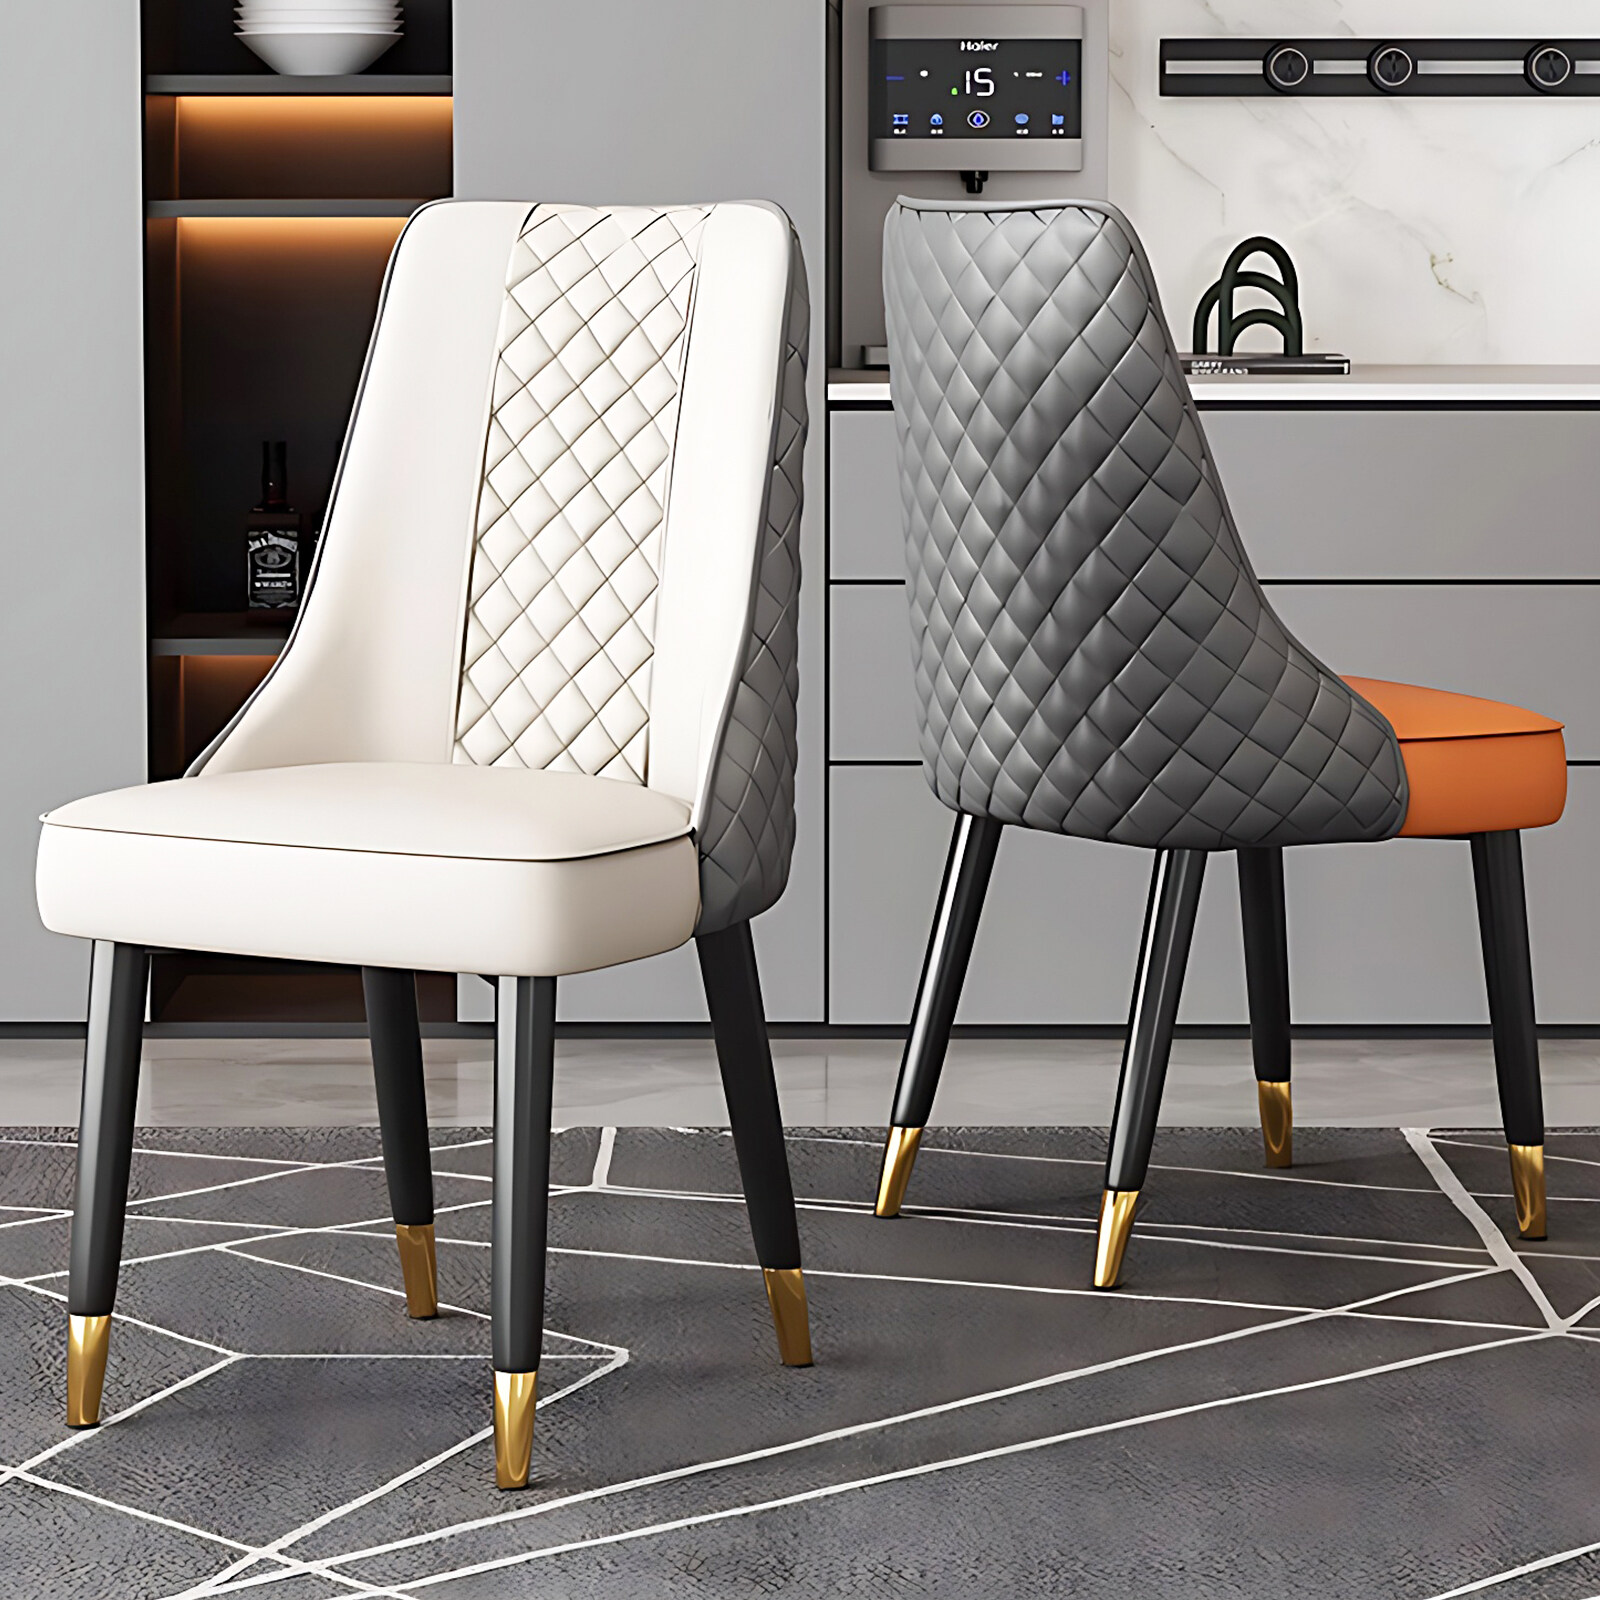
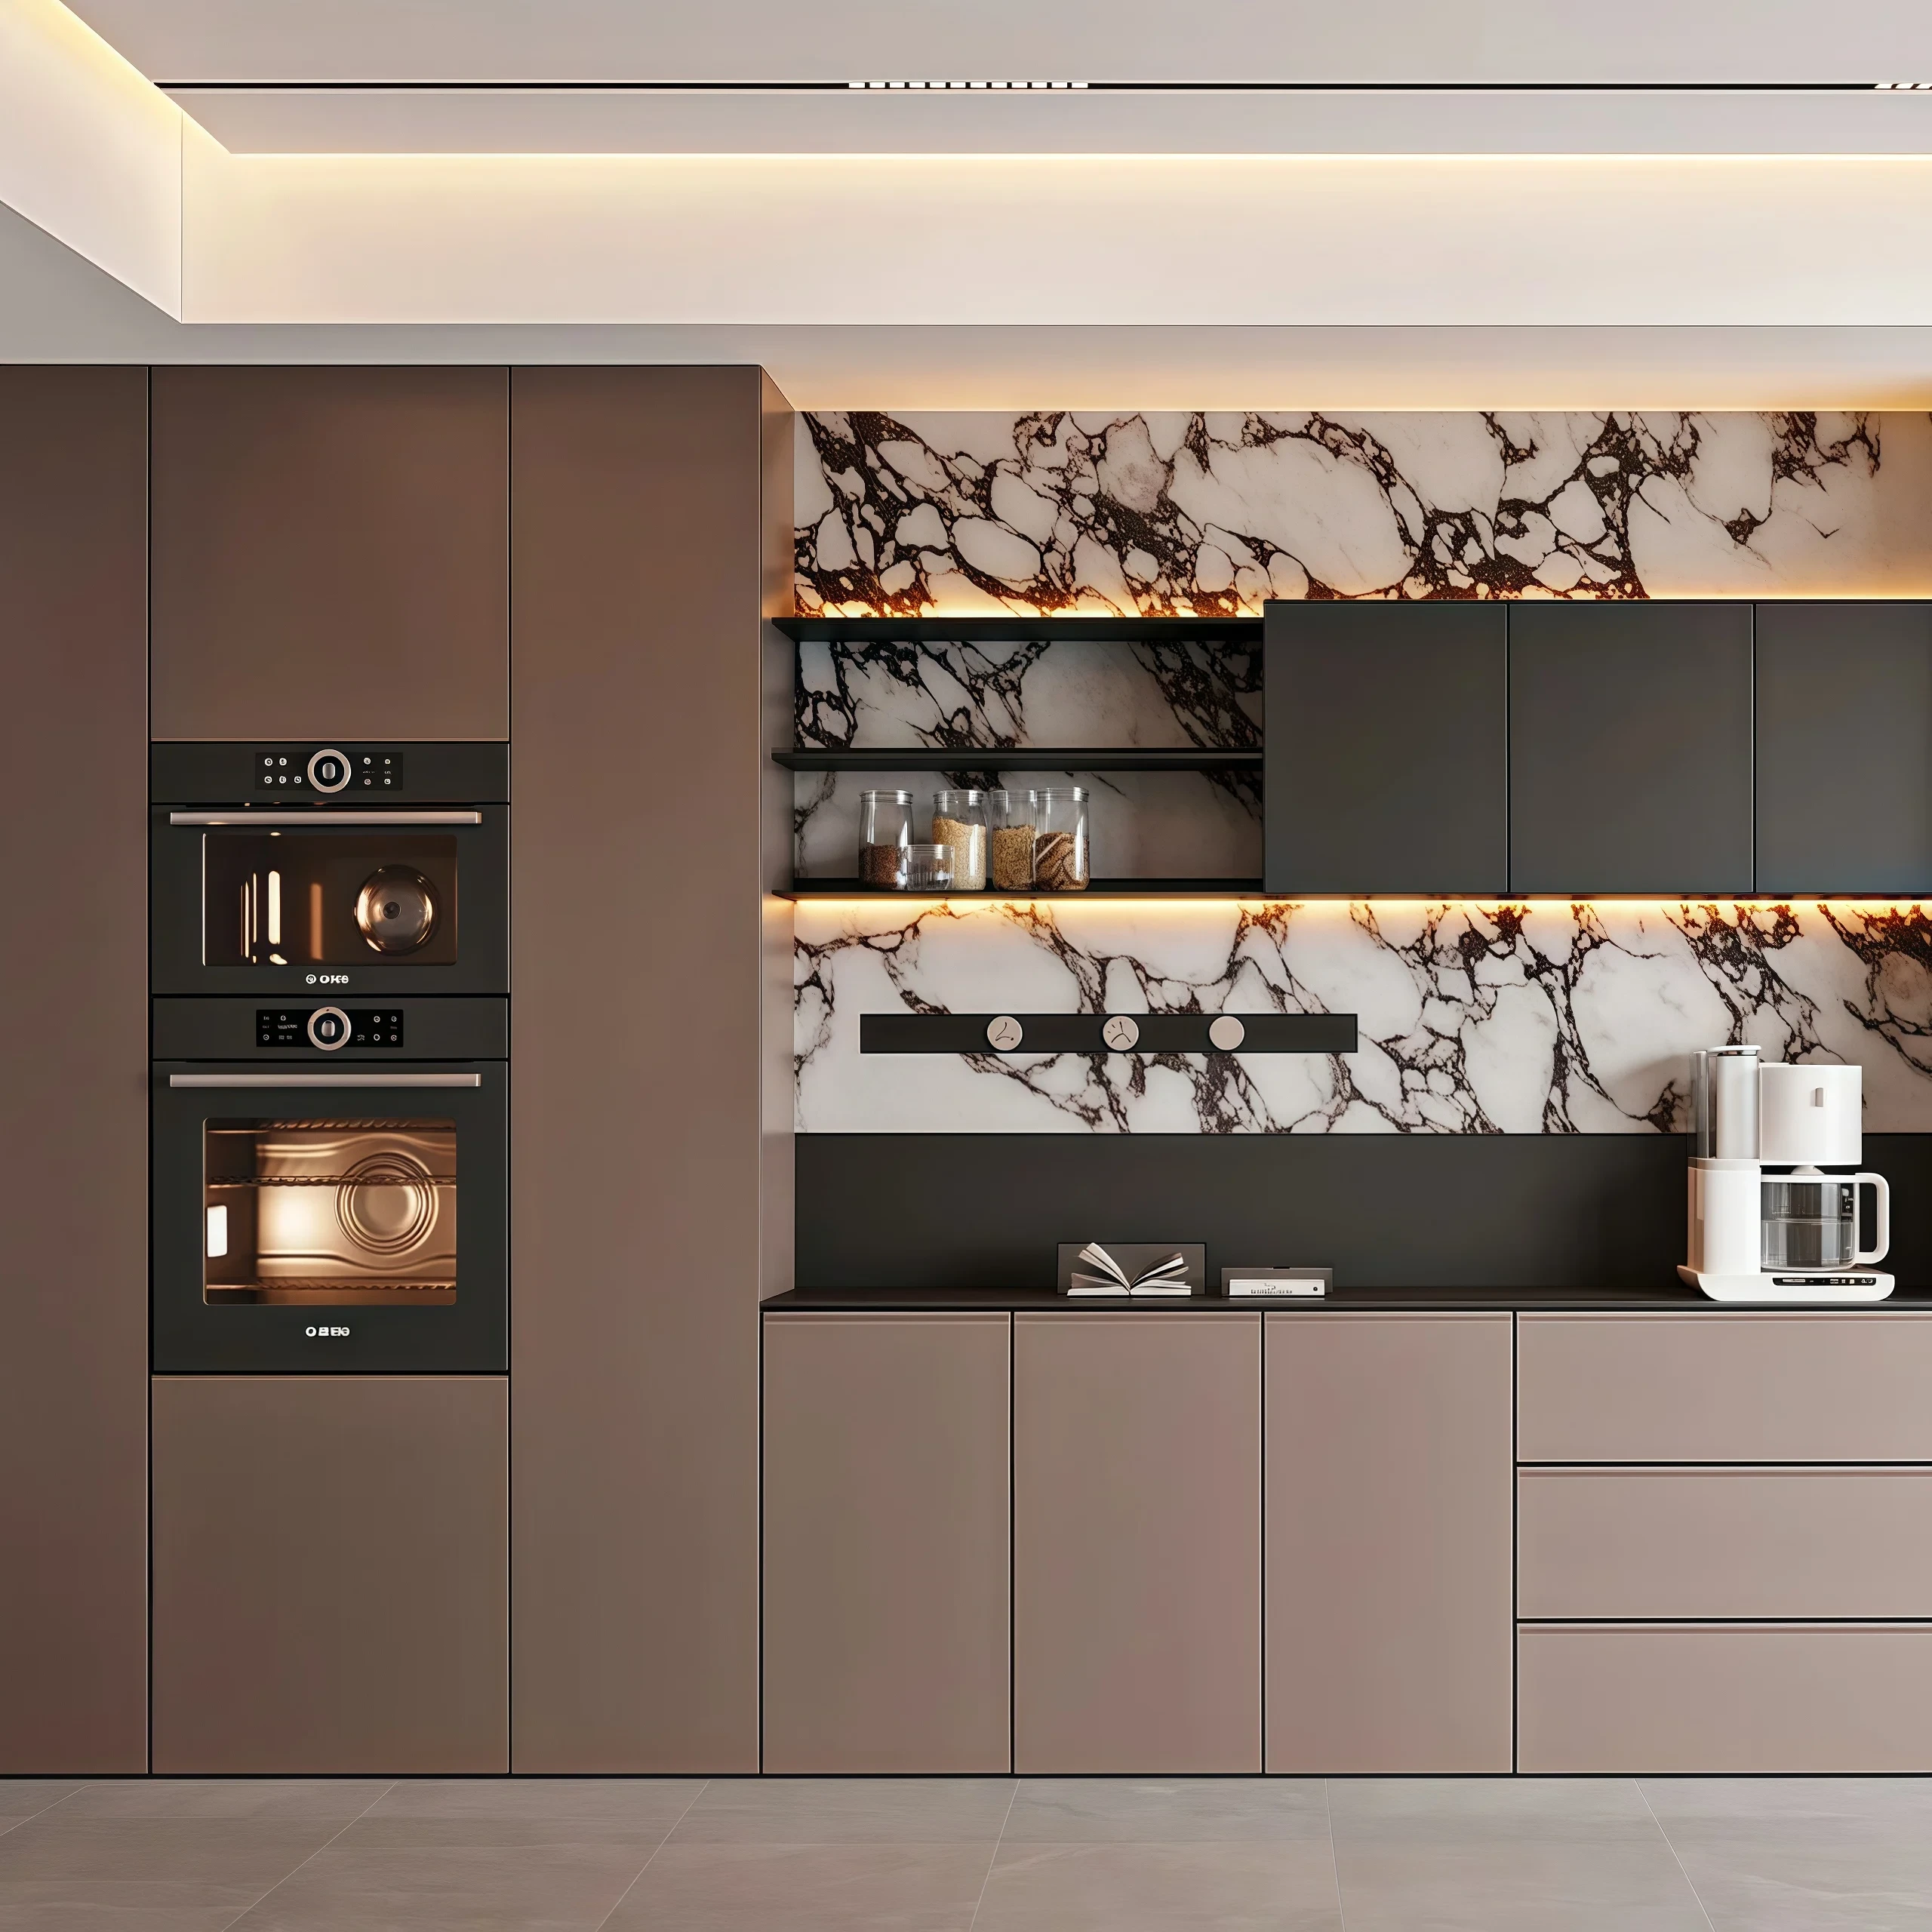
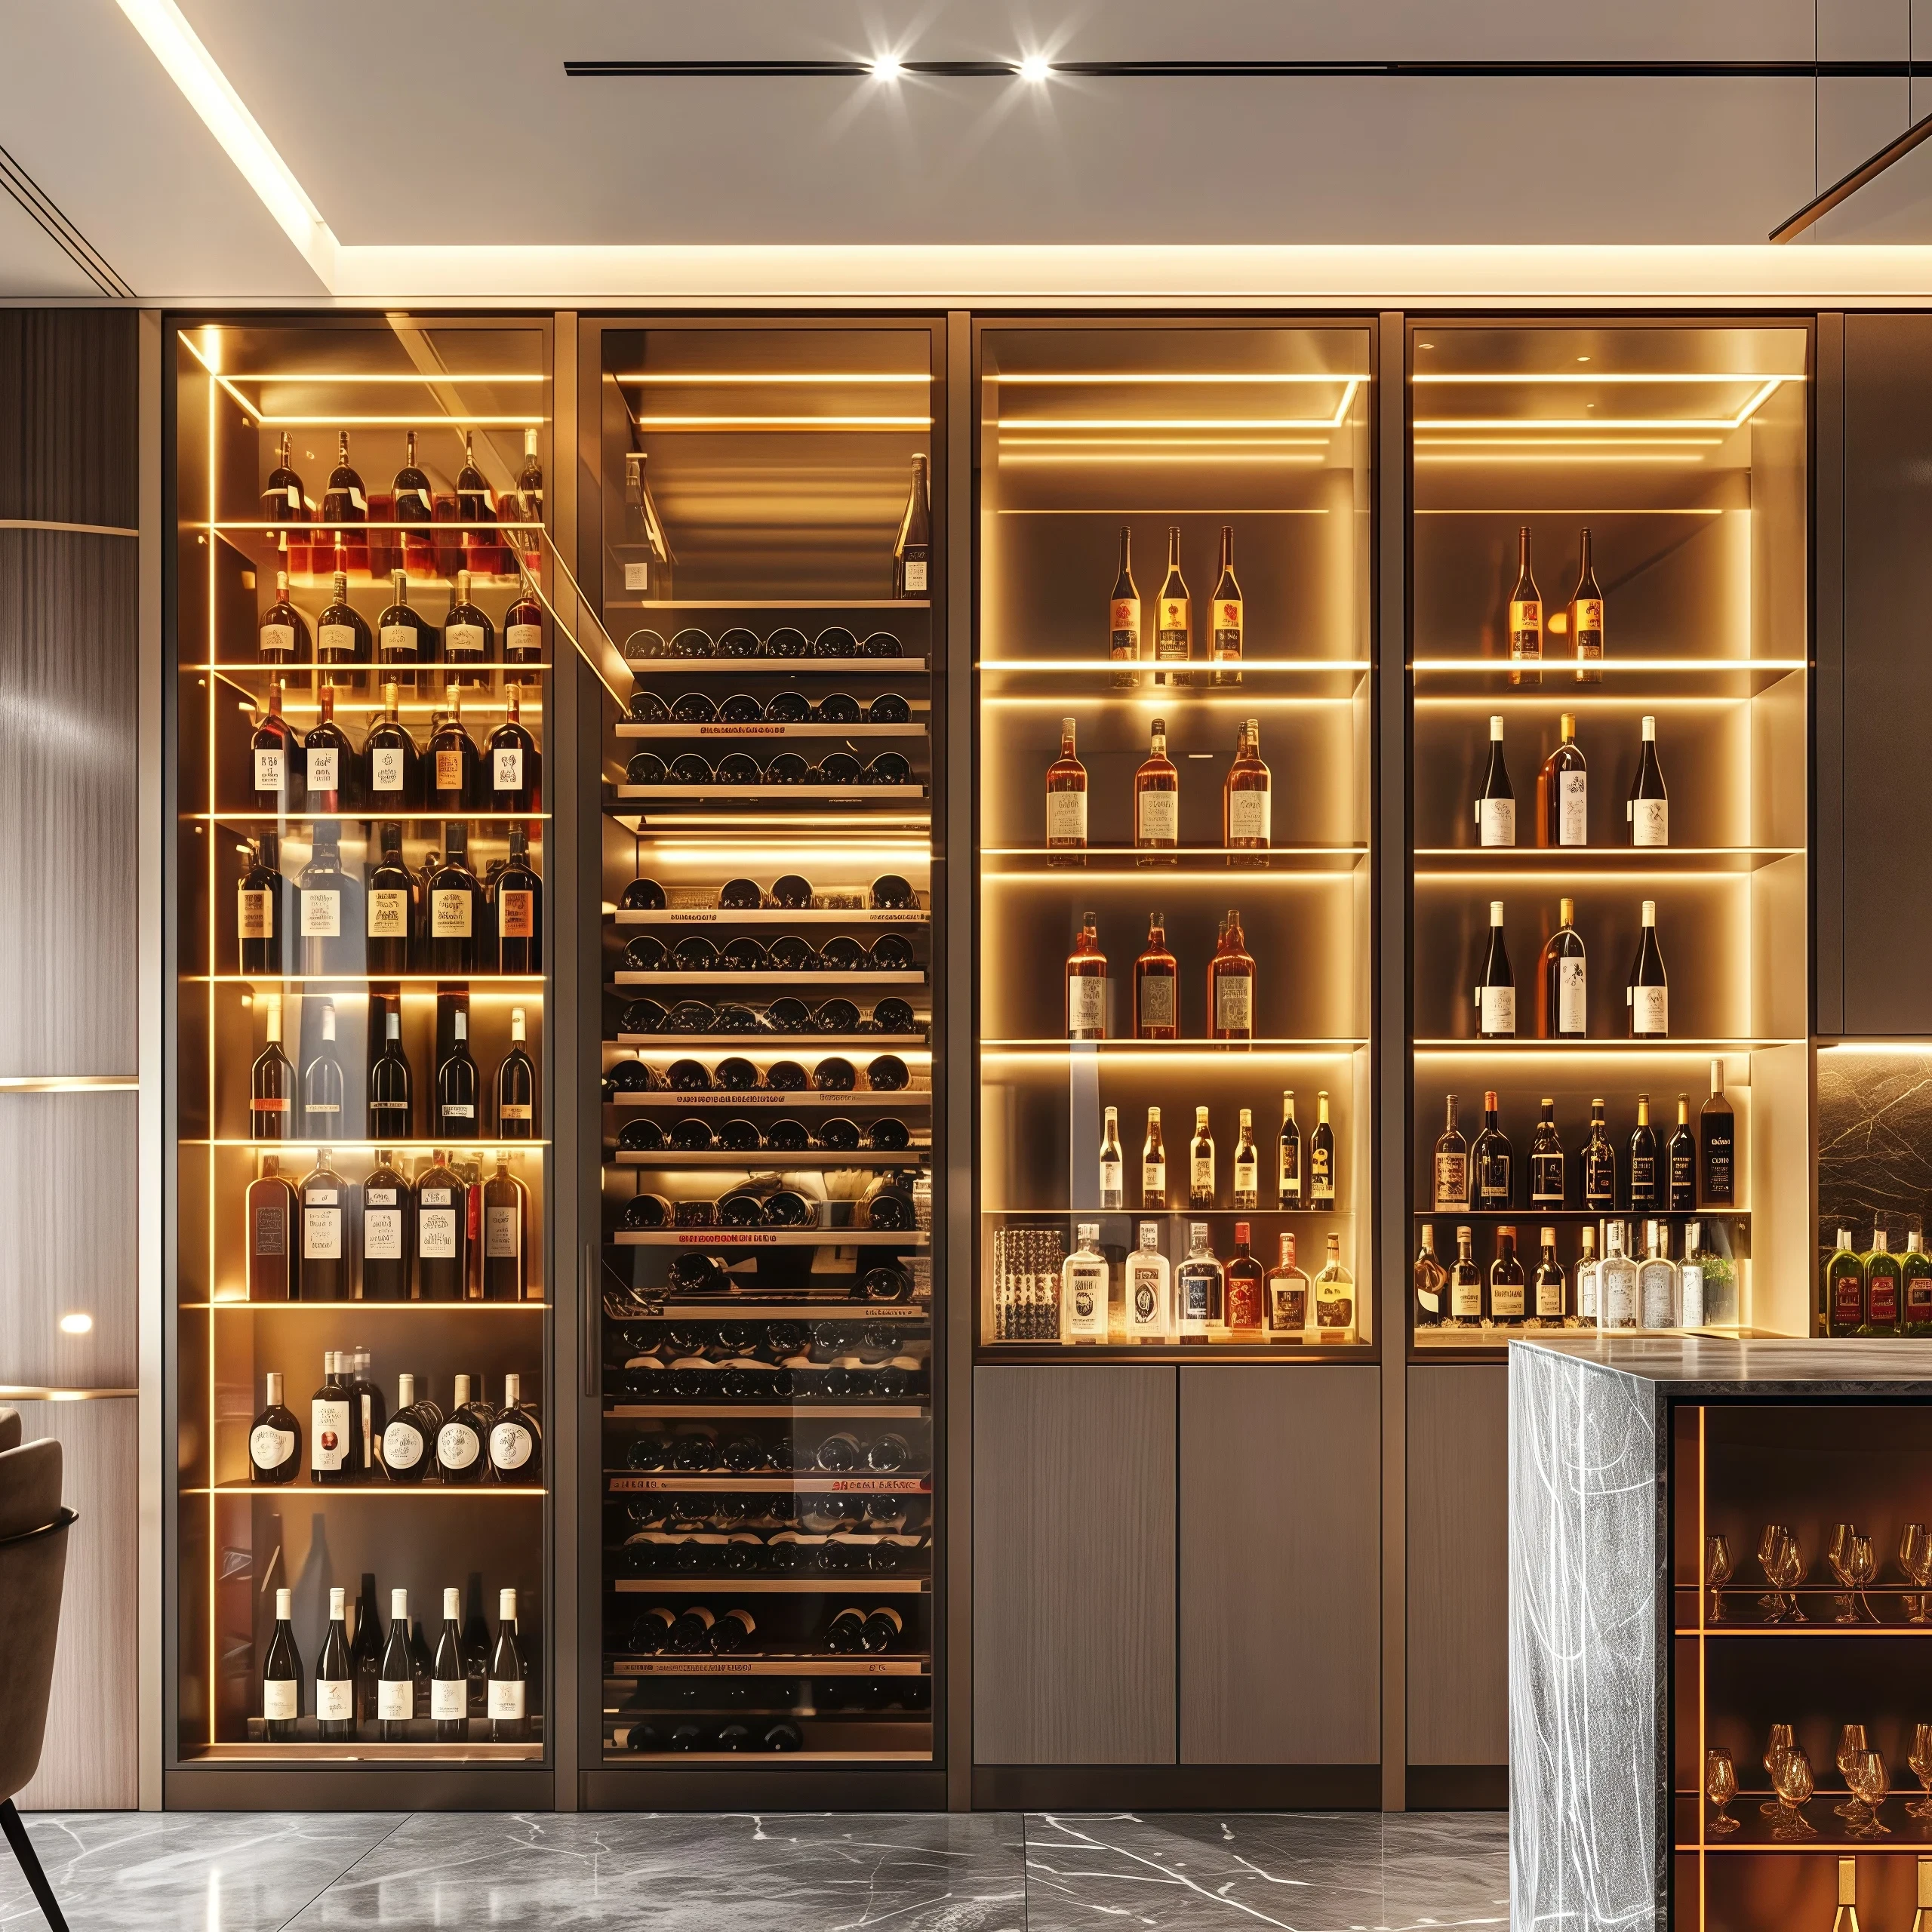
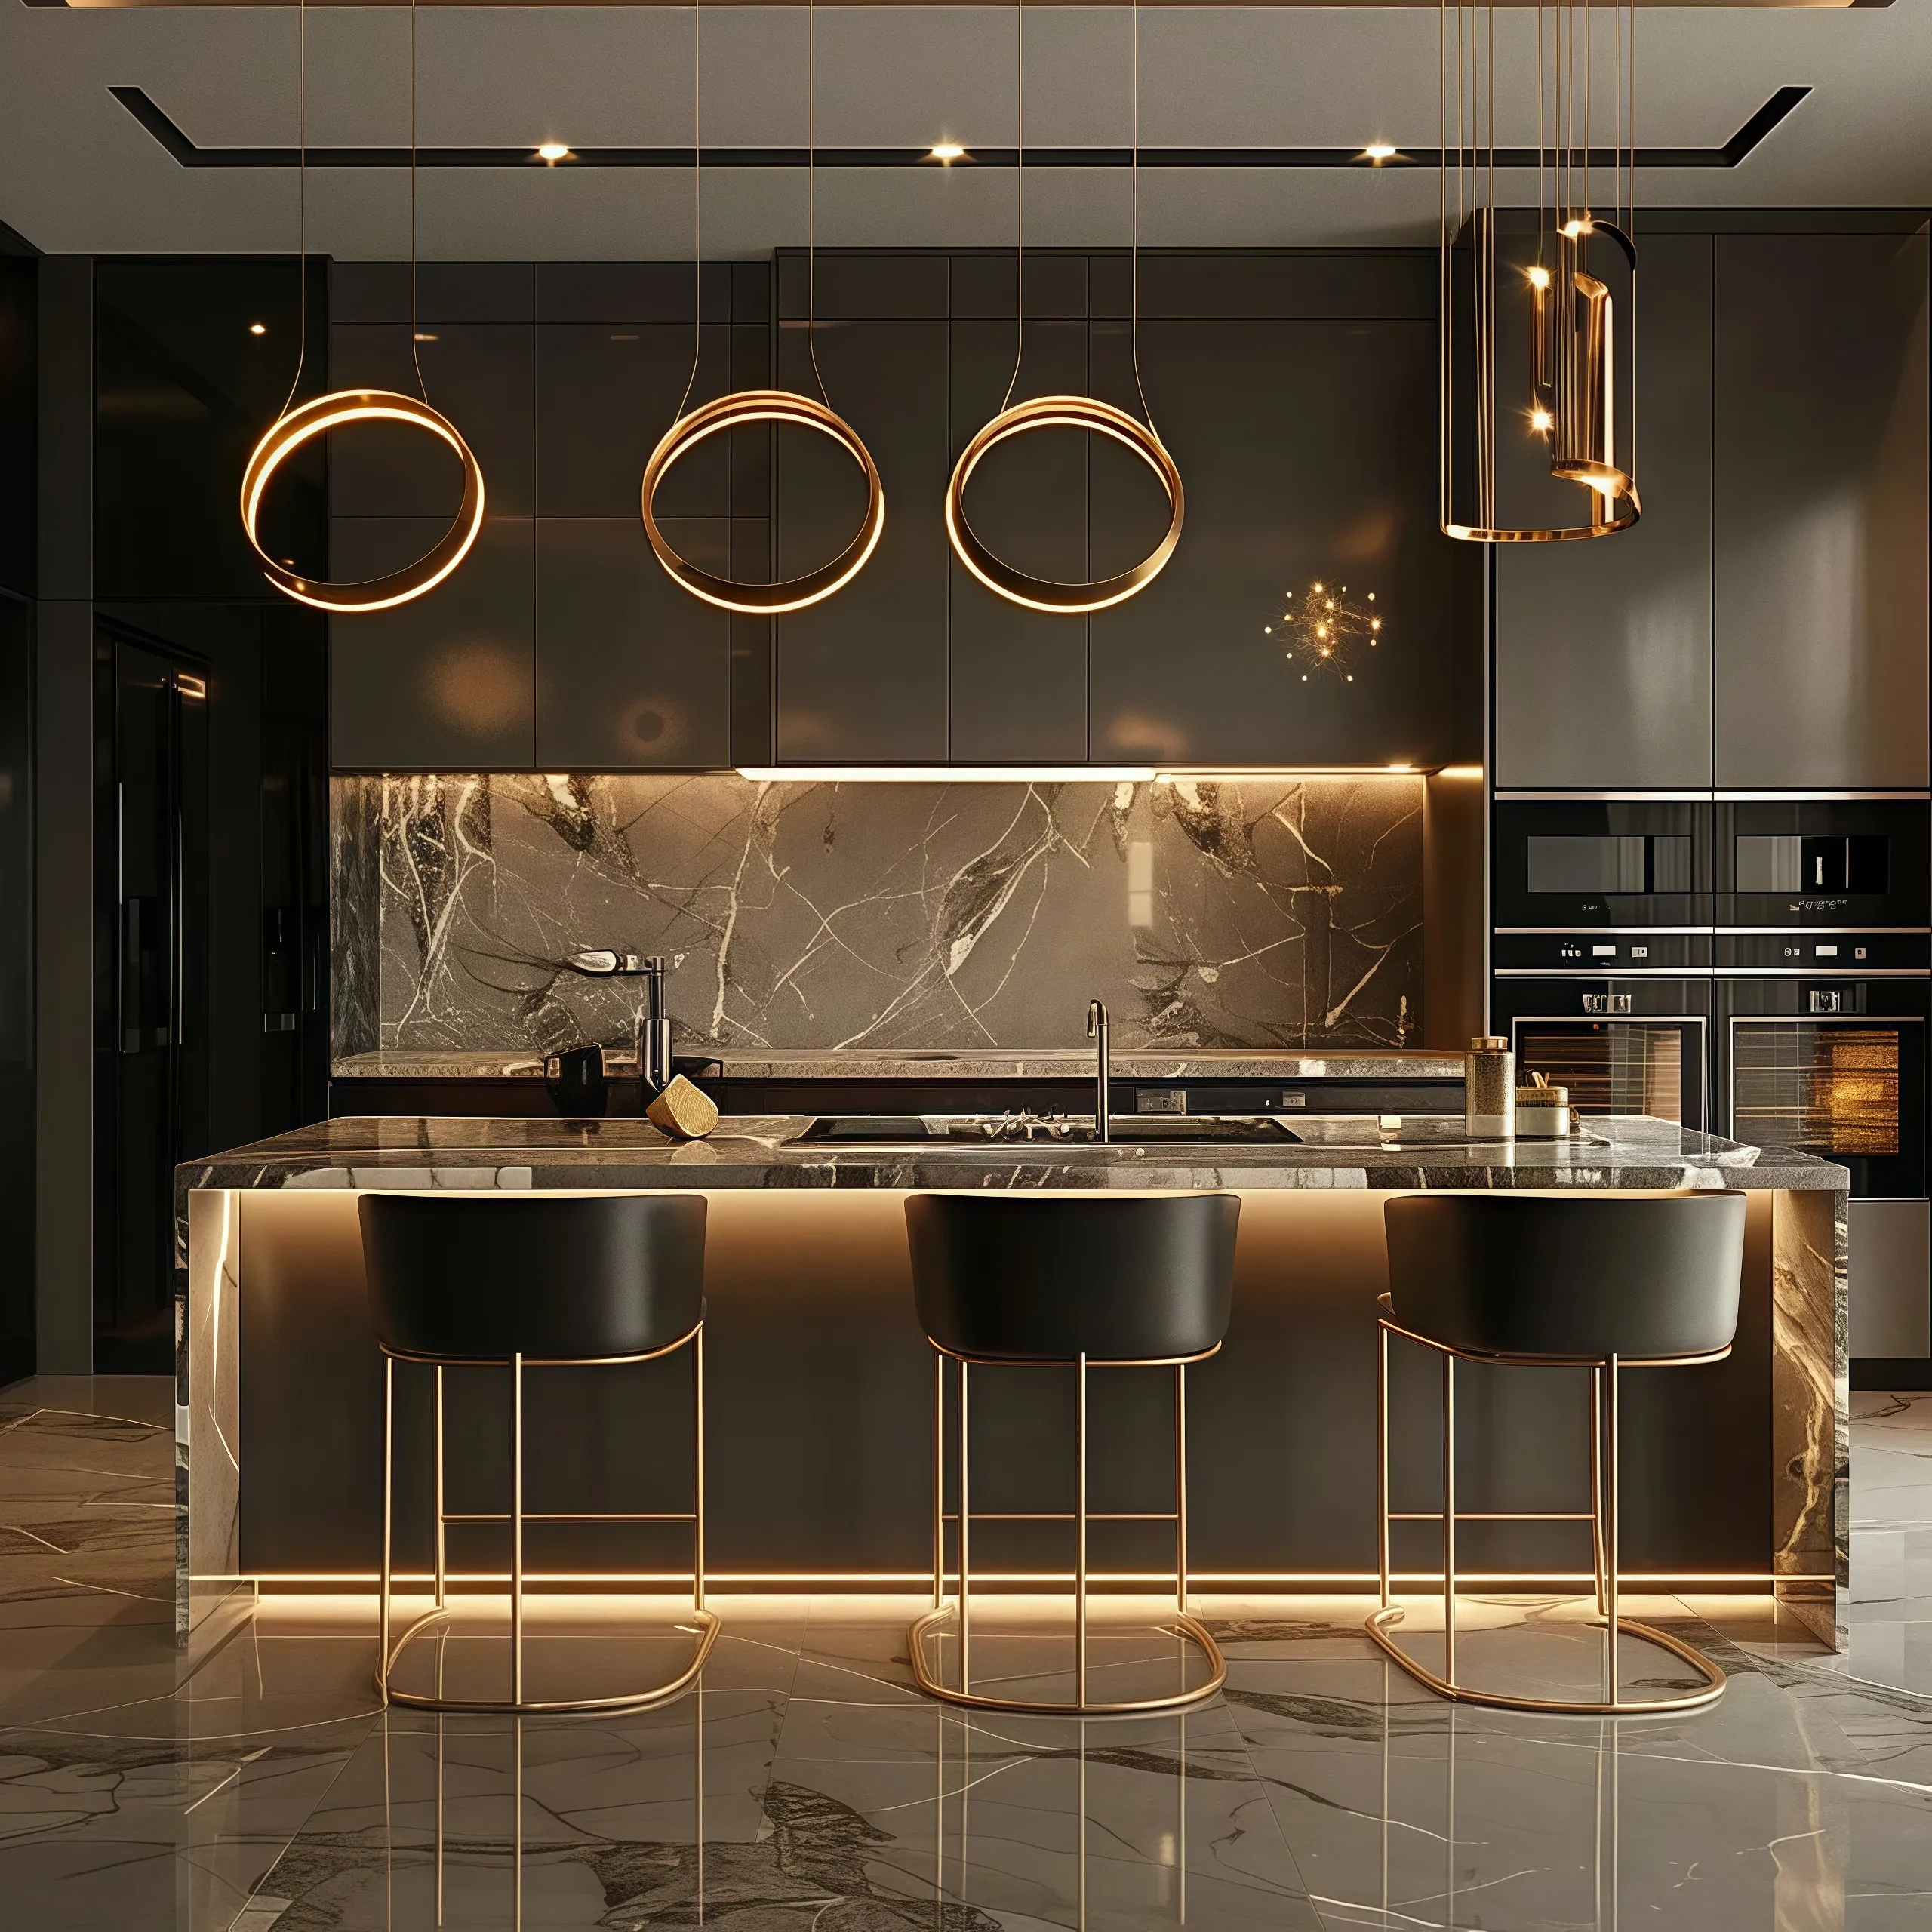

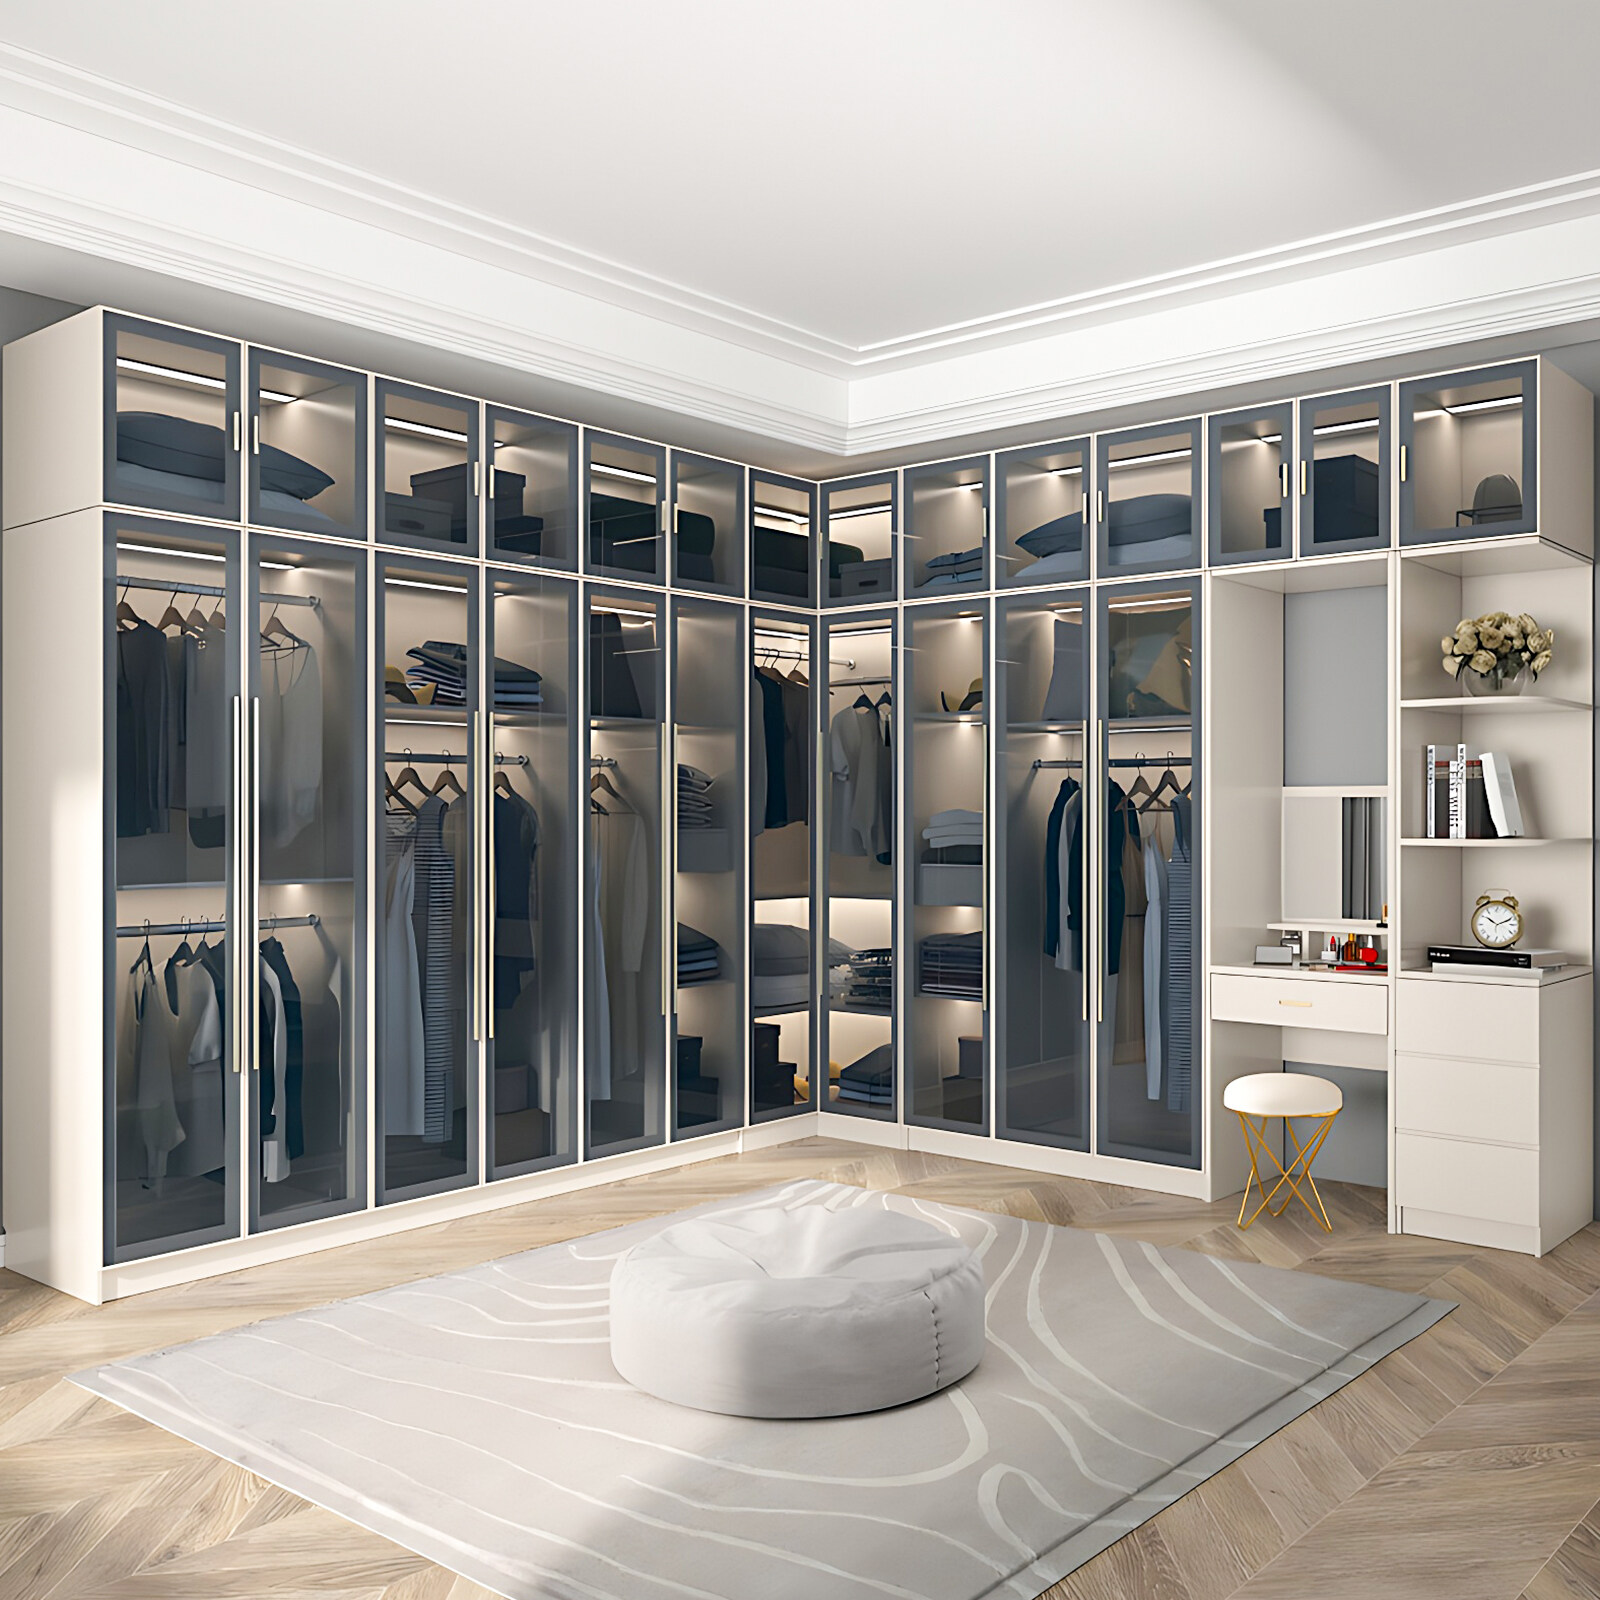


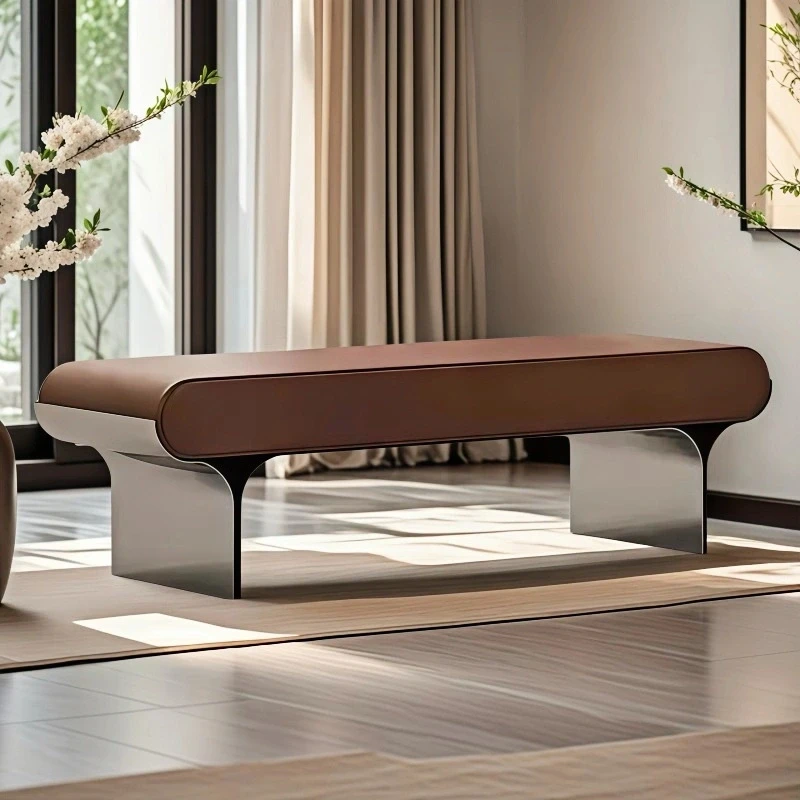

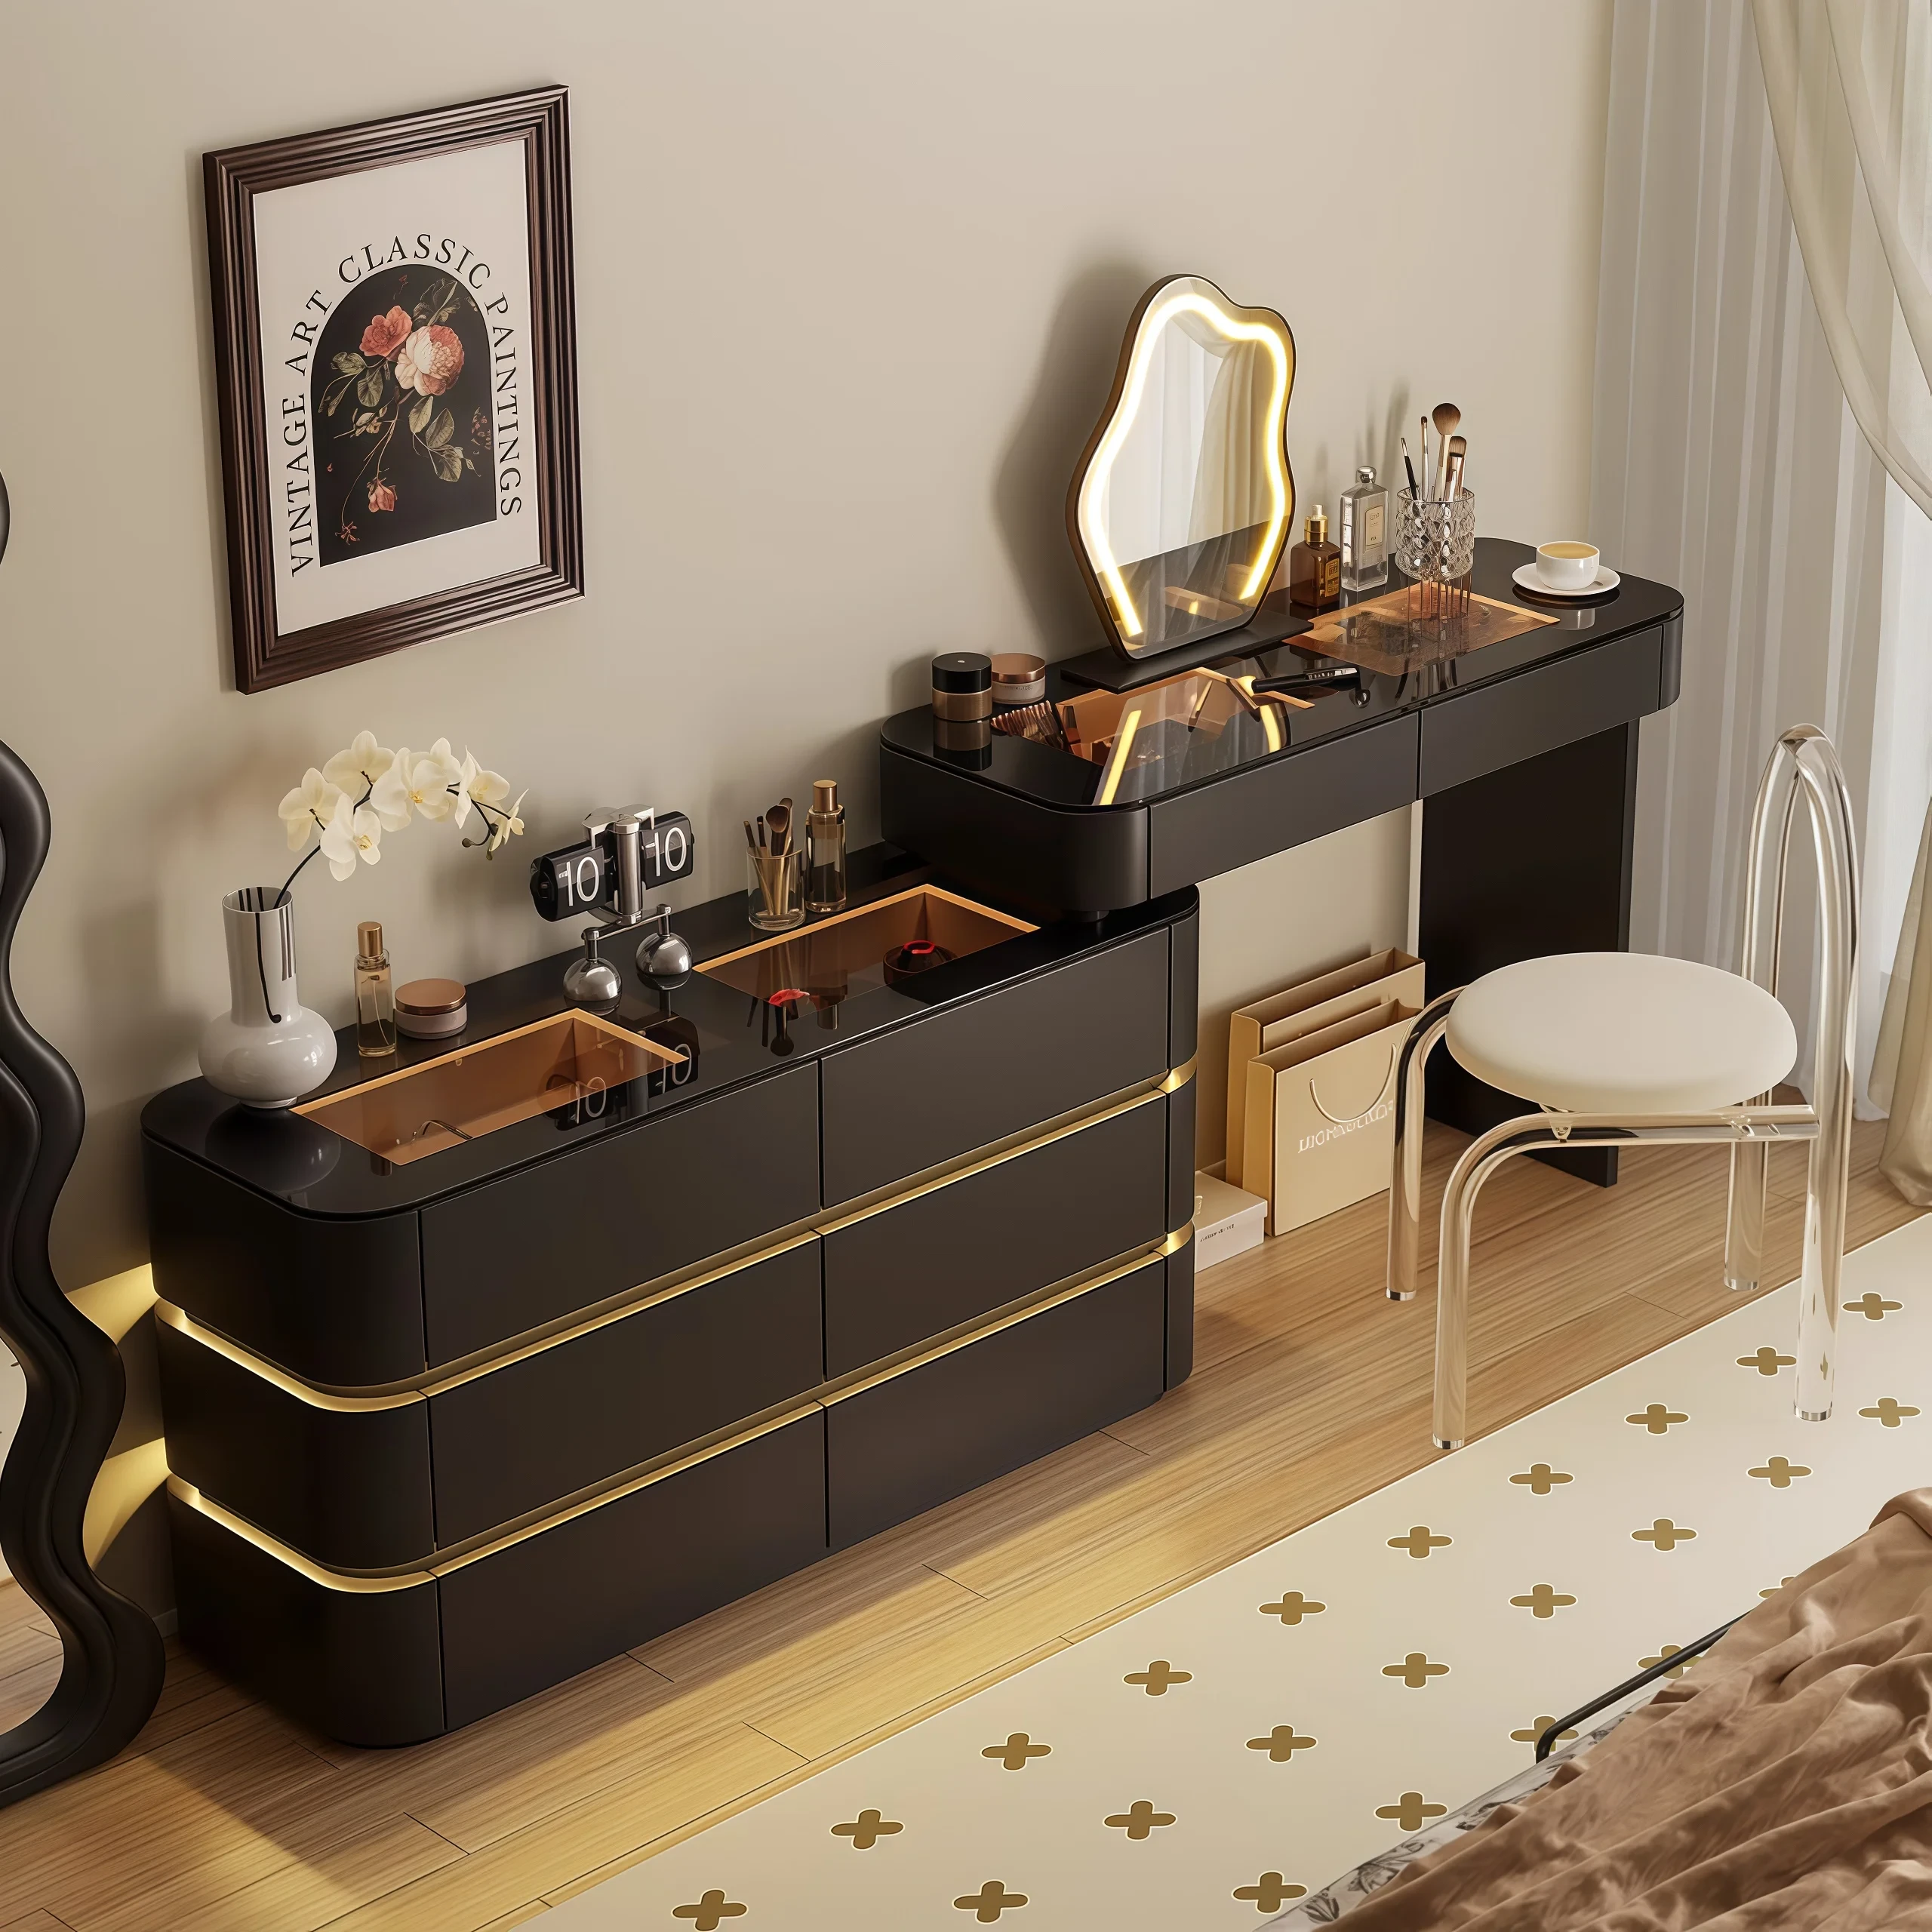

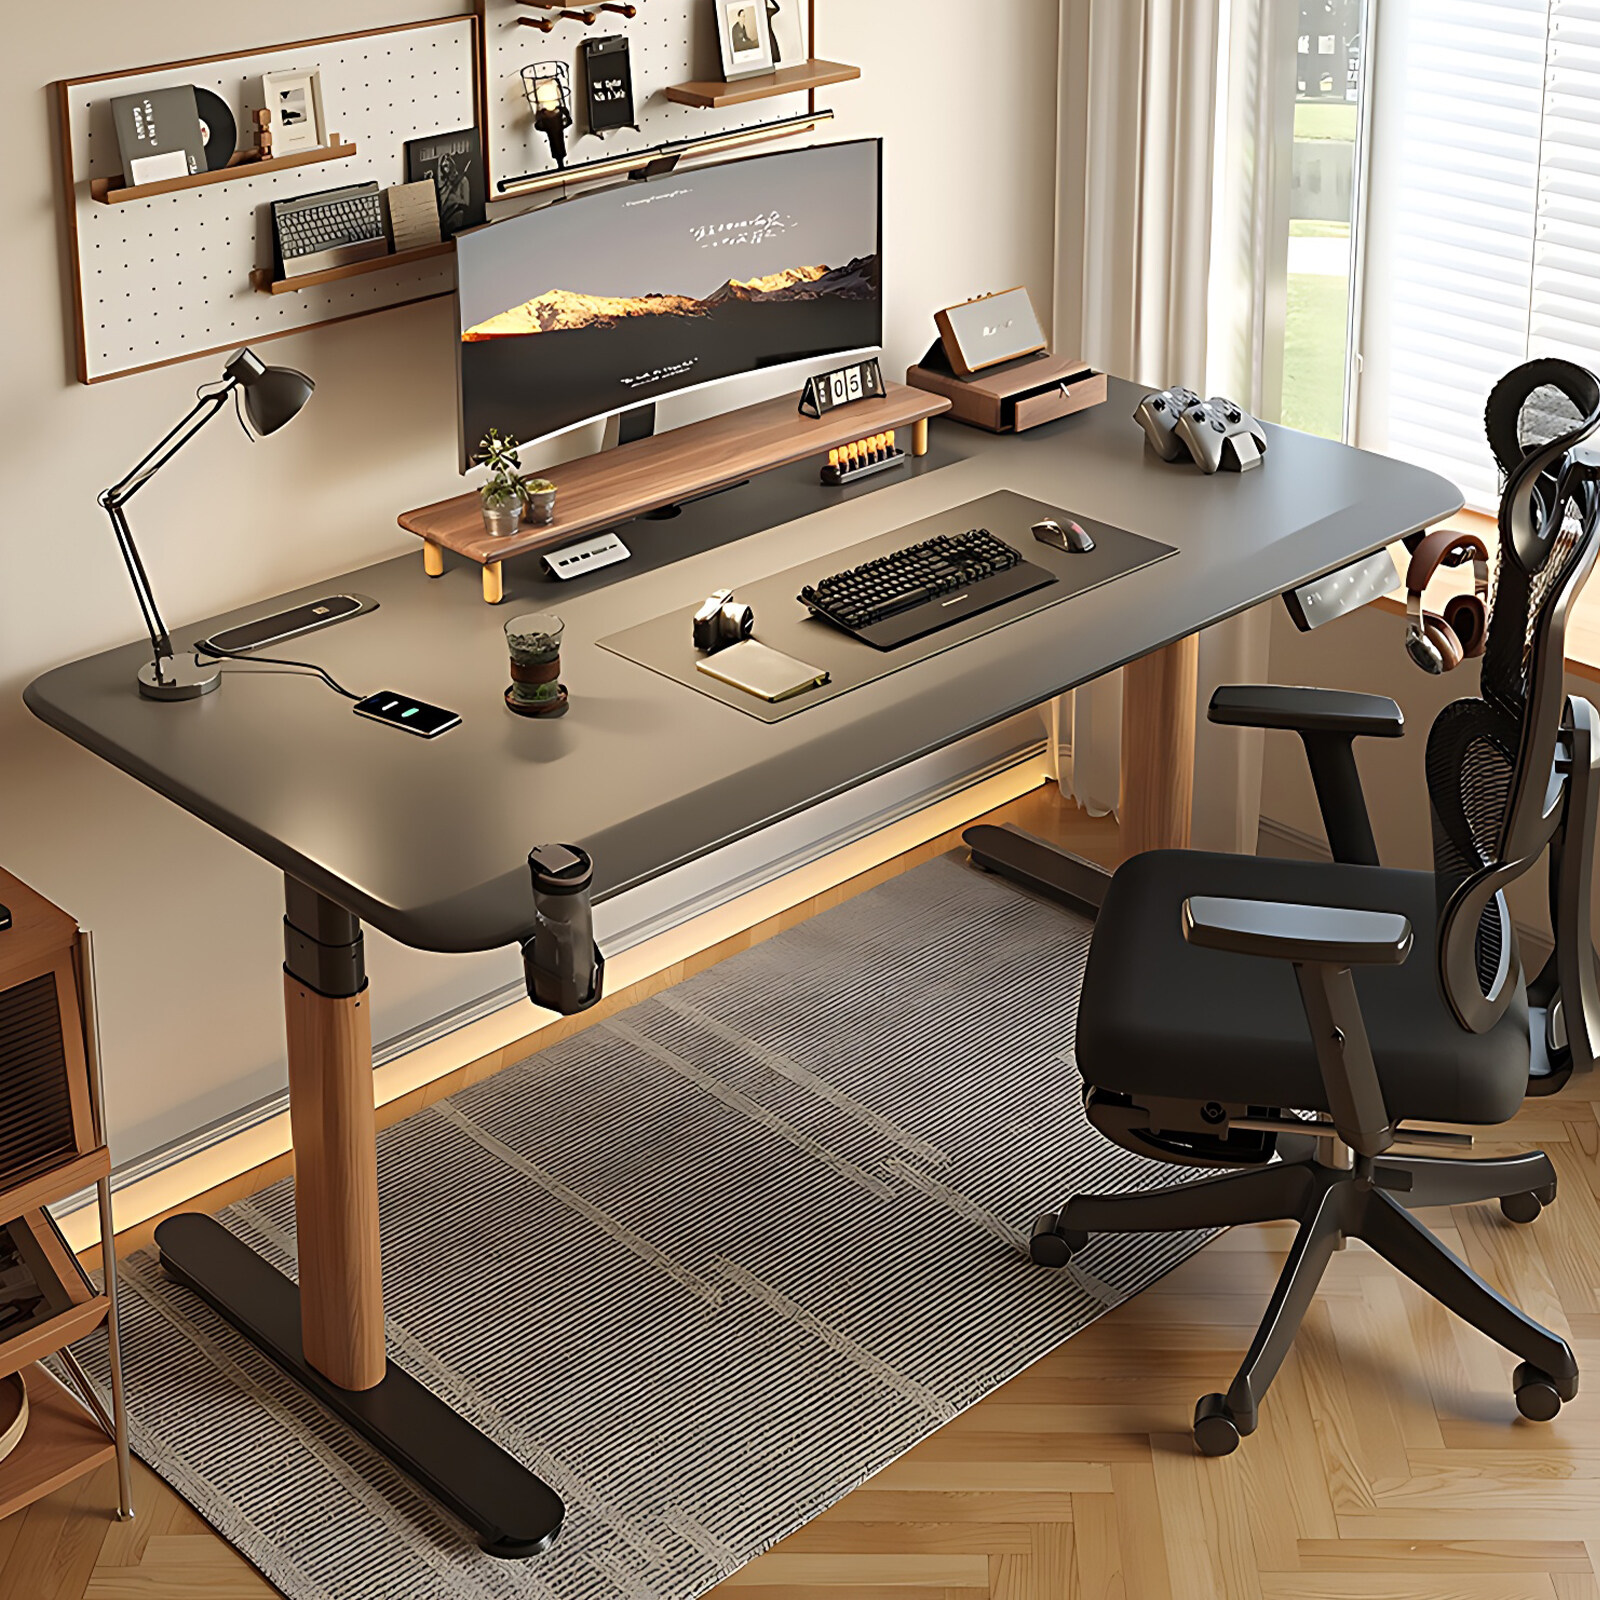
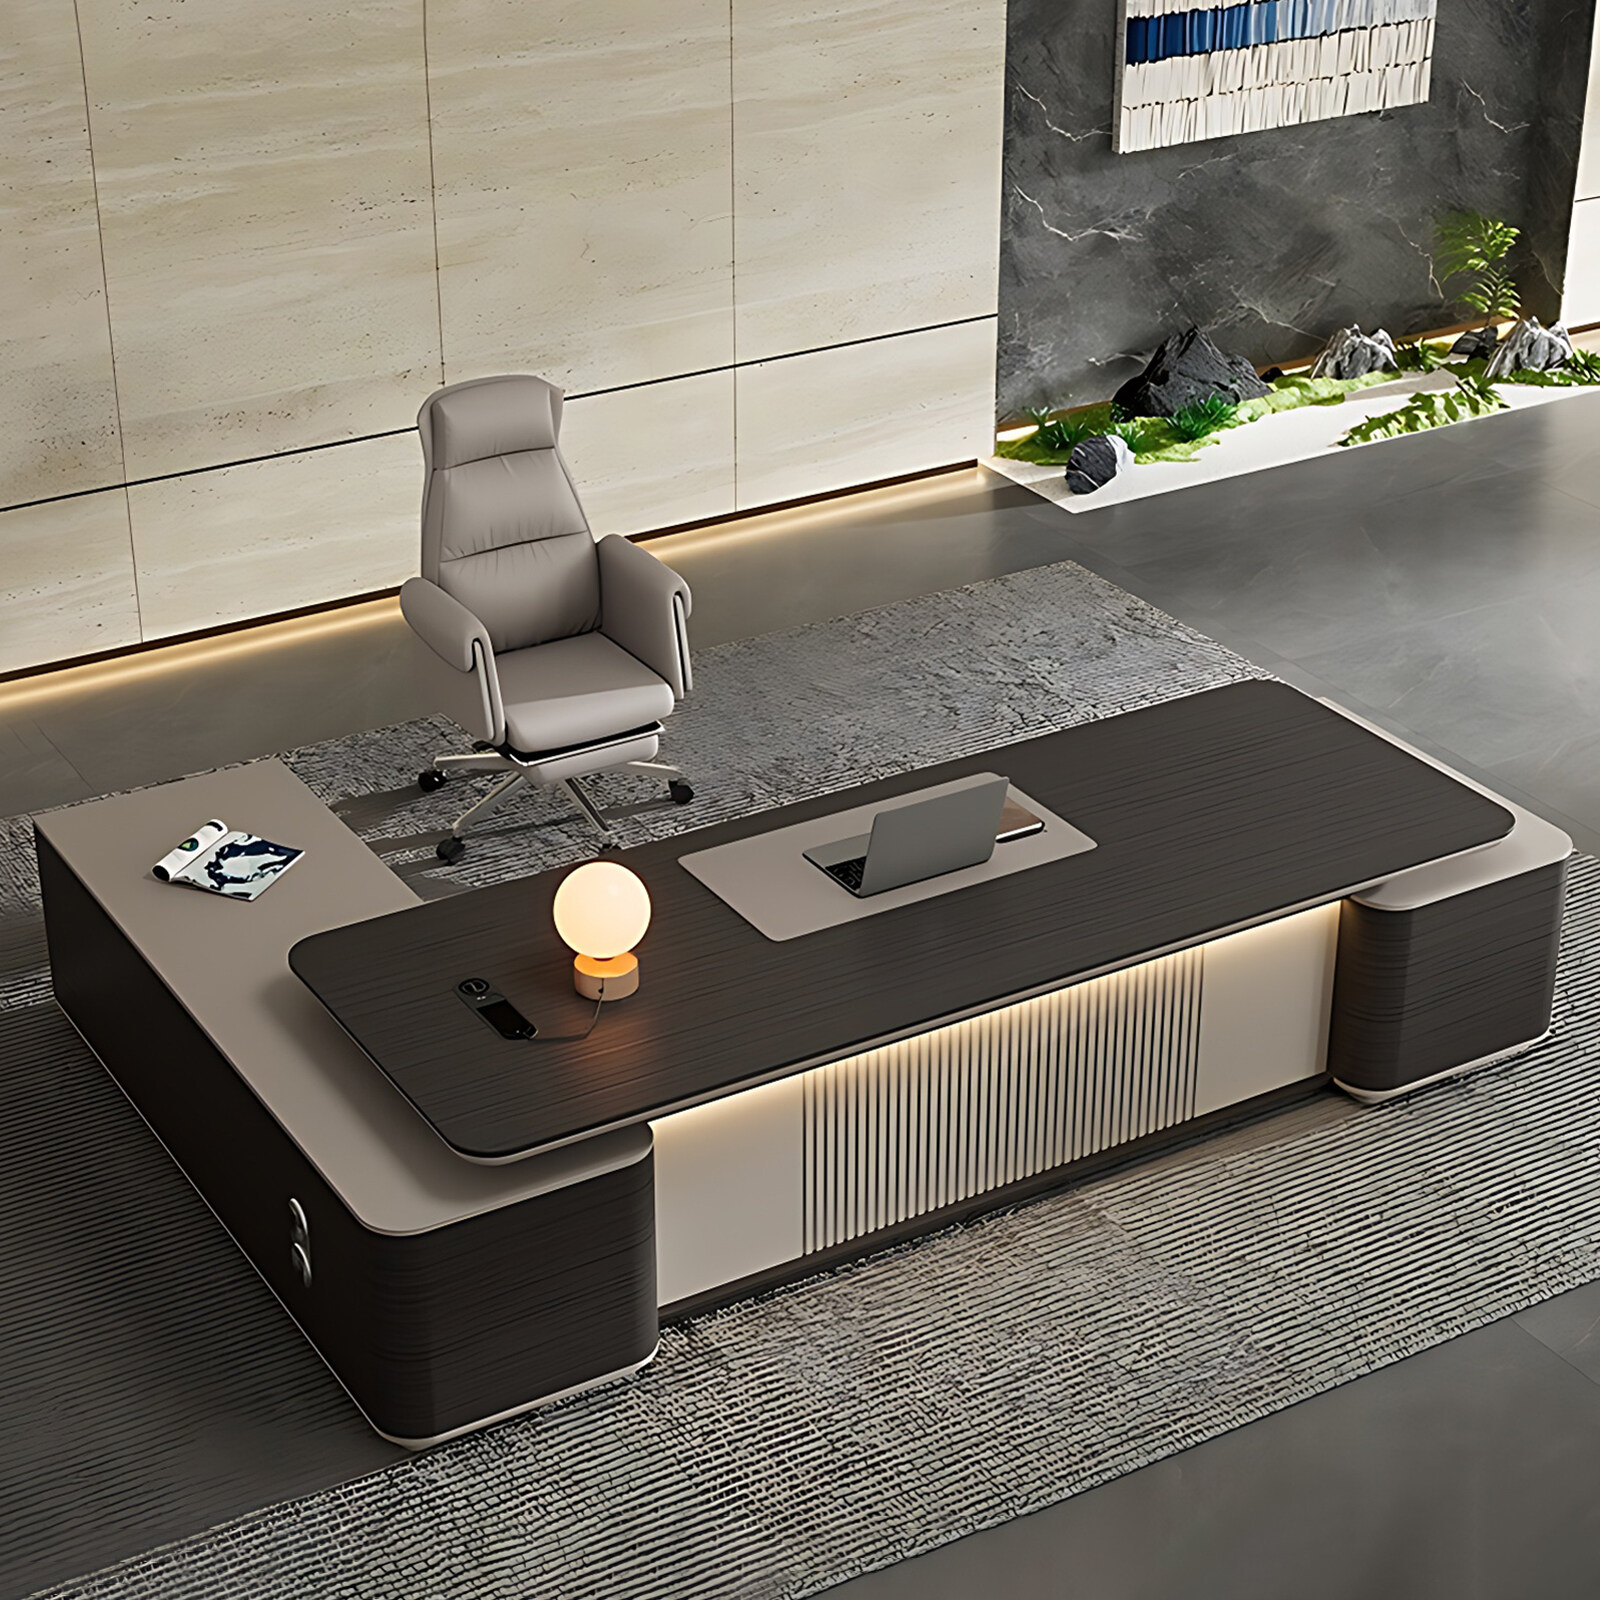


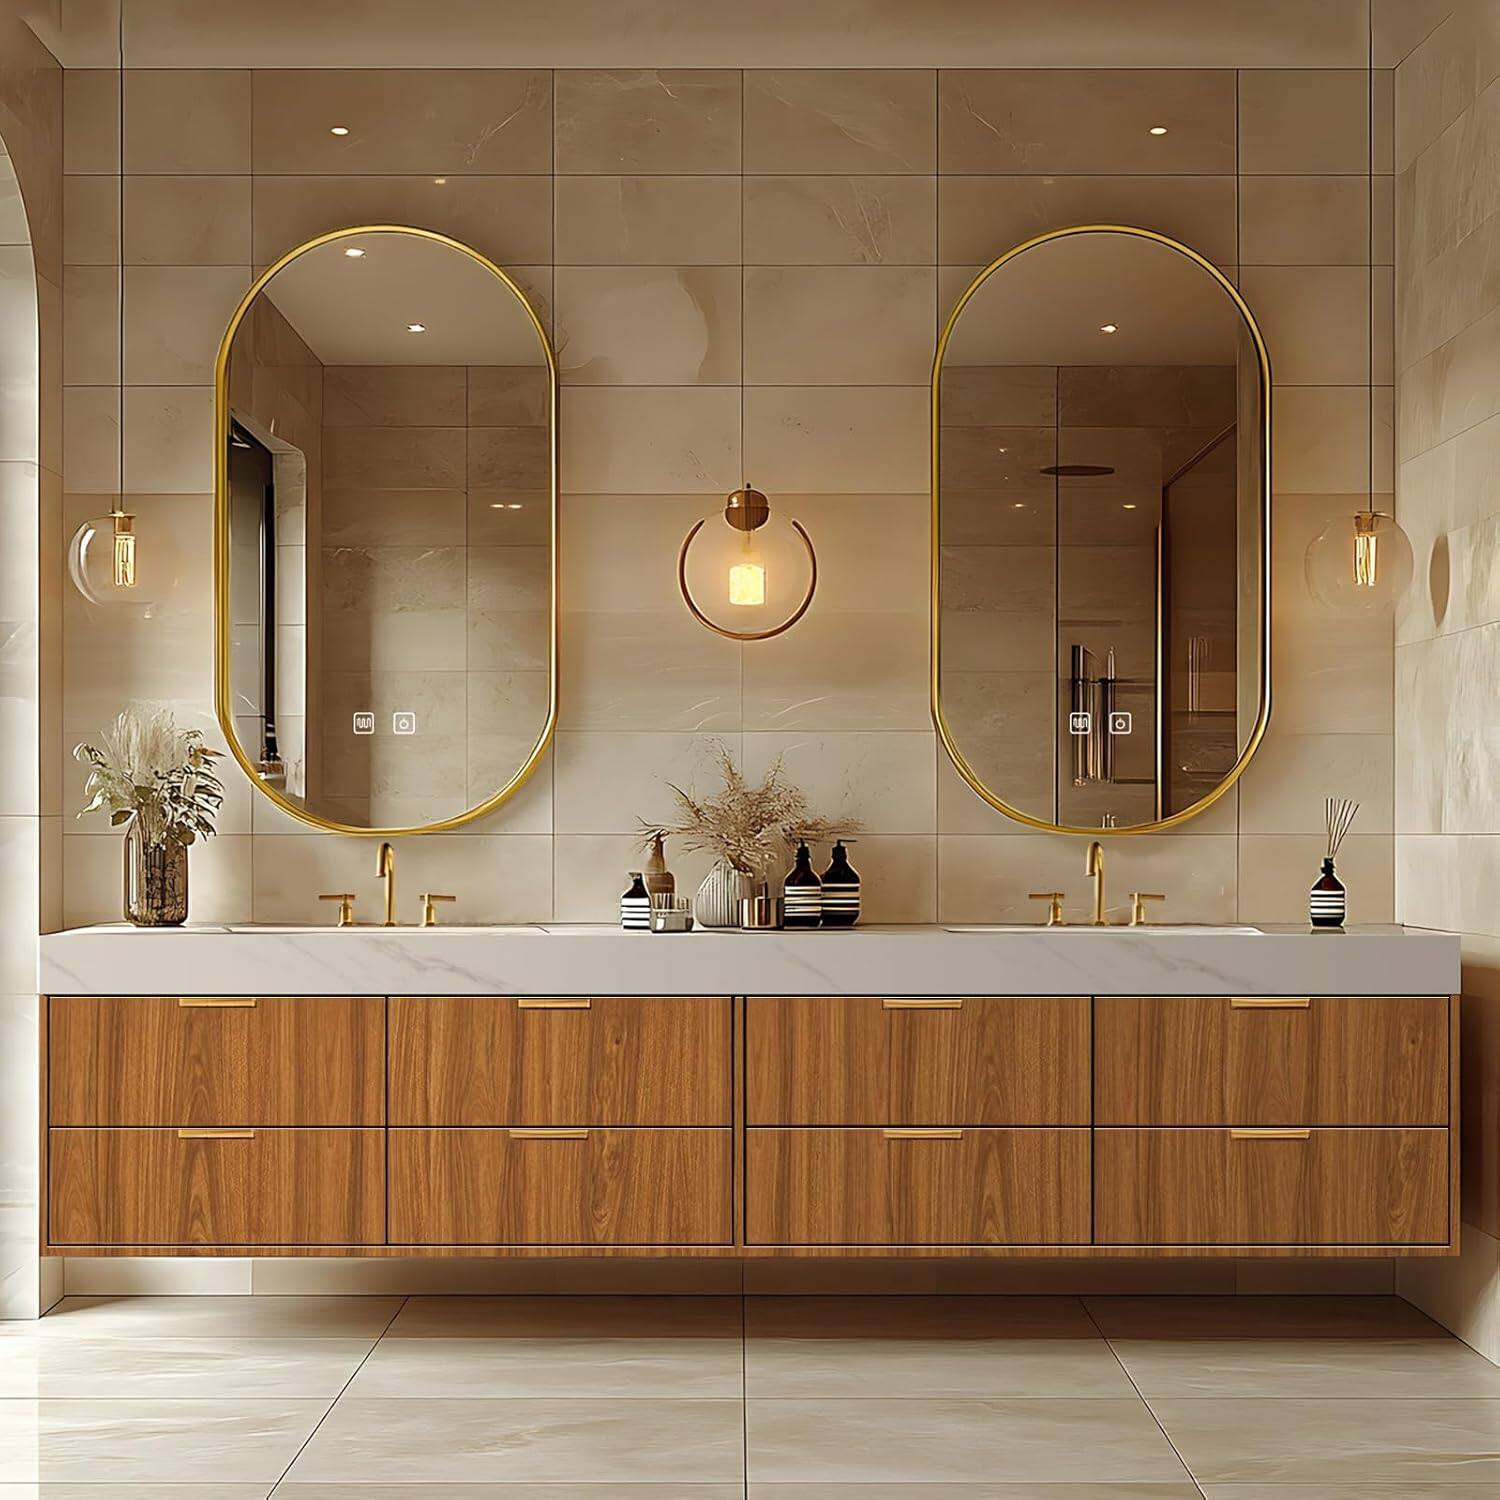
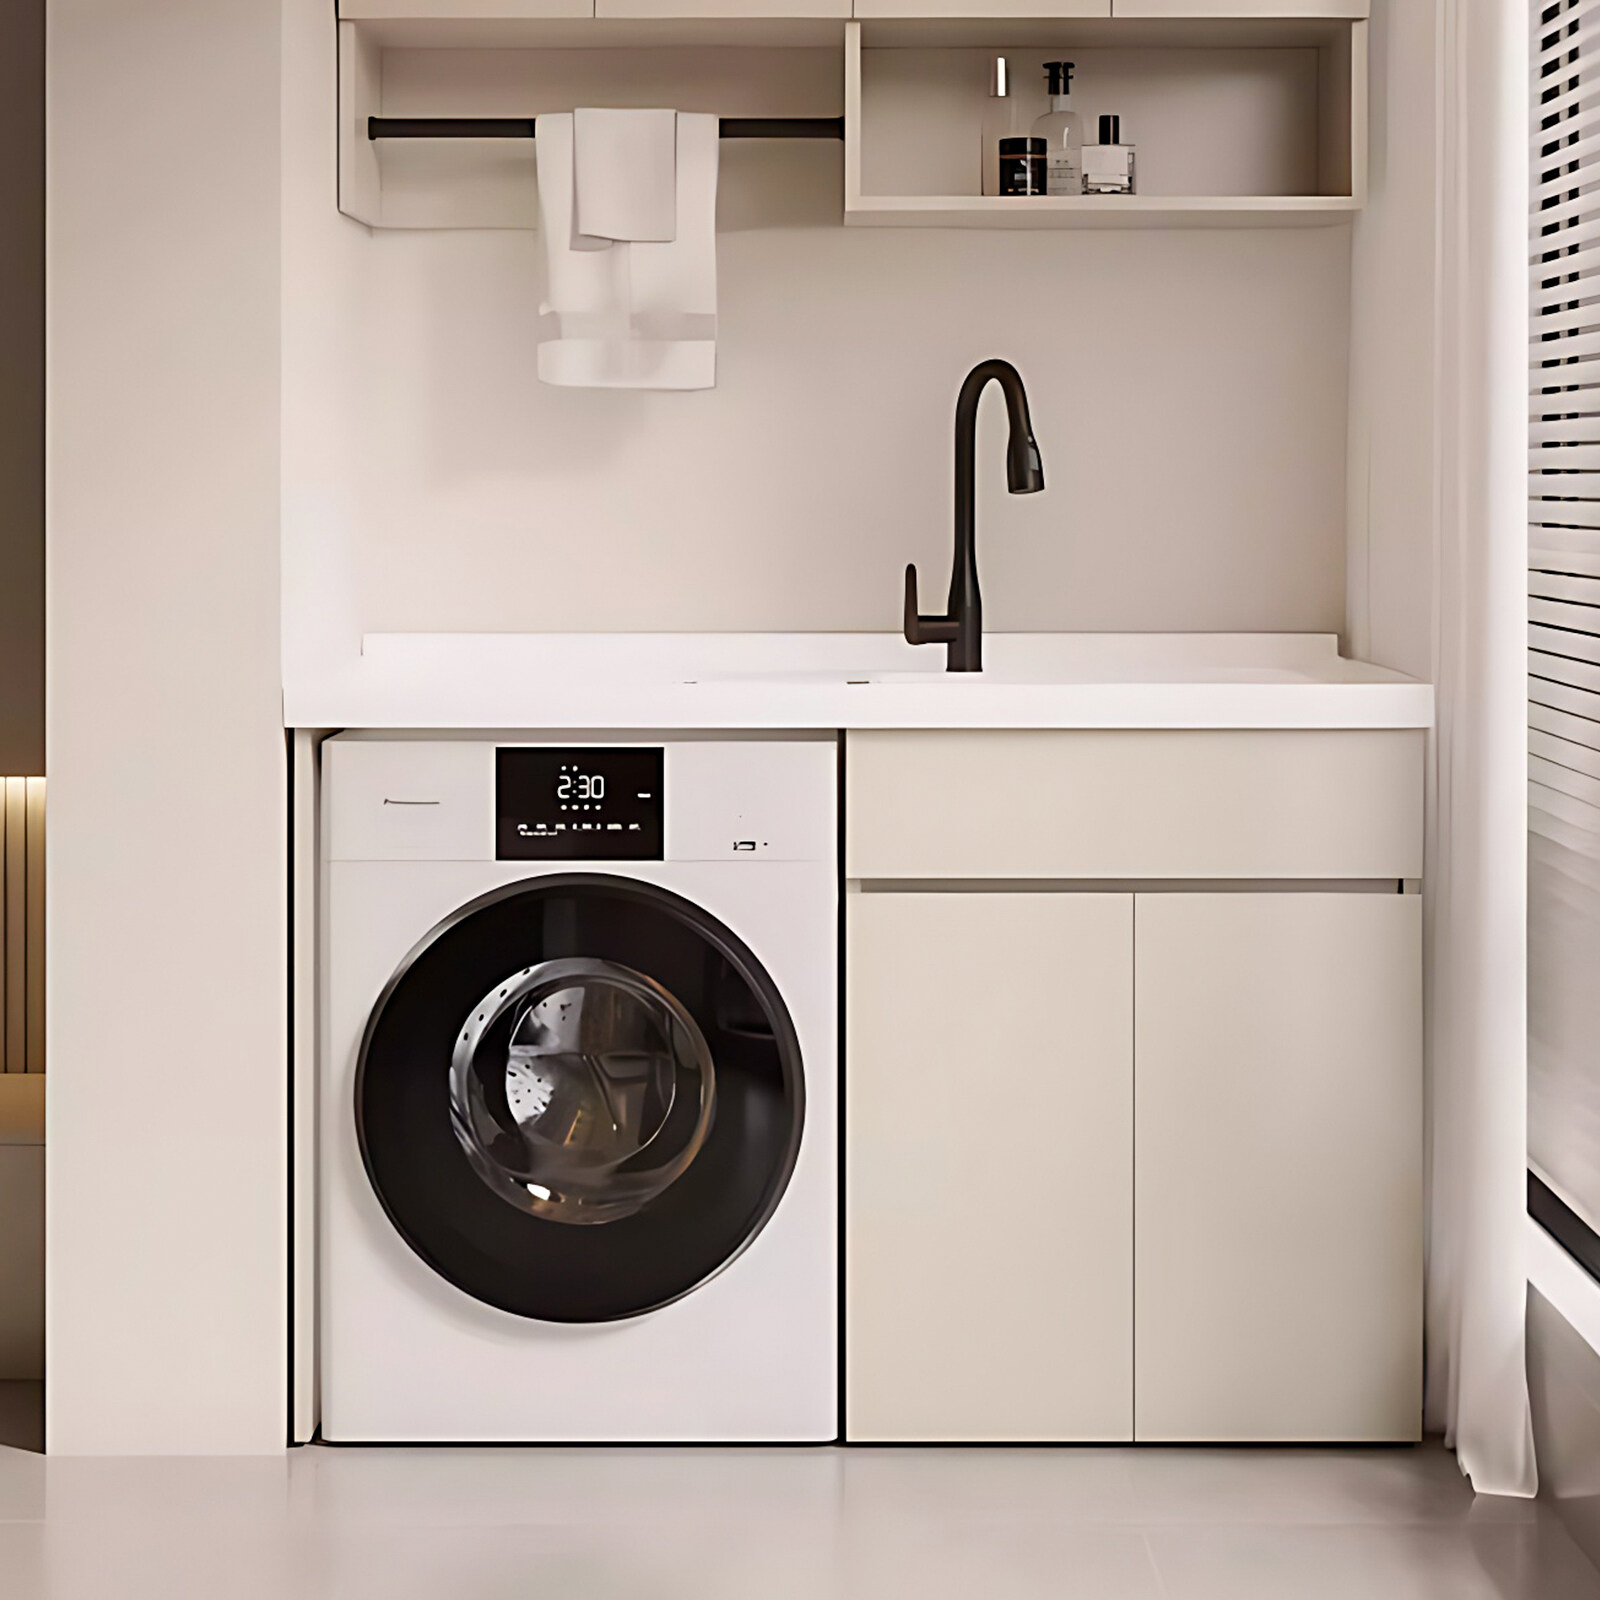


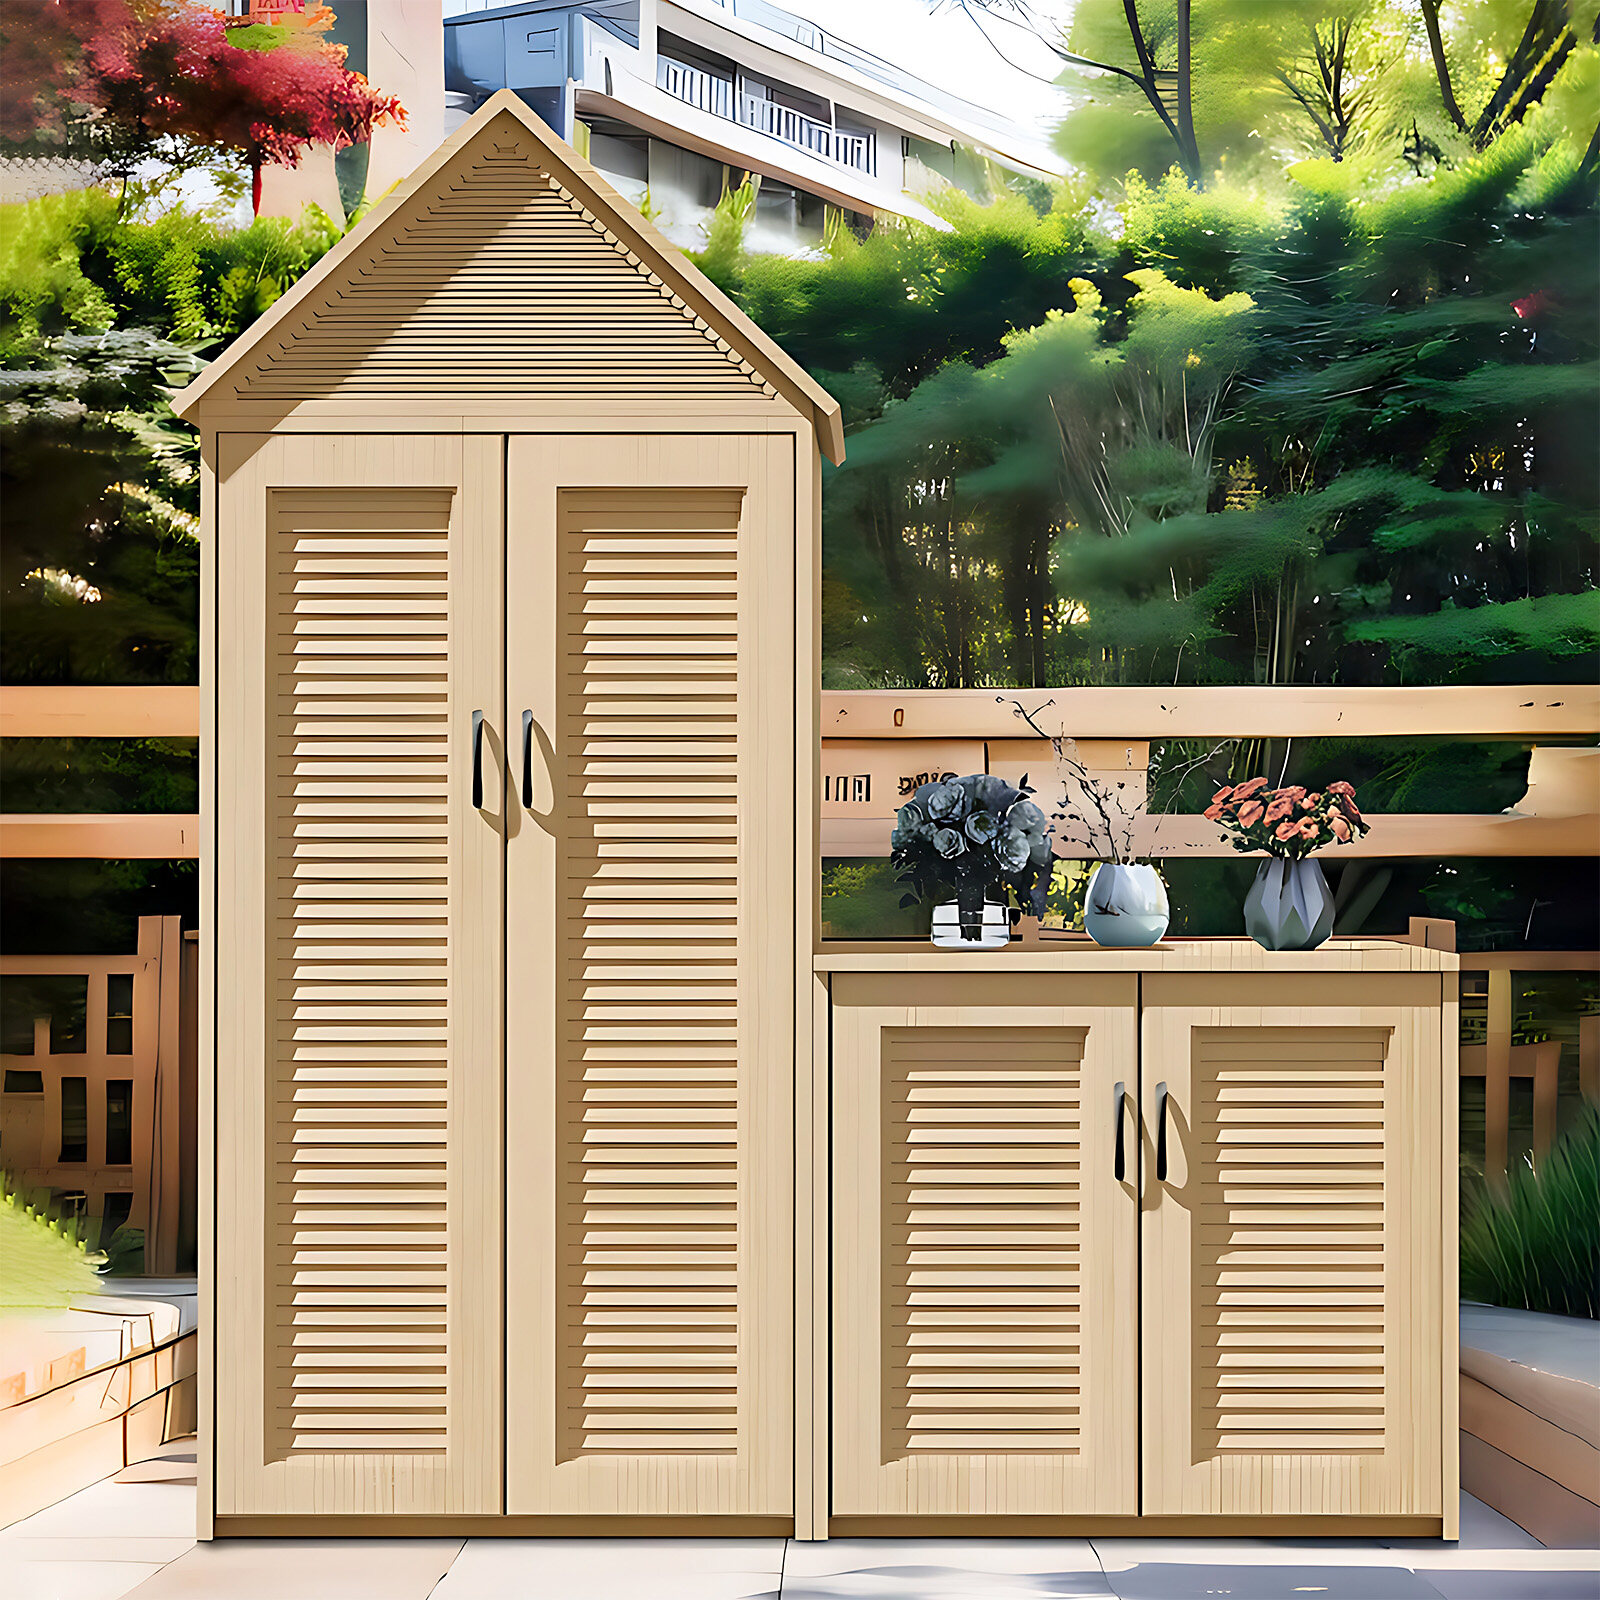
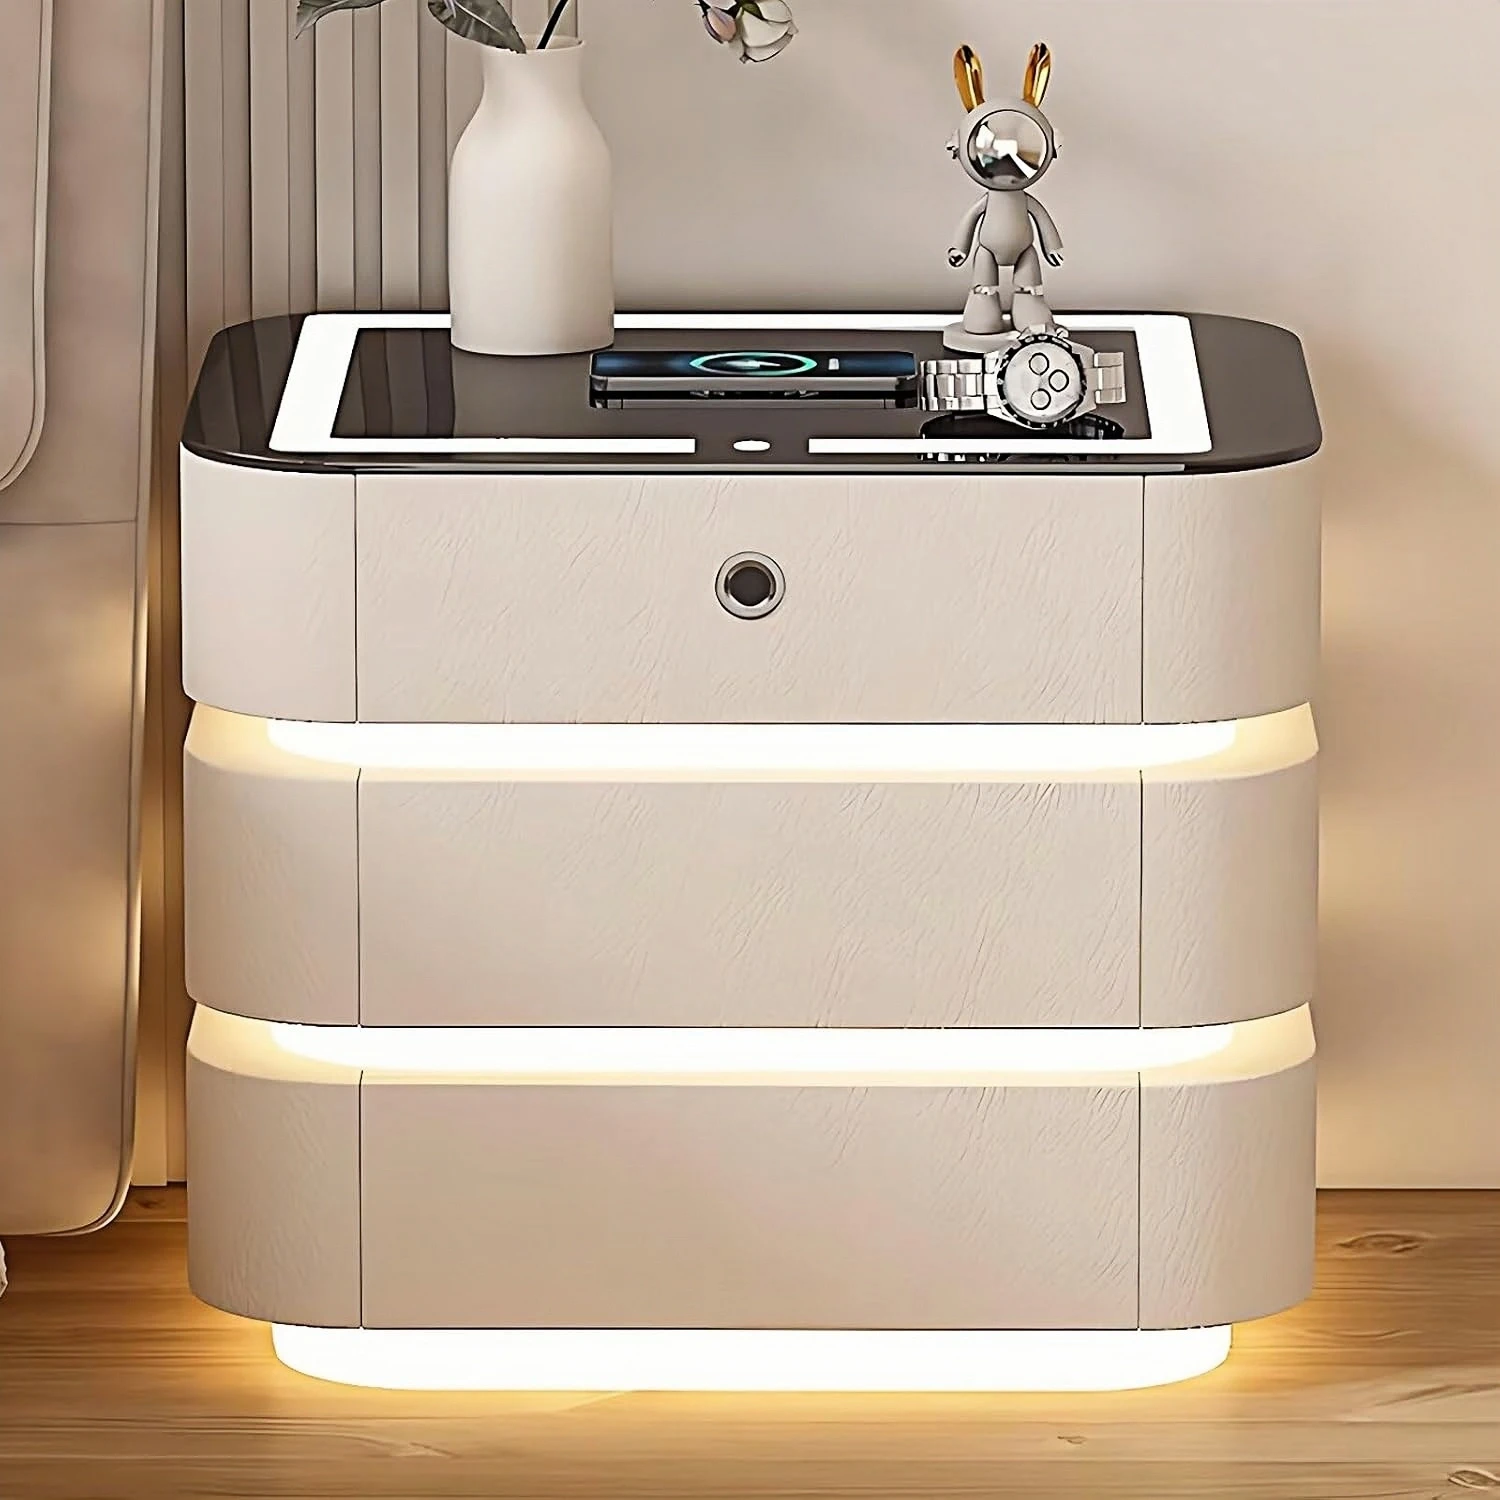
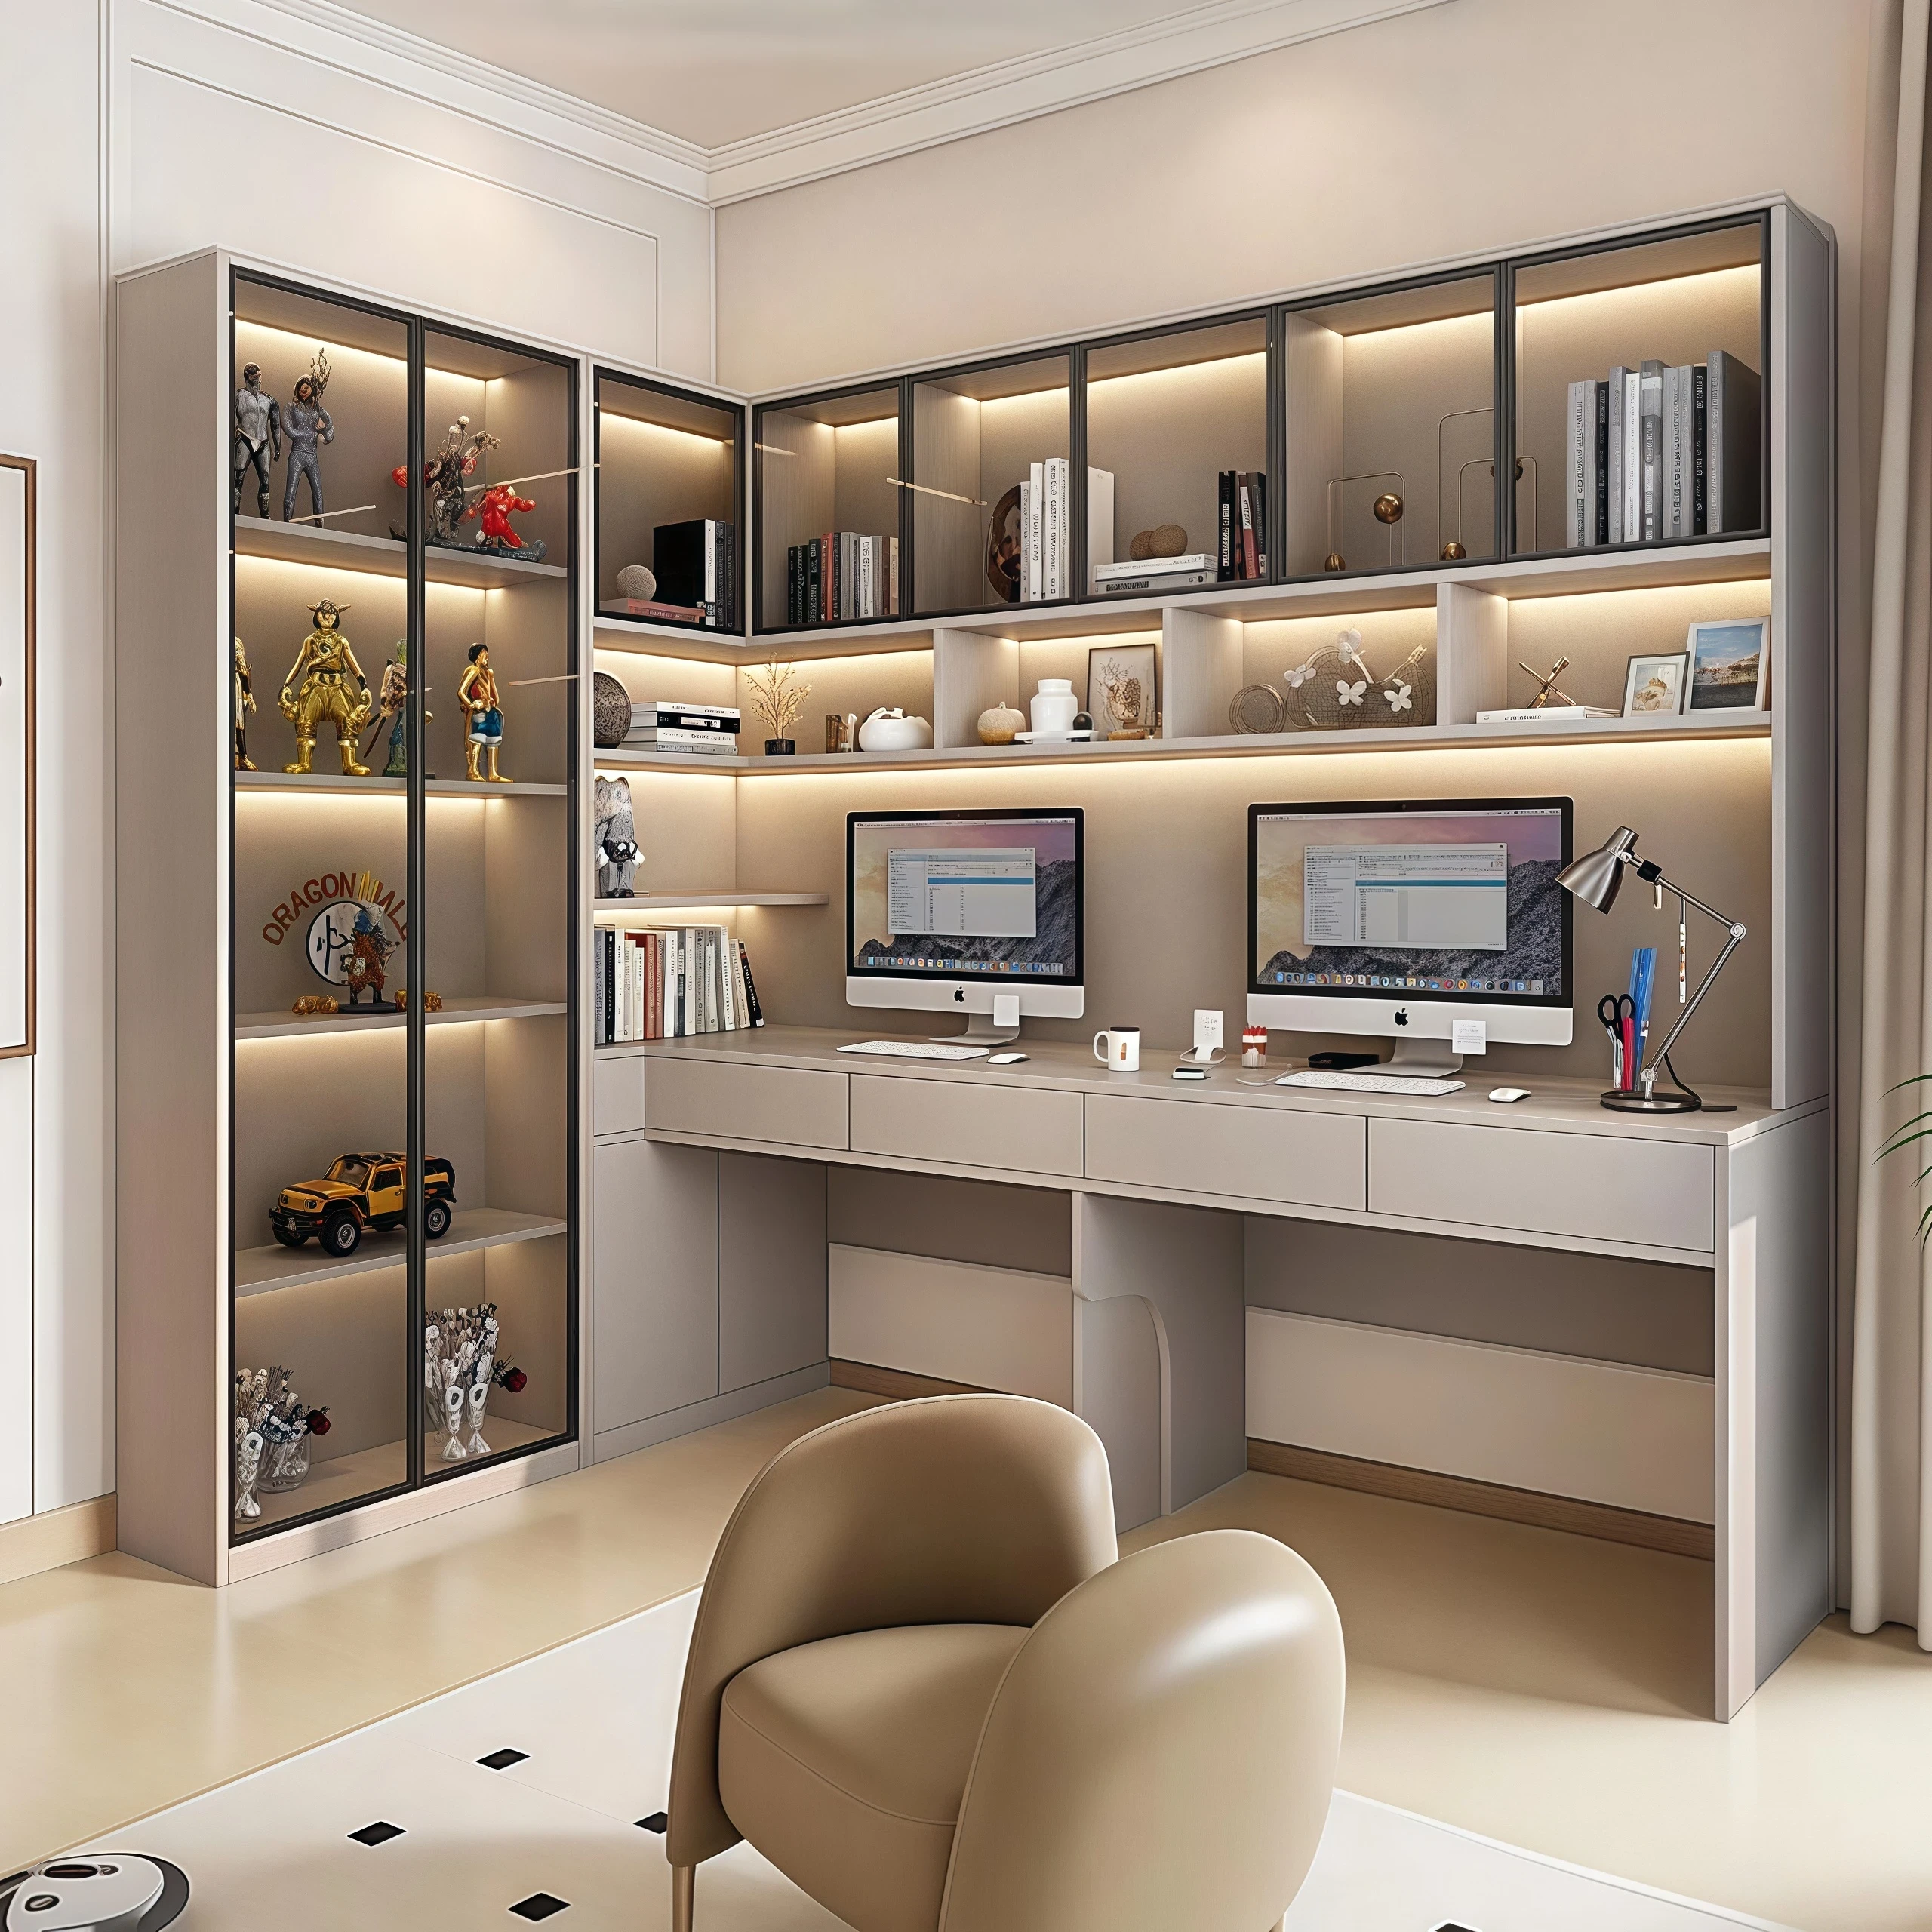
In home design, curved elements are gaining increasing popularity among consumers. The soft lines of curved cabinets not only break the rigidity of traditional right-angled furniture, injecting a dynamic aesthetic into the space, but also cleverly avoid the risk of bumps and bumps, making them particularly suitable for families with elderly people and children.
However, arc cabinets are expensive and difficult to install. If you want to reduce losses, you must prepare in advance and avoid mistakes as much as possible.
Today, Qiangyi will provide you with a full guide to the installation of arc cabinets to help you be more comfortable with the installation process of arc cabinets!
Arc cabinet installation steps
Arc cabinets are difficult to install, so you need to prepare well before installation and pay attention to installation details. The following are some general installation steps. Remember to adjust them according to the site conditions during construction.
1. Tools and materials preparation
◆Essential tools: electric drill, screwdriver, level, tape measure, pencil, rubber hammer. If glass or metal parts are involved, special protective pads are also required.
◆Material inspection: Carefully check the side panels, back panels, partitions, hardware and other components to confirm that there are no scratches or deformations and that all accessories are complete.
2. Accurate measurement and positioning
◆Use a tape measure and level to measure the wall surface and ensure the flatness error is ≤3mm.
◆Mark the cabinet position and fixing points with a pencil according to the design drawings, and use a laser marker to assist if necessary.
3. Cabinet assembly
◆Fix the side panels, back panels, and partitions with screws or connectors according to the instructions to ensure that the structure is stable and not loose.
◆For special arc parts, attention should be paid to the splicing angle, which can be adjusted during trial assembly in advance.
4. Backboard reinforcement
◆After placing the back panel close to the cabinet body, fix it with screws or nails to enhance the overall stability.
◆Pay attention to aligning the back panel with the edge of the cabinet to avoid misalignment.
5. Cabinet fixing
◆Drill holes at the marked points and use expansion screws to fix the cabinet to the wall.
◆Repeatedly check the cabinet's horizontality and verticality to ensure the error is less than 2mm.
6. Cabinet door/drawer installation
◆Install the hinges or slides and adjust them until they open and close smoothly and the gap is even (about 2-3mm).
◆Test the opening and closing feel and fine-tune the position of hardware if necessary.
7. Detail adjustments
◆Recalibrate the cabinet horizontally and vertically and check whether the connections between components are firm.
◆Clean away excess glue marks and wood chips to keep the installation surface clean.
Installation Notes
Protection in place
> Wear gloves and goggles to prevent scratches and debris from entering your eyes.
>When working at height, use a stable ladder and ensure you have assistance.
Standardized operations
>Use power tools correctly and avoid overloading or misoperation.
>Keep the center of gravity stable when moving parts to prevent twisting or cabinet tipping.
Environmental safety
>Keep construction away from circuits and sockets to avoid the risk of electric shock.
>Children and pets are prohibited from entering the installation site to prevent accidents.
Maintenance after installation
Cleaning steps
1. Dust removal: Use a dry soft cloth to wipe the surface dust along the texture.
2. Stain treatment: Use a damp cloth dipped in neutral detergent to gently wipe to prevent moisture from penetrating into the joints of the boards.
3. Detail cleaning: Use a cotton swab to clean arc corners and hardware gaps.
4. Drying and finishing: Wipe dry with a dry cloth to prevent water stains.
Maintenance points
1. Anti-collision: Avoid impact from sharp or heavy objects to prevent deformation of the cabinet.
2. Control the environment: keep away from humid and direct sunlight areas to prevent mold and fading.
3. Regular maintenance: Wax the wooden cabinet every quarter to enhance gloss and protection.
4. Hardware maintenance: Wipe the hinges and slide rails with lubricating oil every month to extend their service life.
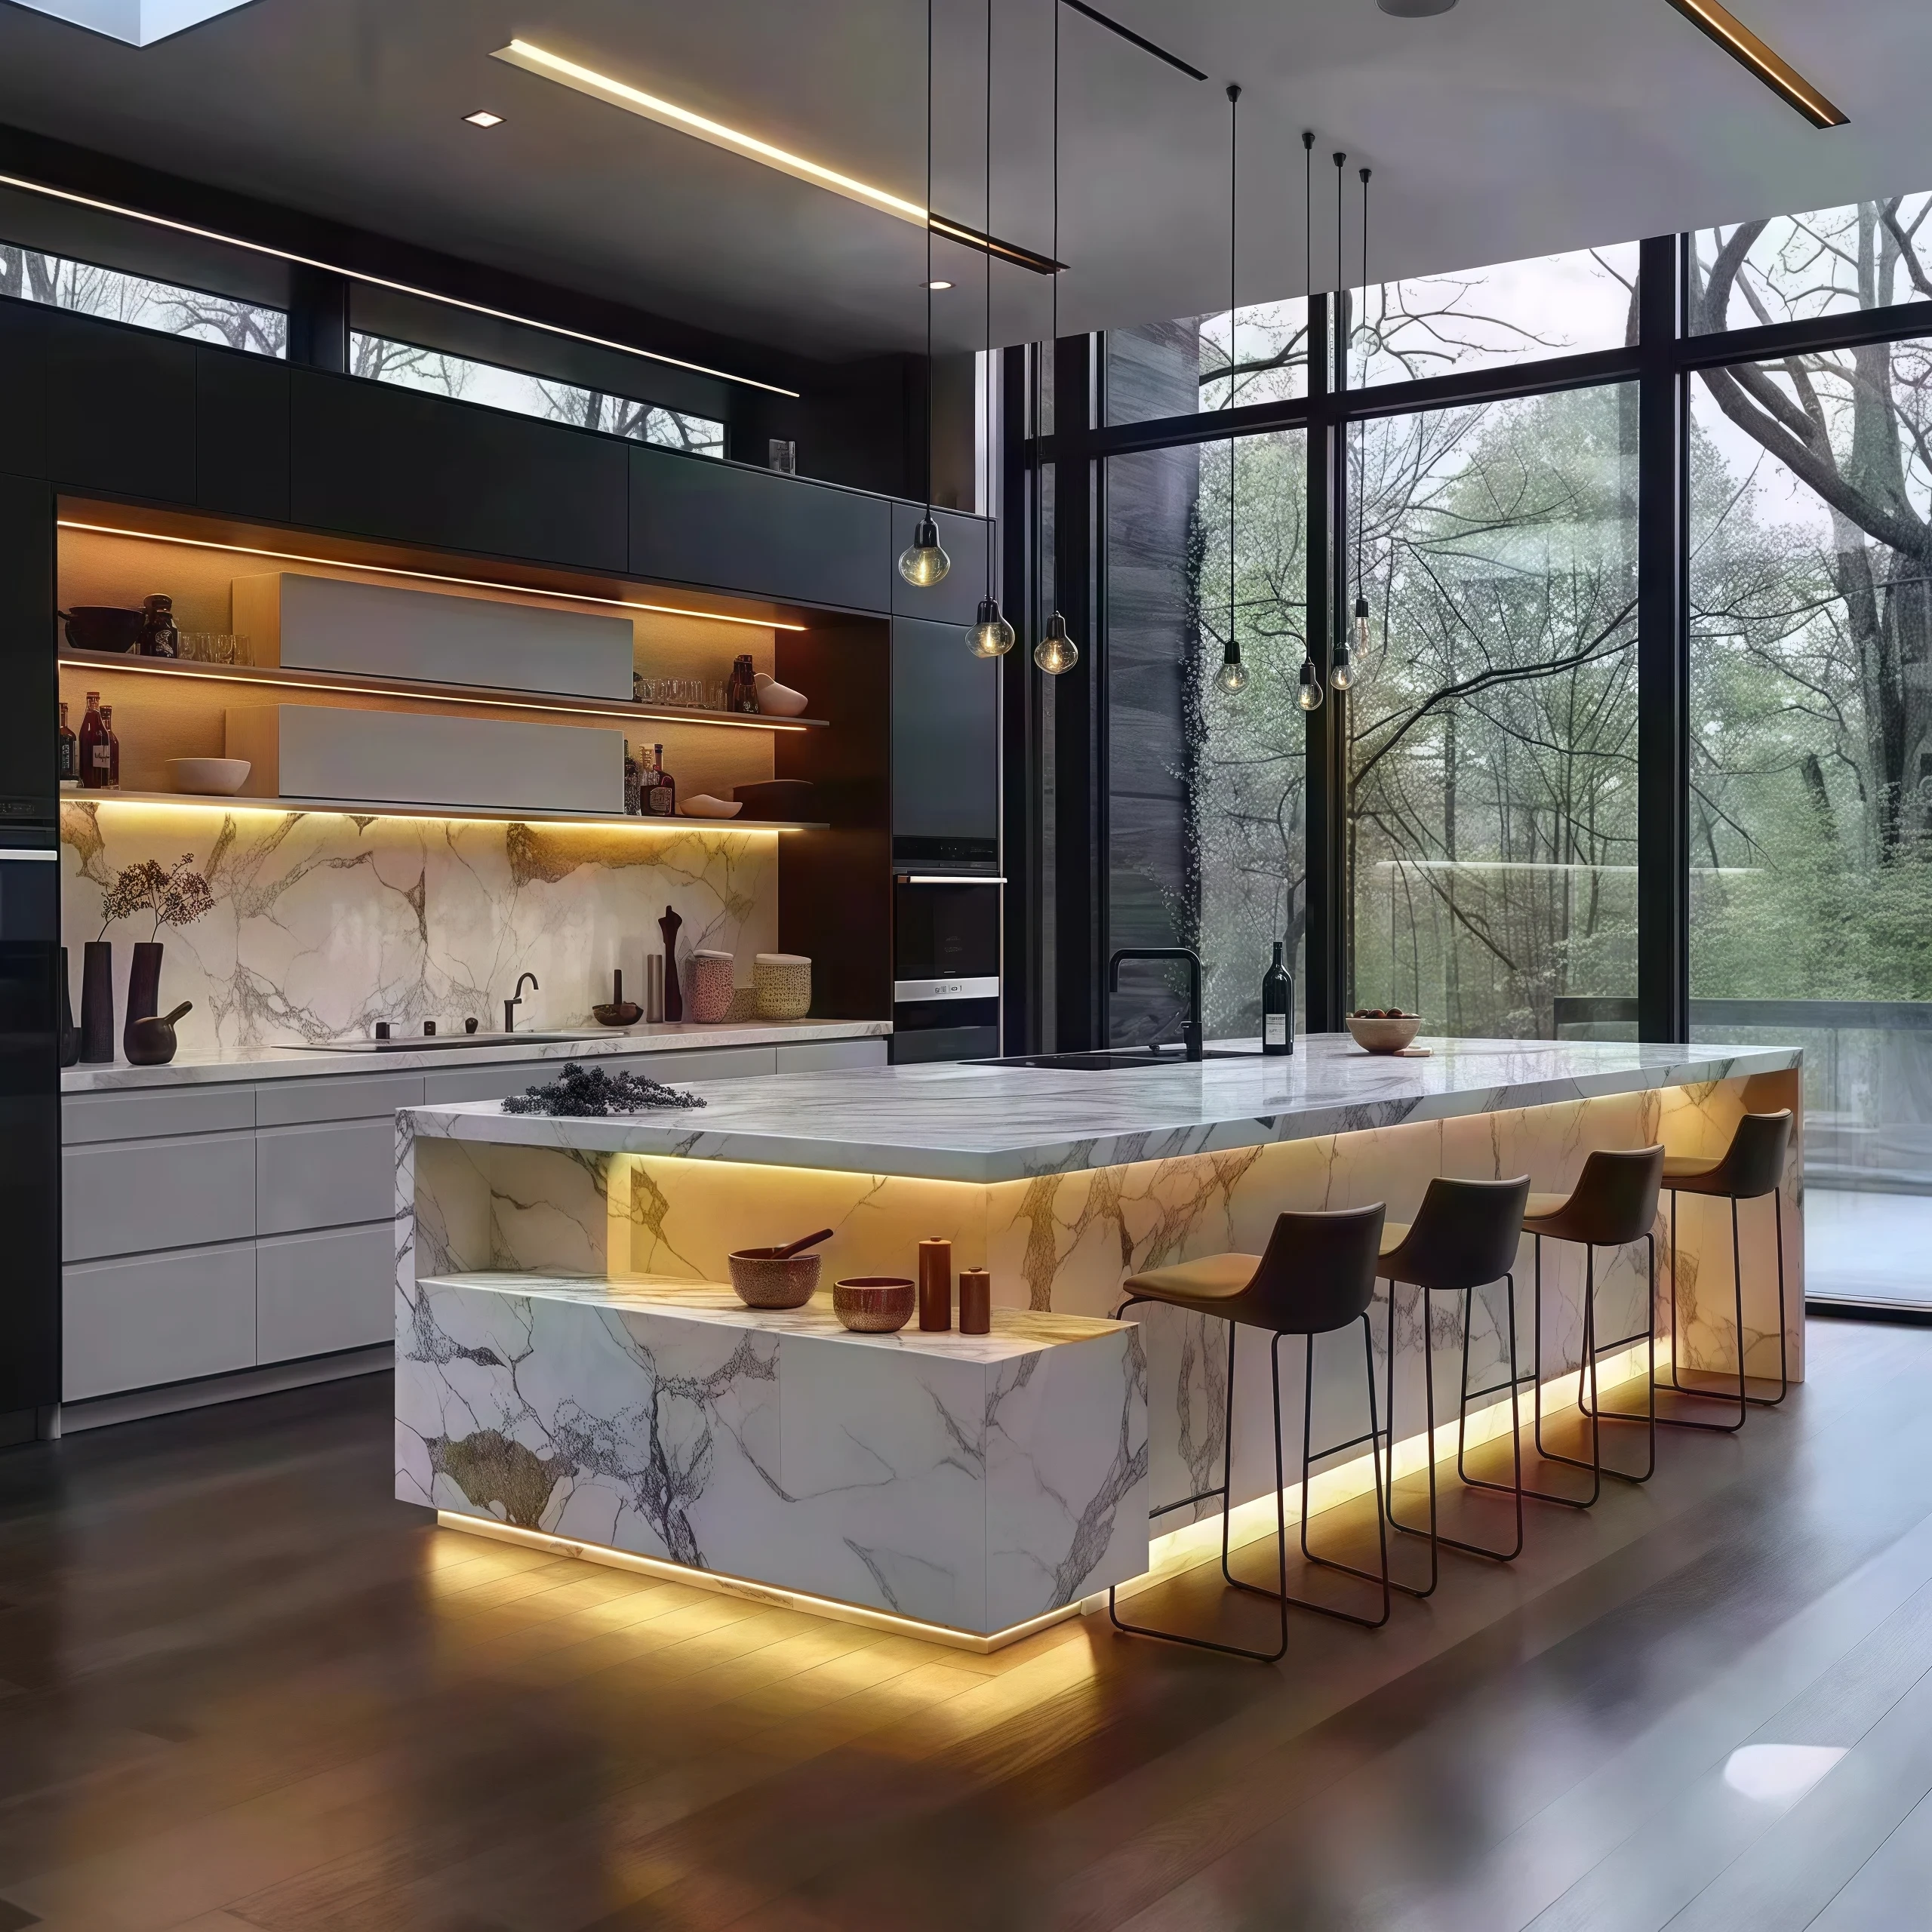
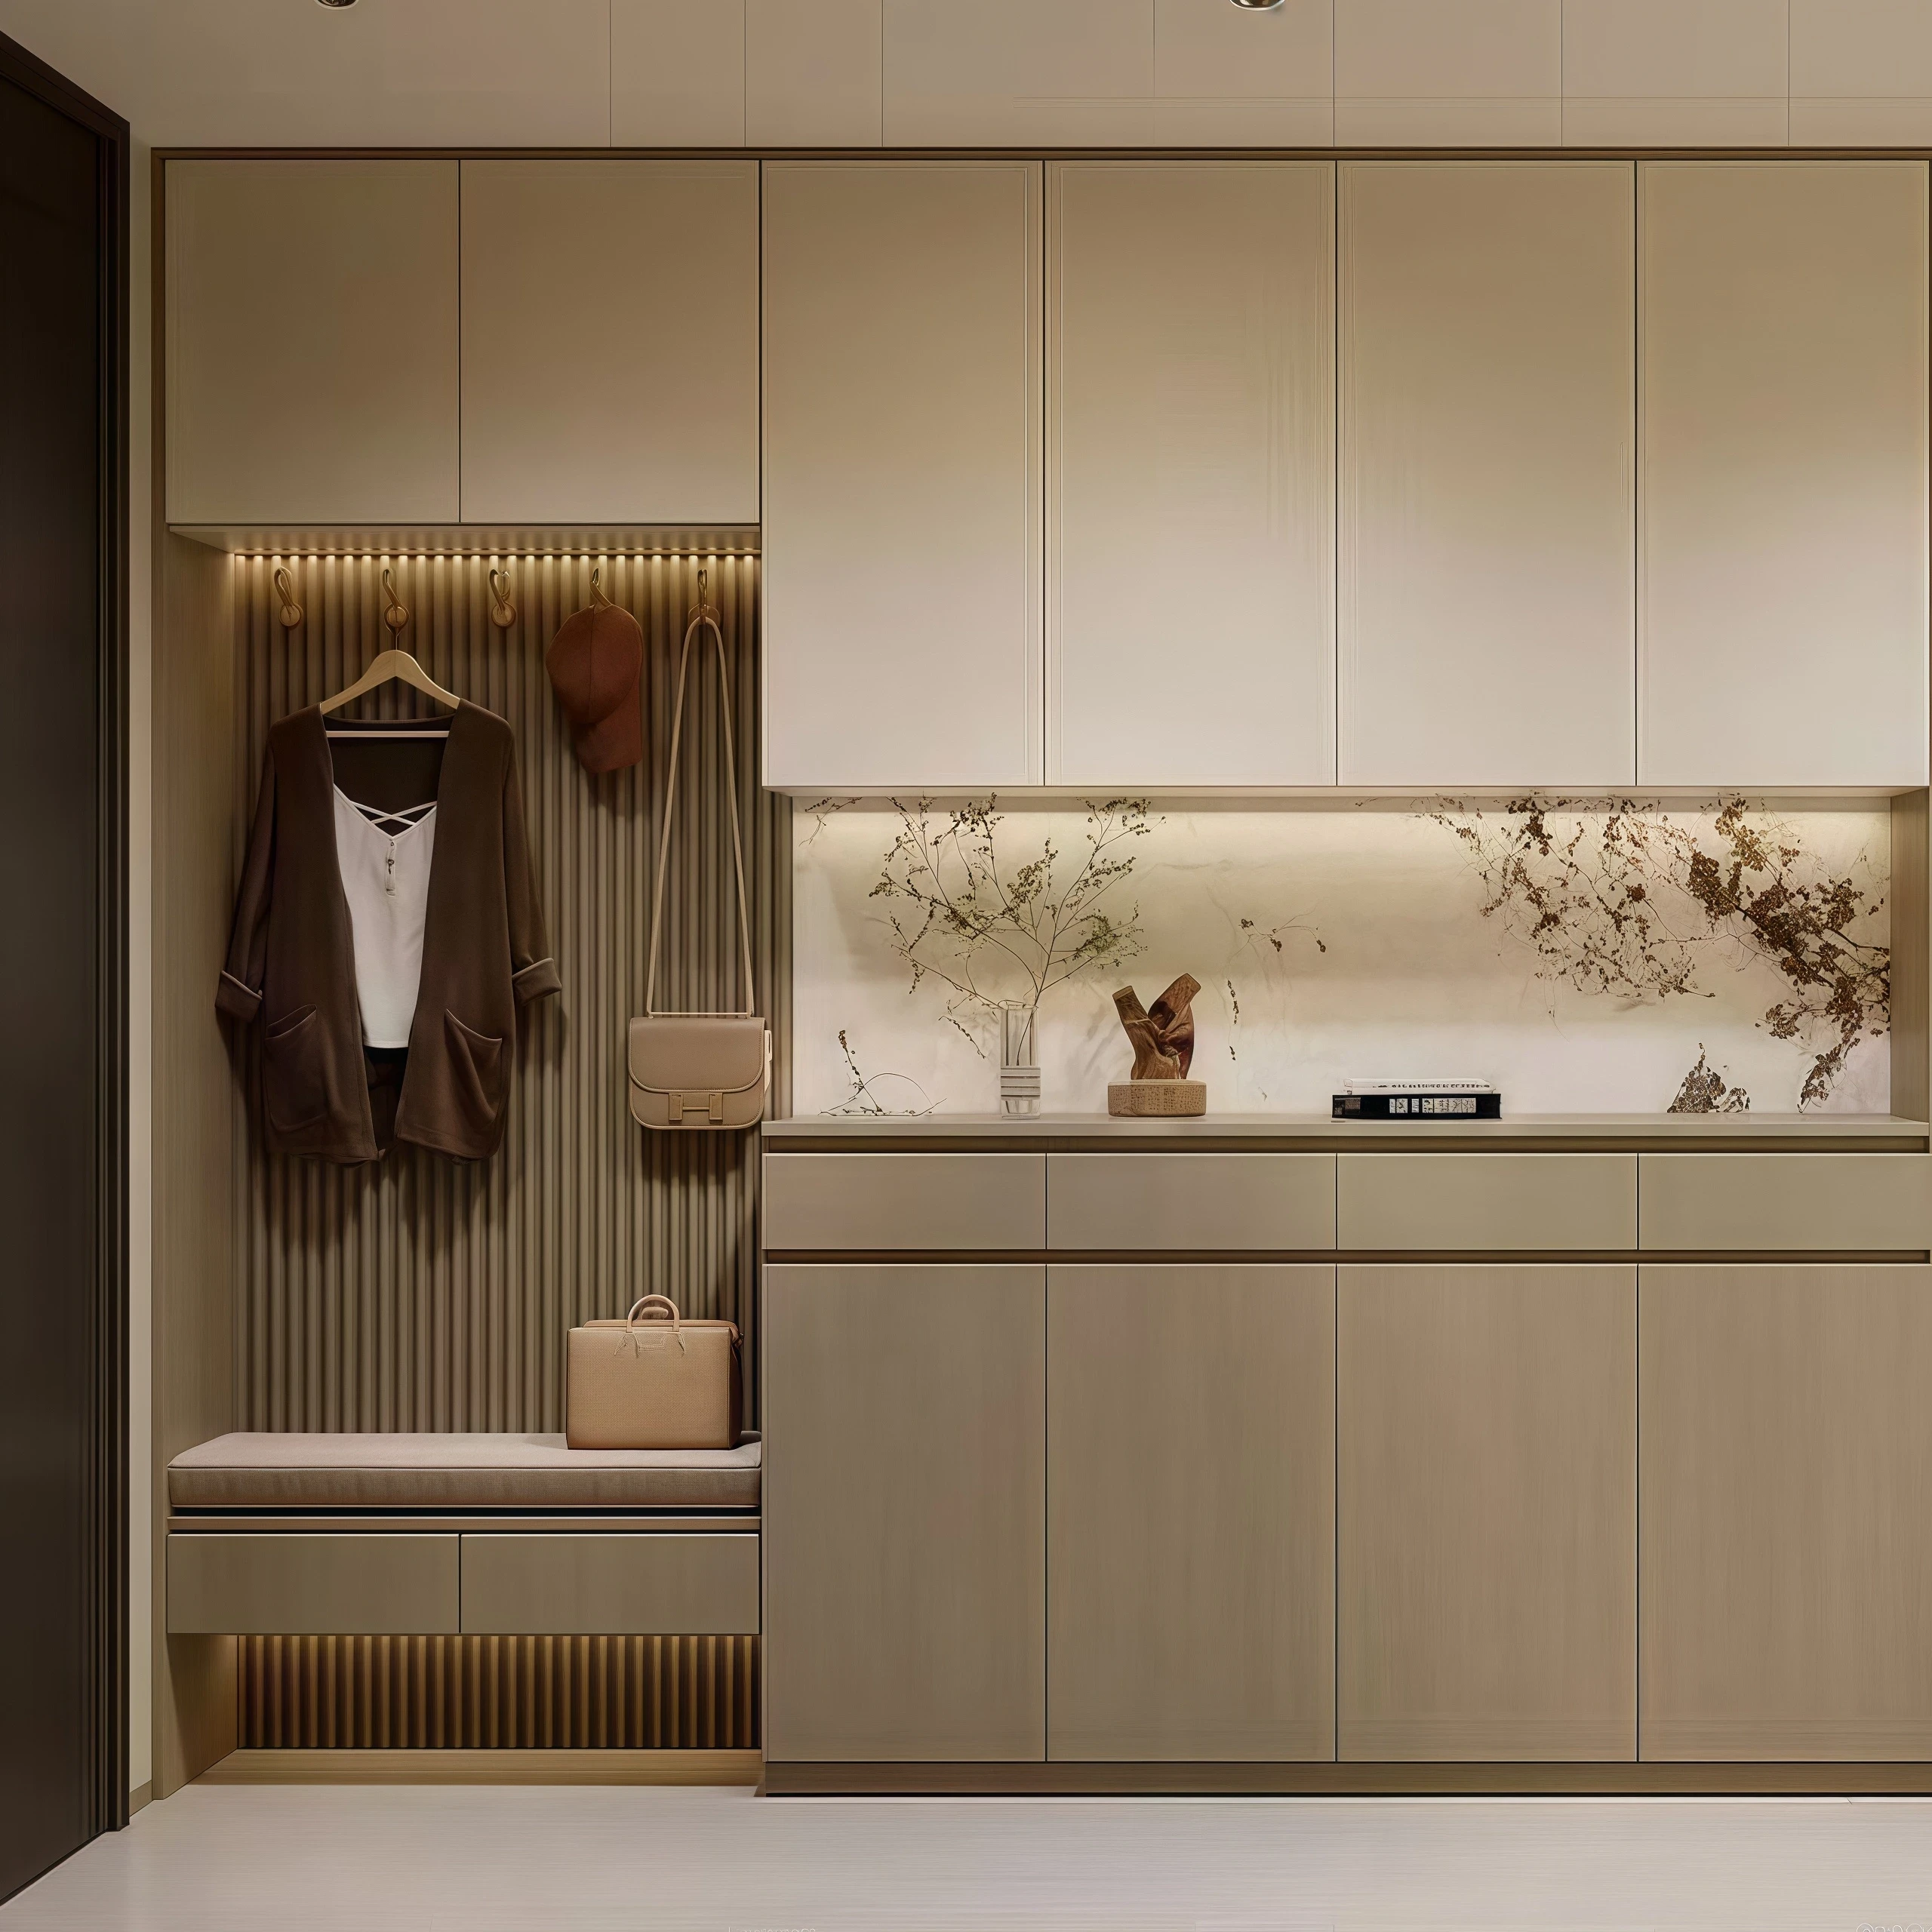
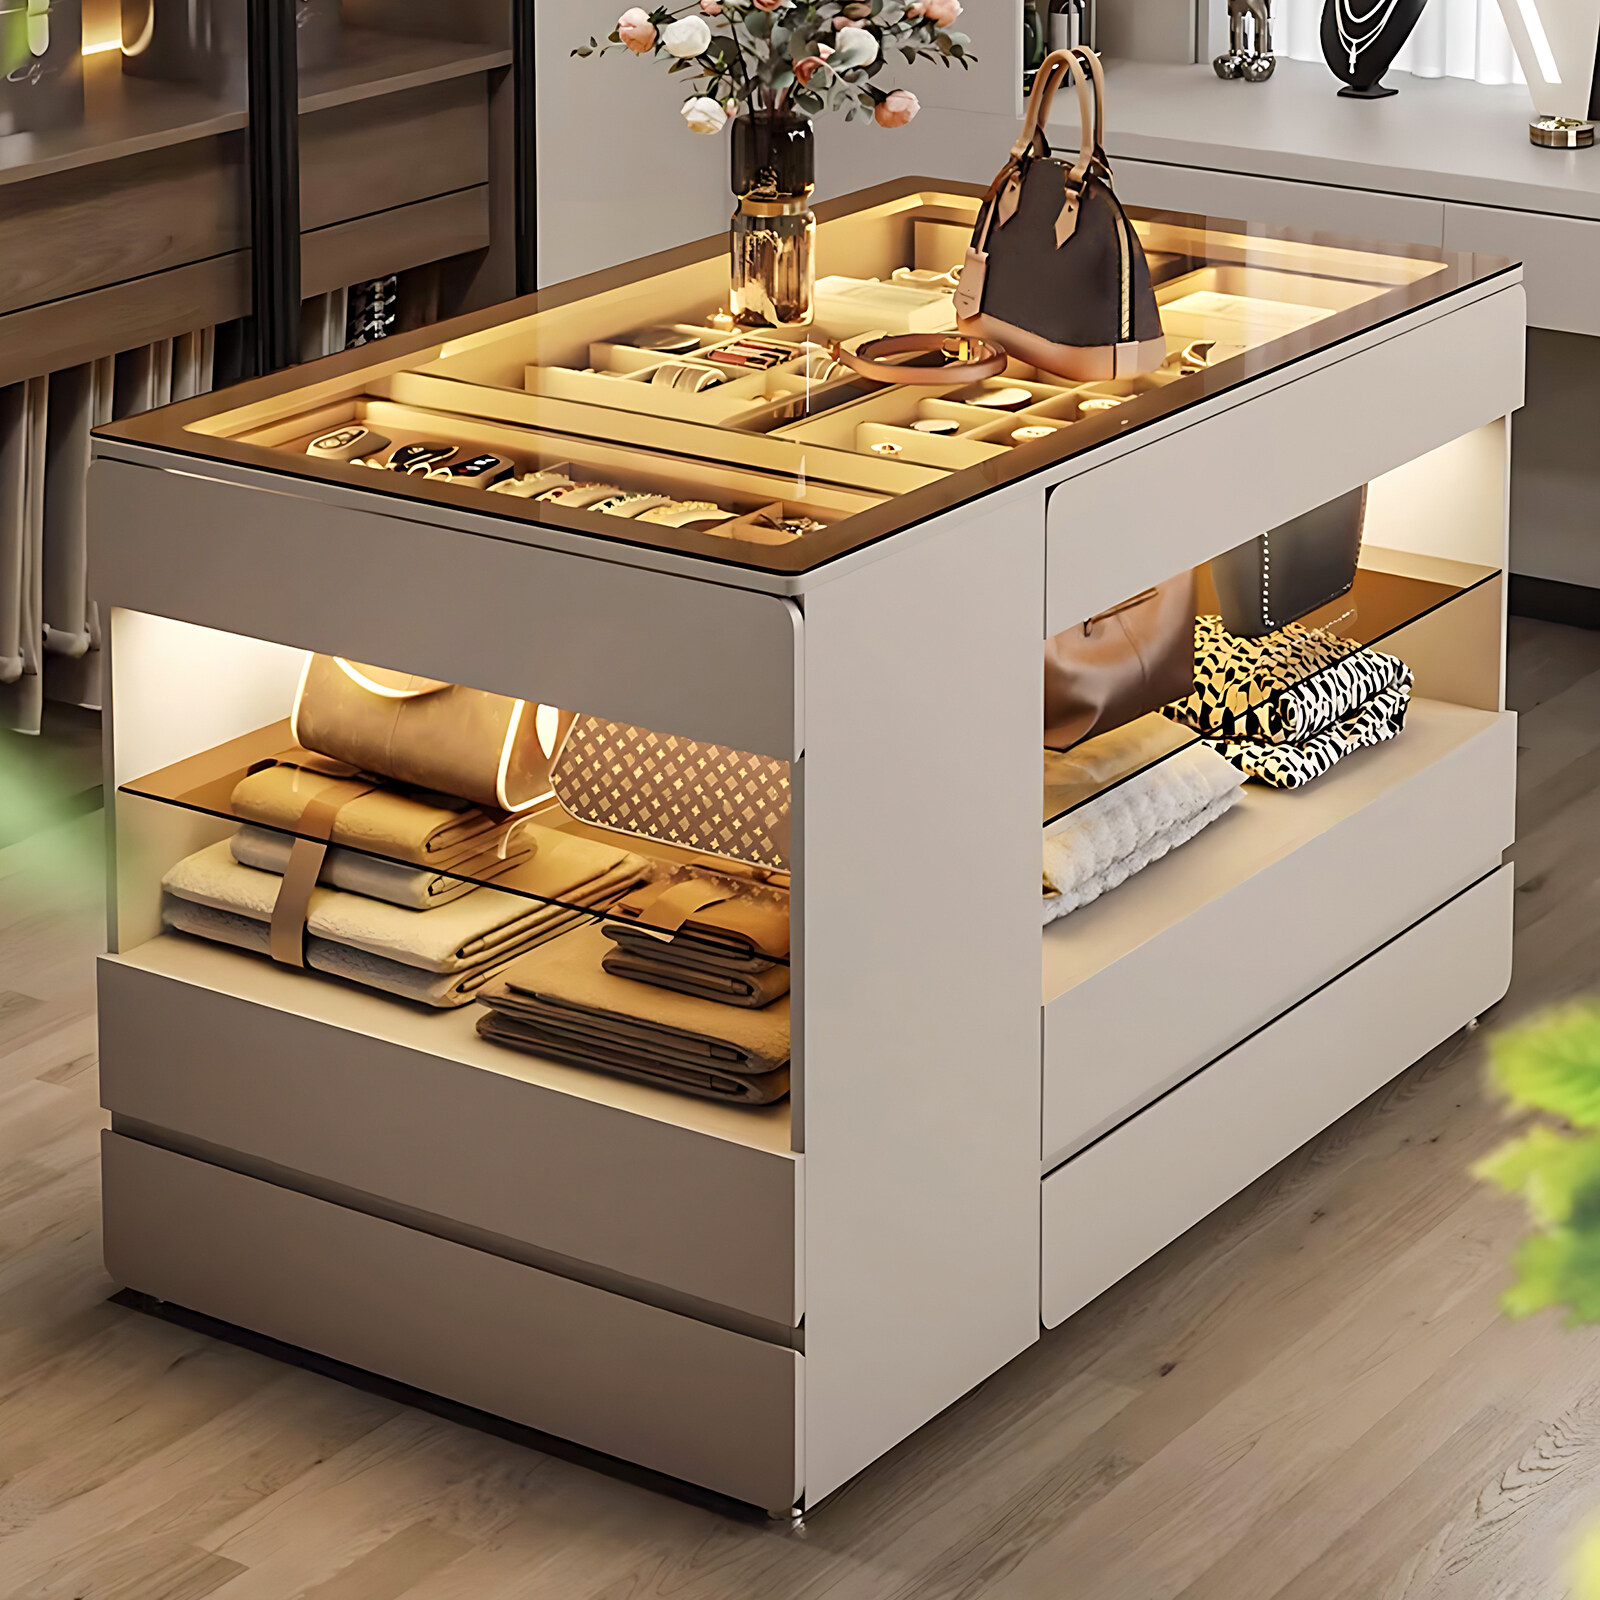
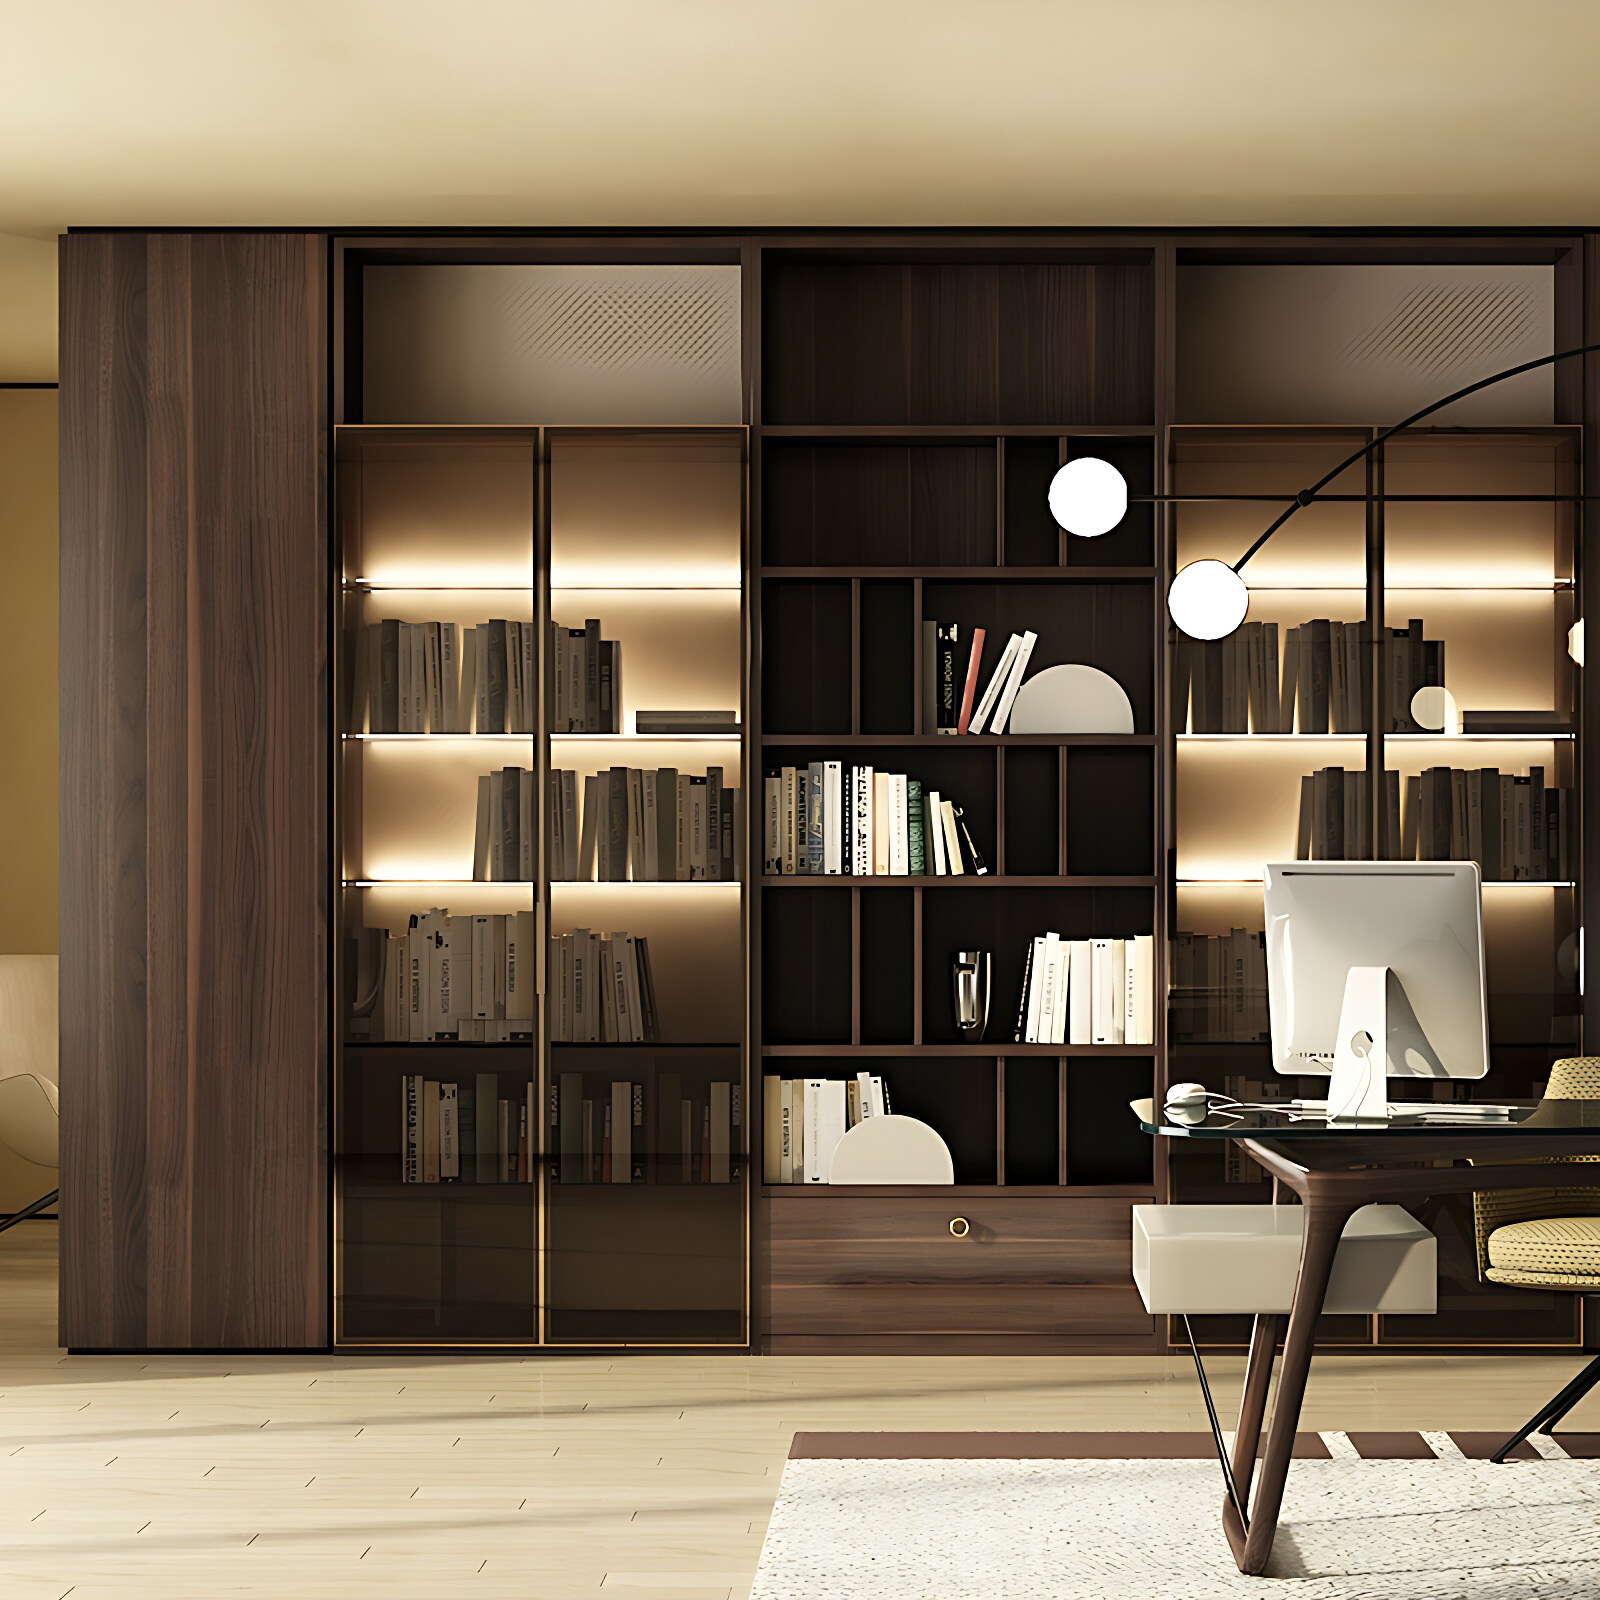
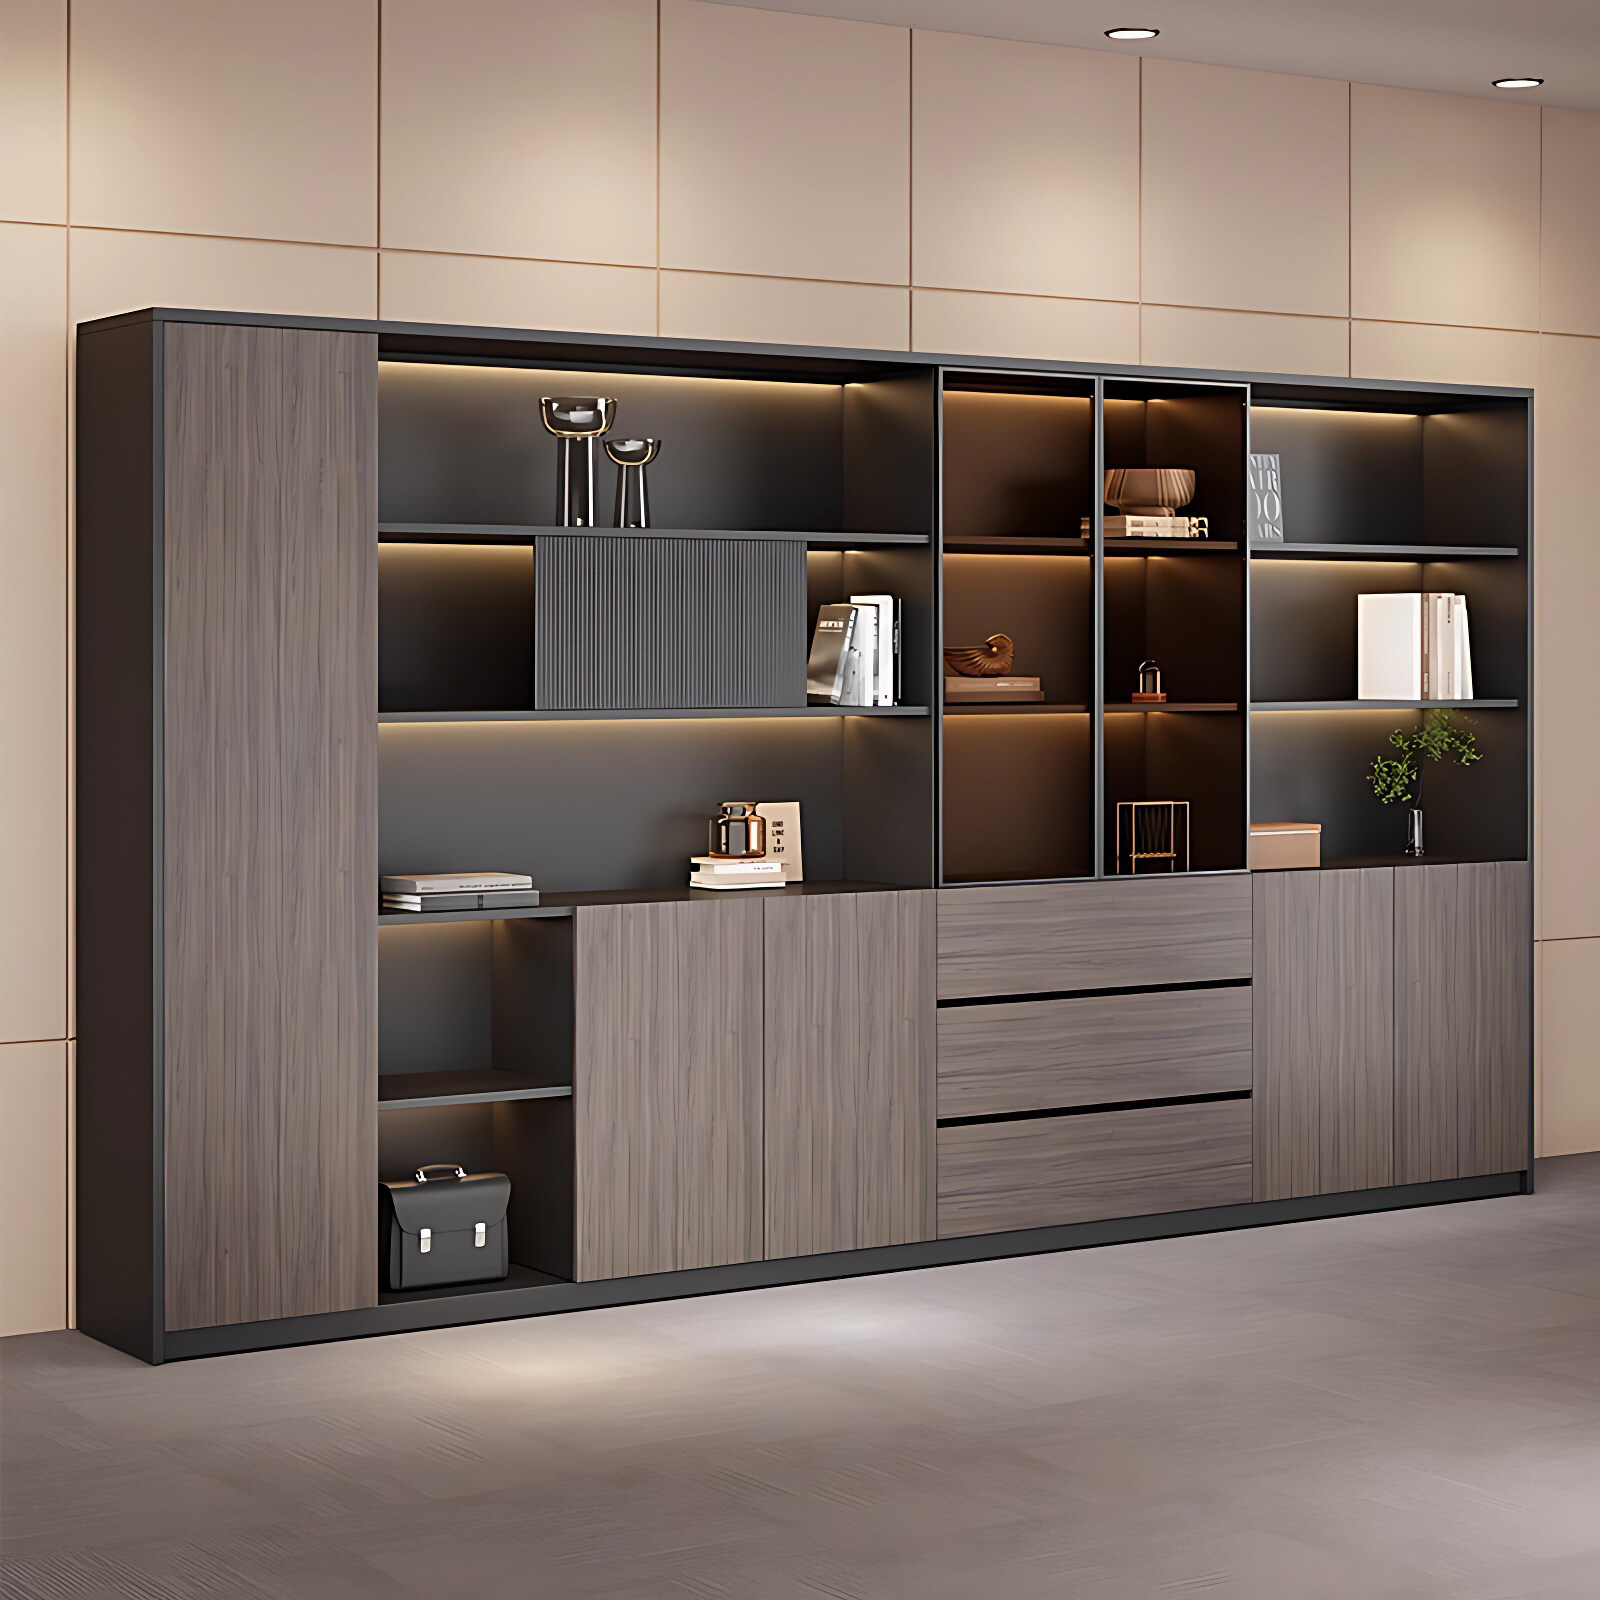
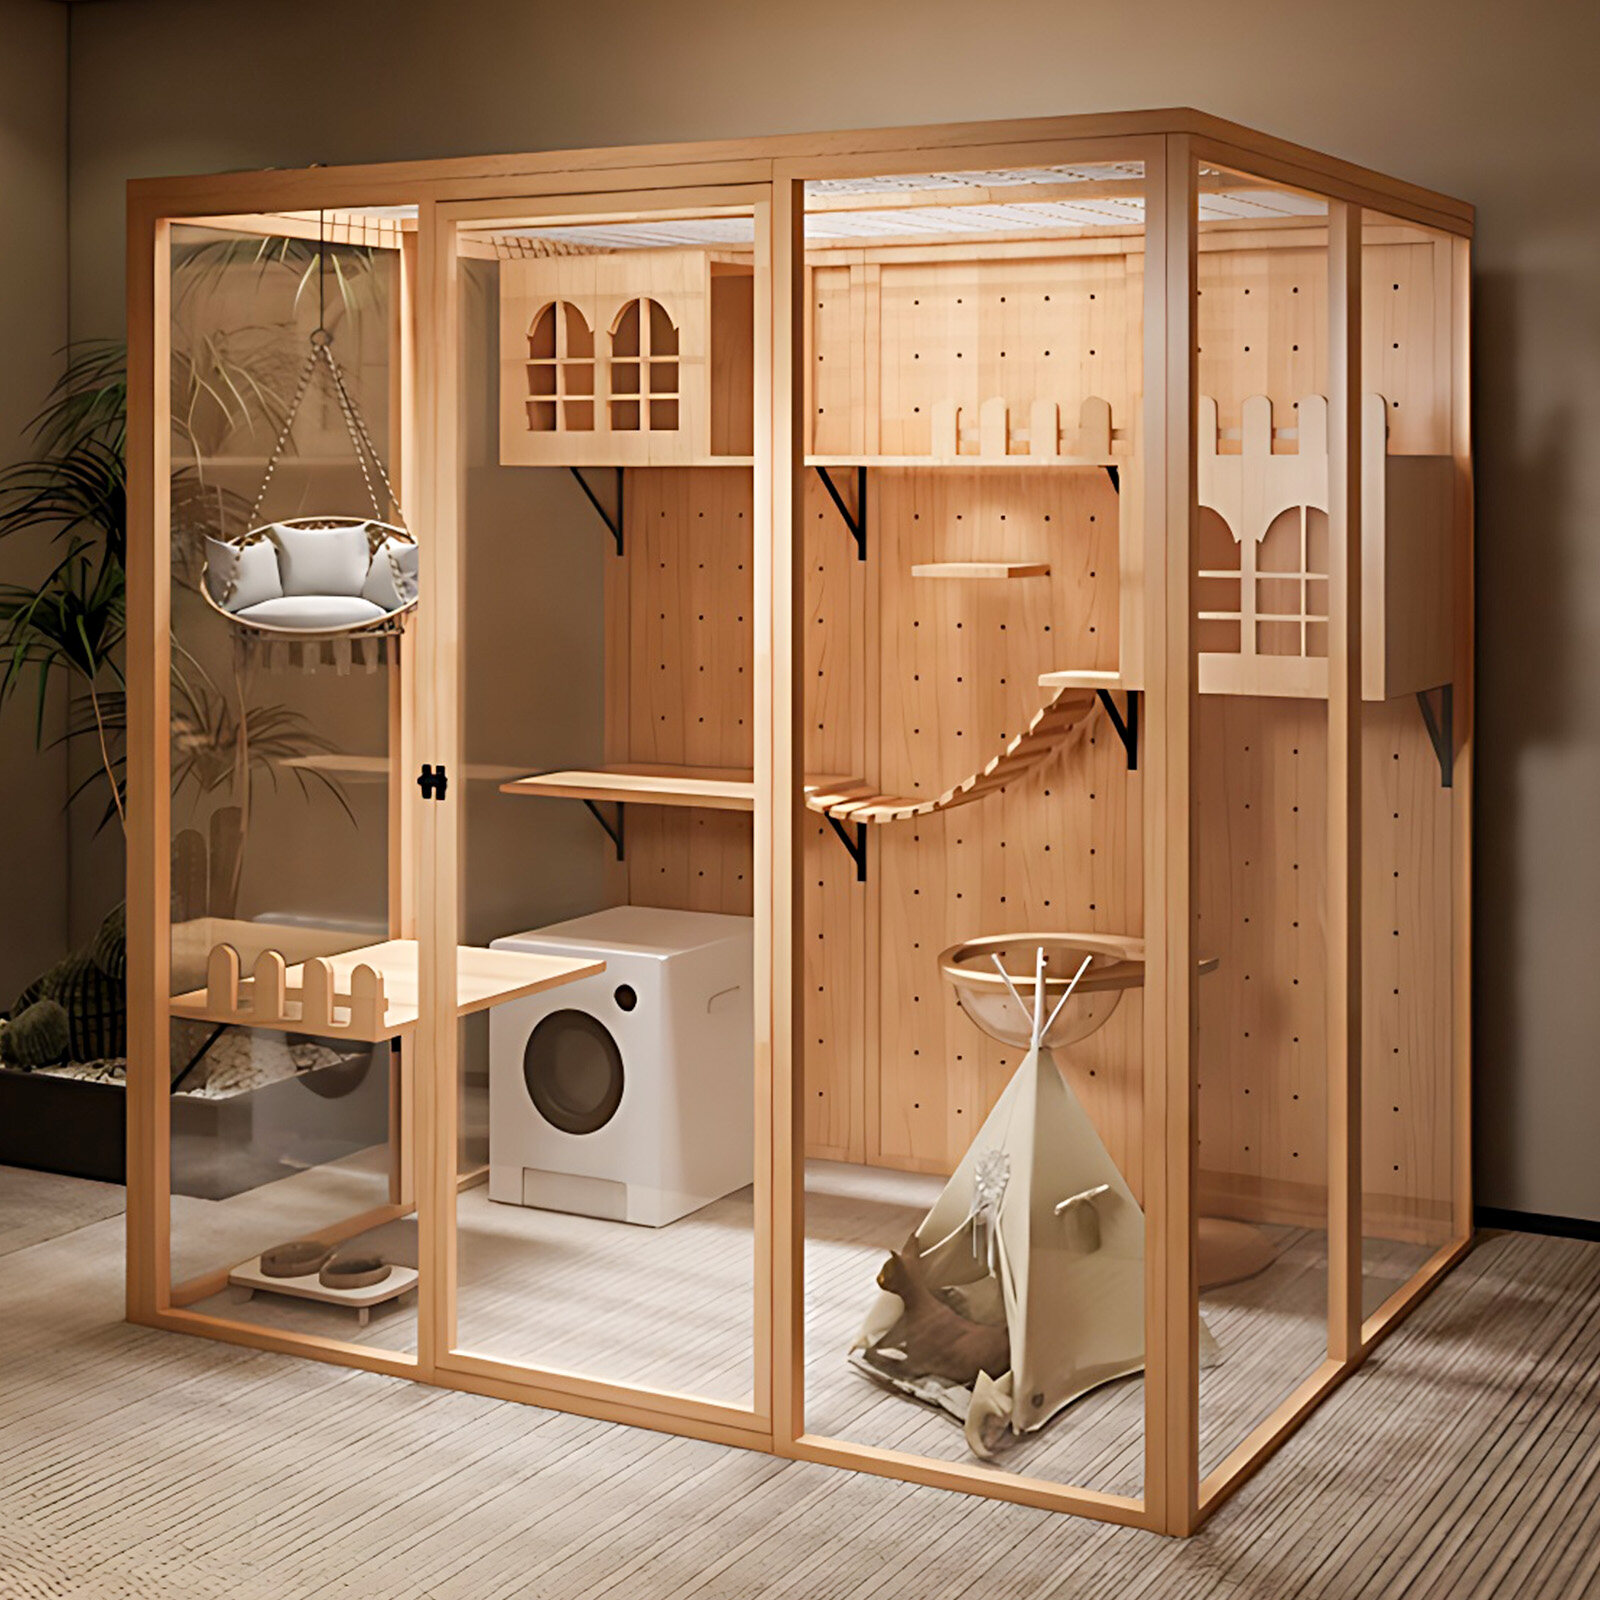
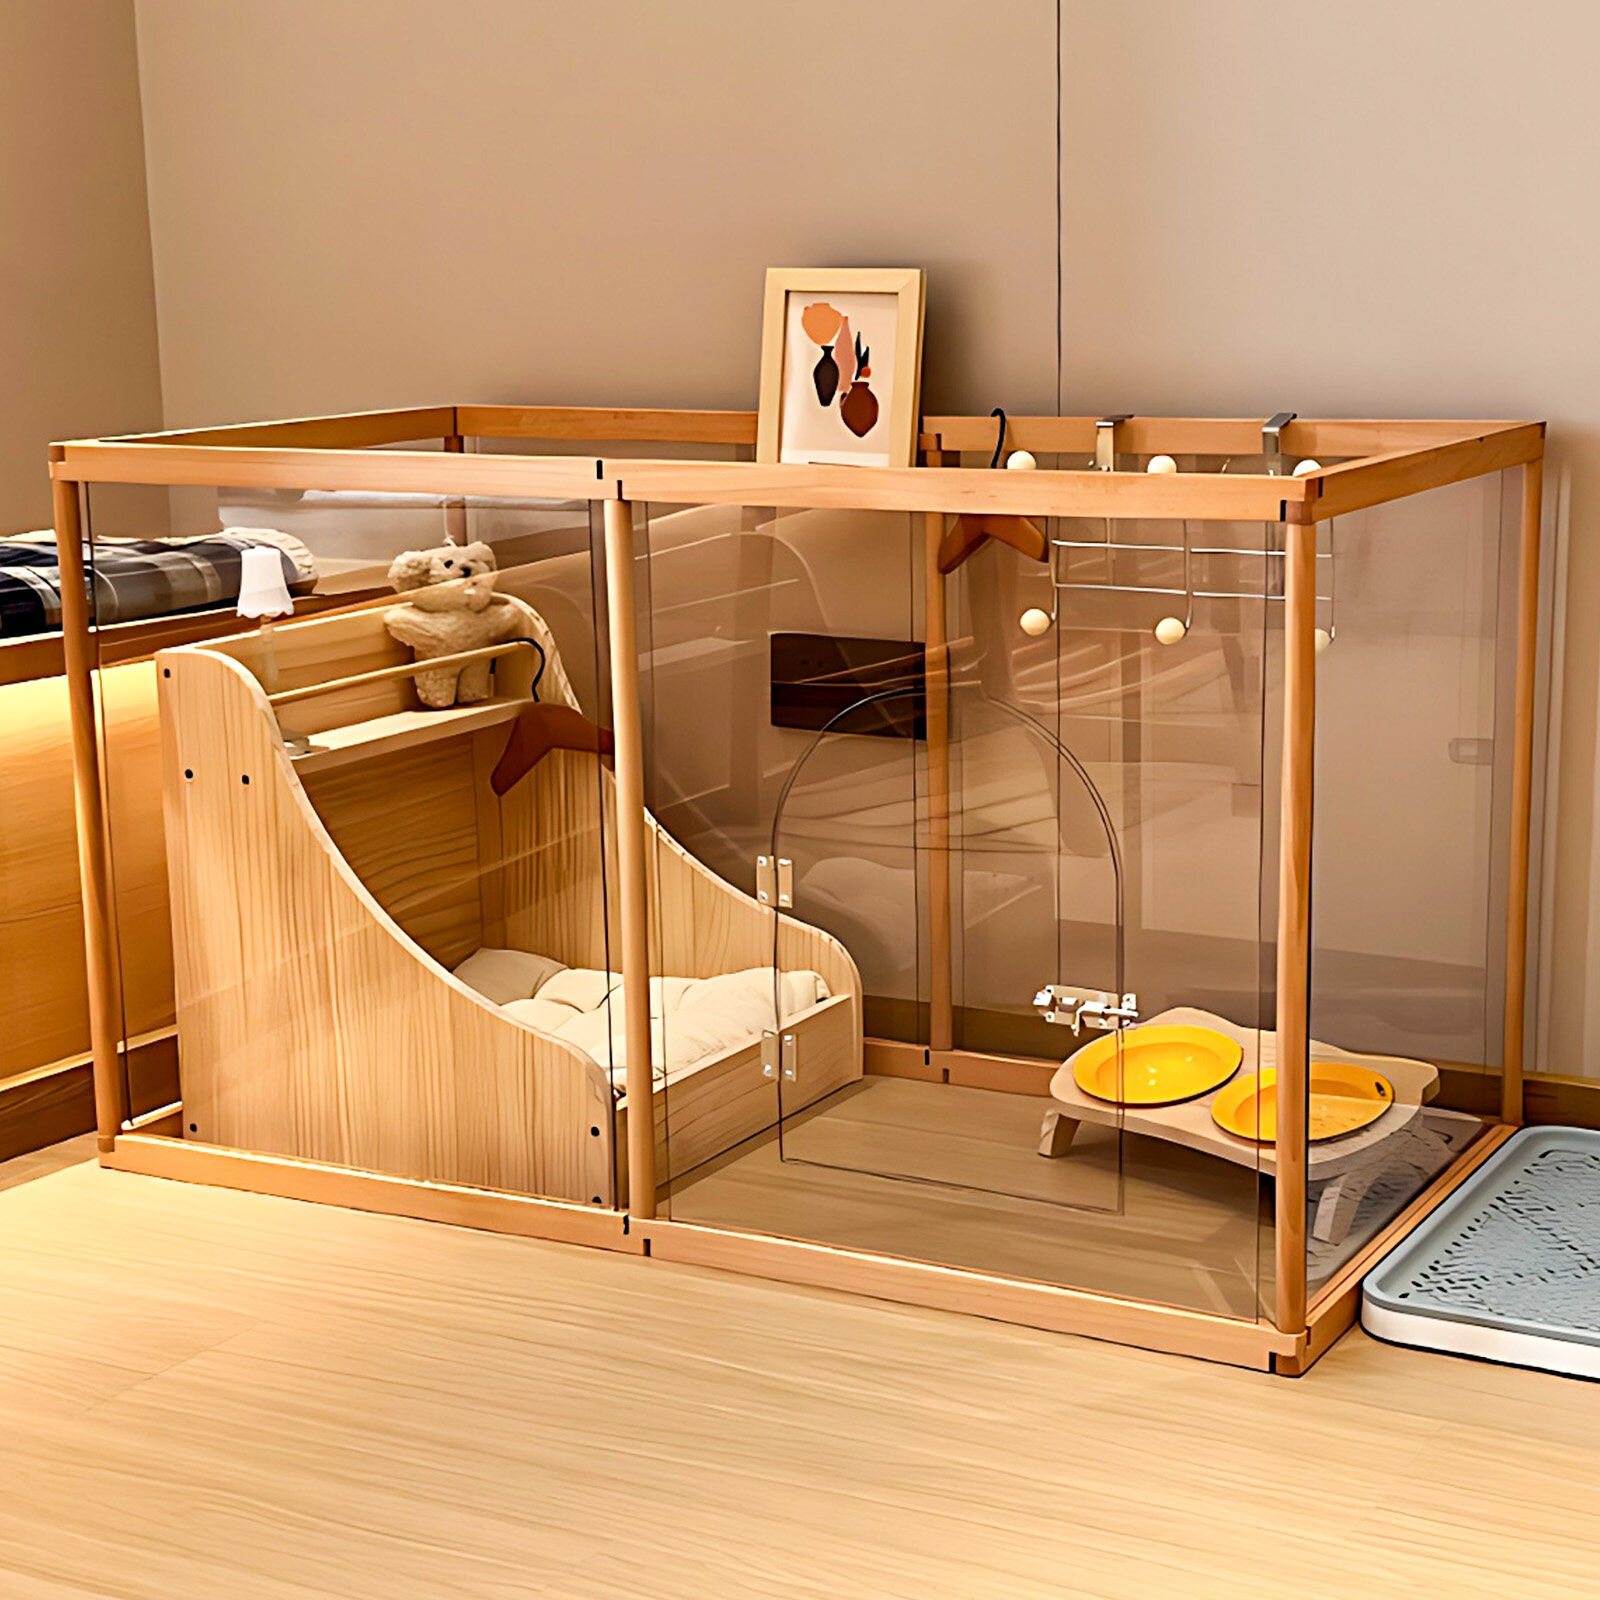
With its unique design aesthetics and practical value, curved cabinets are becoming a new favorite in more and more homes. From precise installation to scientific maintenance, every detail is crucial to the actual user experience.
Therefore, paying more attention to one step during the installation process can reduce more troubles for after-sales and win a better reputation for the customized brand.
If you are currently or about to order a custom arc cabinet for a consumer, remember to save this installation guide. Welcome to purchase Qiangyi Wood's hot-bent integrated arc, which has a stable structure, is more durable, and is easier to install.